DIY Garage Metalworking Shop Makeover and Organization
My metalworking shop has always been a bit of a mess, but it had gotten REALLY bad lately. I went back to the drawing board and gave that side of the shop a complete makeover, reorganizing it and optimizing the tool layout and workflow.
Thanks to CRAFTSMAN for sponsoring this project!
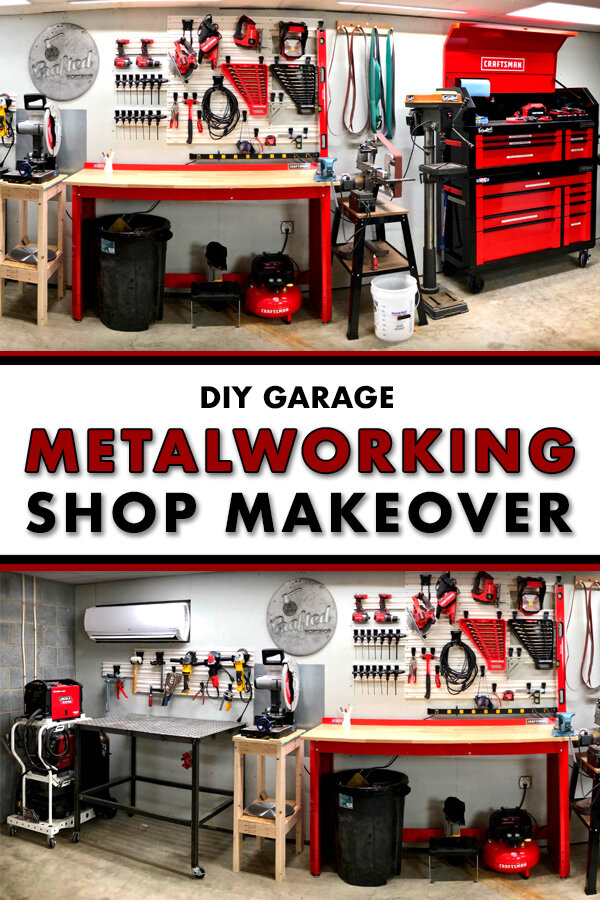
Pin it!
Process For Remodeling Your Metalworking Shop Space:
Step 1: Get Motivated To Do Some Heavy Lifting
The idea for this project started back in August when I got to attend the CRAFTSMAN launch event in Baltimore. It was a super fun couple of days getting to hang out with a lot of my tool reviewer buddies, but we also got to play around with a lot of the new stuff CRAFTSMAN was introducing.
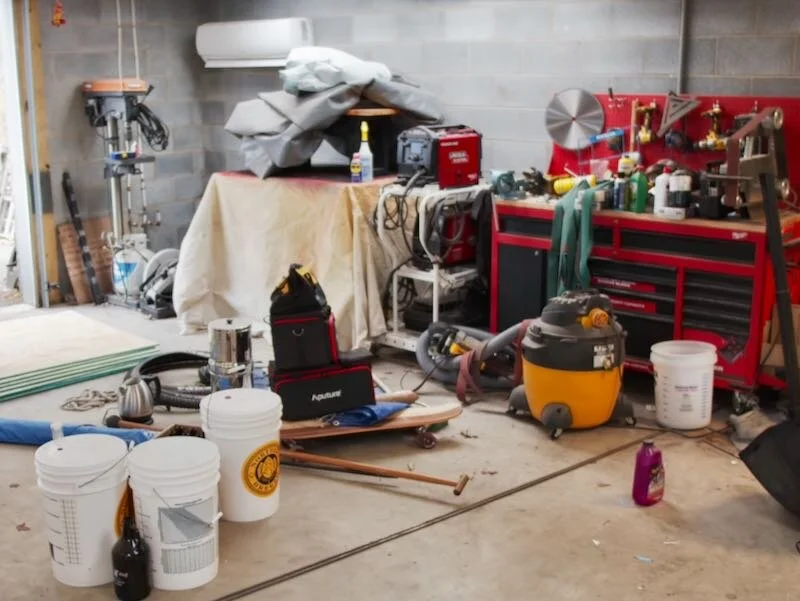
When CRAFTSMAN wanted to work on a project together for my channel, I immediately thought of reorganizing the metalworking side of my shop. That side of the shop rarely gets shown on camera, and that’s for good reason. It’s a breeding ground for clutter and junk piling up, as you can see here. Now, this is even worse than normal as my wife and I were having a bit of a house decluttering after watching a little too much of Marie Kondo’s new show, Tidying Up, but still, it was pretty bad.
Step 2: Cleaning Up The Garage And Make Room For All Your Metal Working Equipment

After getting everything cleaned out, I could get started with a nice, clean, blank slate. The first thing I wanted to tackle was to cover the ugly concrete block walls with 2x4s skinned with OSB. This would not only look a lot better on camera, but it would also allow me to attach things to the wall much easier.
Step 3: Attach Stud Framing To Walls

Since this is an exterior wall and concrete wicks moisture, I needed to use pressure treated 2x4s here. Now, I could have also used pressure treated 2x2s or furring strips, but 2x4s were almost the same price and gave me a lot more room to drive in screws when hanging things, including the OSB.
I created a story board, basically a template for the length of the 2x4s as well as the hole placement, and then I could start transferring those measurements to all 20 2x4s I used.
To cut the boards to length, I used a circular saw and a speed square. I then used an extra long ¼” drill bit to transfer the hole locations and drilled a recess for a washer with a 1” spade bit. Since I had that story board, I didn’t have to measure anything and this process went pretty quickly.

Once the boards were cut and drilled, I laid out the stud locations on the wall. Now, I probably could have gone with 24” on center spacing here, but again, I figured I wanted more spots to be able to mount stuff. I marked the locations on the wall with a felt marker, and also marked where the edges of the studs would fall.
To mount the studs to the wall, I used concrete fasteners and used the matching drill bit to drill the holes. You really need a hammer drill for this, and you should also really wear a dust mask, as this creates a ton of dust. I also spaced the studs up off the floor about ½”, to avoid any water that might end up on the floor from getting into contact with the studs.
After drilling the holes, I used compressed air to remove any excess dust and then drove in the concrete fastener with an impact driver. I set the impact driver to its lowest torque setting, which is a nice feature on this impact driver, as it’s pretty easy to strip these holes if you apply too much torque.
With the first fastener in place, I used a level to make sure the stud was plumb and then drilled the rest of the holes and added the rest of the fasteners using the same process.

I just rinsed and repeated for the rest of the studs, although I did need to cut the studs below the mini-split to fit.
With all of the studs in place, I could move on to adding the OSB. I had Lowe’s cut the panels to length, so that was already done for me. I did need to notch out the first two panels to fit around the mini-split, but that was easy to do with a circular saw. I marked some layout lines with a drywall square and then just cut along those lines freehand.
Step 4: Install Plywood Wall Panels

When installing the panels, I made sure to put a spacer under the panel to keep it up off the floor, again to avoid contact with any water. My garage floor is sloped and is about an inch shorter at one end vs the other, so I used a 2x4 as a spacer under the panels for the first few panels and then switched to a ¾” thick board and then finally switched to a scrap piece of ½” plywood as I got closer to the house.
I used 1 ¼” screws to fasten the panels to the studs, and checked for plumb before driving in the screws. I actually used pocket hole screws here, since I have a ridiculous number of them on hand, but this meant I had to countersink all of the holes to make the heads of the screws flush with the panels.
I used a laser level to help make sure I drove screws into the studs, hence why I turned the lights off here, and this made things go really quickly. I could just move the laser line for each of the two center stud locations, which only took a few seconds, and this ensured perfectly straight screw alignment as well.

The next obstacle to cut around was this outlet. Now, I didn’t need to worry about the surface mounted conduit, as the 2x4 cleared it, but I did need to cut out a hole for the outlet itself.
I laid out the location on the OSB panel, drilled a hole for the jigsaw blade, and then cut out the hole using the jigsaw. As you can see, I pretty much nailed it, which I was pretty happy about.
I just continued working my way down the wall until I got to the last panel, which needed to be ripped to width. I measured the width, clamped a 2x4 to the OSB to act as a guide for my circular saw, and then ripped it to width. I ripped it just a hair wide on the first pass, but I trimmed it a bit and got a perfect fit after the second pass.
The last piece of OSB I needed to cut was to cover the gap above the mini-split, and this was purely aesthetic. I added a couple of offcuts of the pressure treated 2x4s to the wall and then attached the piece of OSB to those.
Step 5: Paint Walls

With all of the OSB attached, I could move on to paint. I did go back with a sanding pad and knock off any loose pieces, as well as tape off the edges, off camera, prior to painting.
OSB is incredibly thirsty and absorbs paint at a pretty insane rate. I used primer for the two coats and used an entire gallon for a coat and a half, when it should have easily done two coats, so plan accordingly.
Also, the wall looked pretty crappy after the first coat, but each additional coat really helped even things out. I did two coats of primer and one coat of paint and I think it ended up looking great.
Once the paint dried, I could start moving all of the new stuff into place and figuring out where I wanted everything to go.
Step 6: Design New Metal Working Space
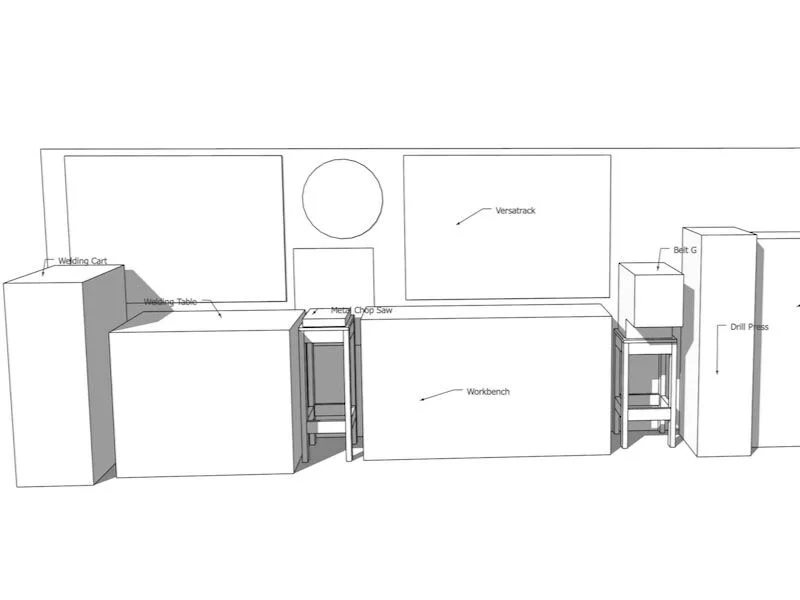
When coming up with this layout, I actually started in SketchUp, which is really helpful for this kind of thing. Rather than trying to find exact models of all of these items, I just created cubes for each thing, which is really helpful in representing the amount of space each item will take up.
One thing that ended up working out perfectly was the fact that the height of my welding table and this new workbench were almost identical, and I figured putting my metal chop saw between those two things would give me some infeed and outfeed support when cutting long pieces of steel.

Step 7: Custom parts

To accomplish this, I needed to build a simple stand for the saw, which I built out of 2x4s and the leftover OSB from the walls. I cut the 2x4 pieces to length with my circular saw and a speed square, and I used the pieces themselves as reference rather than measuring each piece individually. It really didn’t matter that all of these pieces hit an exact measurement, but rather the corresponding pieces needed to match one another.
I used pocket holes for the joinery on the frame, so next I drilled pocket holes in all of the stretcher pieces using my pocket hole jig.
To assemble the frame, I used 2 ½” pocket screws and made sure to clamp the pieces together before driving the screws, to keep them from moving around.
There is a stretcher around the top end of the legs, as well as another set of stretchers about 12” from the floor, which stabilizes the legs and also adds a shelf to the stand.
Once the frame was assembled, I could cut the top from that leftover OSB. I decided to use a double layer of OSB, just for a little additional strength, and cut the pieces with my circular saw.
To attach the top to the base, I added glue to the top edge of the stretchers, put on the first piece of OSB and got it positioned, then added plenty of glue and the second piece of OSB. I then attached the OSB to the frame using 1 ¼” screws.
To flush up the edges and also break any sharp edges, I used a belt sander, and this made quick work of this.
For the bottom shelf, I just happened to have two almost perfectly sized offcuts, and I just needed to trim them to length with the circular saw.
To make them fit around the legs, I needed to notch each piece, which I did with the jigsaw. Once the pieces fit, I attached them with 1 ¼” screws.
Next, I could get the saw into place. Unfortunately, this particular saw has no easy way being fastened to a table, so I added some scrap OSB blocks to each corner, to keep the saw from sliding around when being used.
The last thing to add was a piece of sheet metal to the wall behind the saw. I don’t think this is totally necessary since this is a cold cutting saw, not an abrasive saw, but I had the piece of steel sitting around already, so I went ahead and added it.
Step 8: Tool Hanging Wall Organization

Also, you might have noticed that VersaTrack wall organization system on the wall above the workbench and welding table, and here’s how I installed those.
The tracks are made of a composite material, so they’re extremely easy to drill in to, and it’s a good idea to countersink all of your holes so the screw heads don’t interfere with the hooks that hang on the tracks.
I spaced my holes ¾” in from each end and added two 2” screws at each stud location, and I decided to stagger my pieces, so that I’d get more useable storage space. I made sure the first piece was really level so that the rest of the pieces could reference off of that piece.

After getting the first piece in place, I continued working my way up the wall. I only added one screw at each end of each piece to get them up on the wall, and then came back and added the rest of the screws after the pieces were in place.
Once again, my laser line came in handy here, so I could make sure all of my screw holes lined up.
The next thing to get hung on the wall was this sign I had plasma cut while I was at Lincoln Electric’s headquarters almost a year ago. I love the way this thing turned out, and love the little bits of surface rust that have popped up in that time.
To hang the sign, I drove a pocket hole screw into a stud and then added a scrap piece of OSB to space the sign off of the wall, to give it a bit of a shadow line. Finally, I added another screw to keep the sign level.
With everything hung on the wall, I could move on to the fun part, getting everything organized. I started with the VersaTrack above the workbench, getting my t-handle hex wrenches hung up. I reach for these on an almost daily basis it seems like, adjusting set screws and things like that, so I wanted to have these easily accessible. I also wrote on the sizes of each key nice and big with a paint pen, so I could quickly see the hex key sizes at a glance.
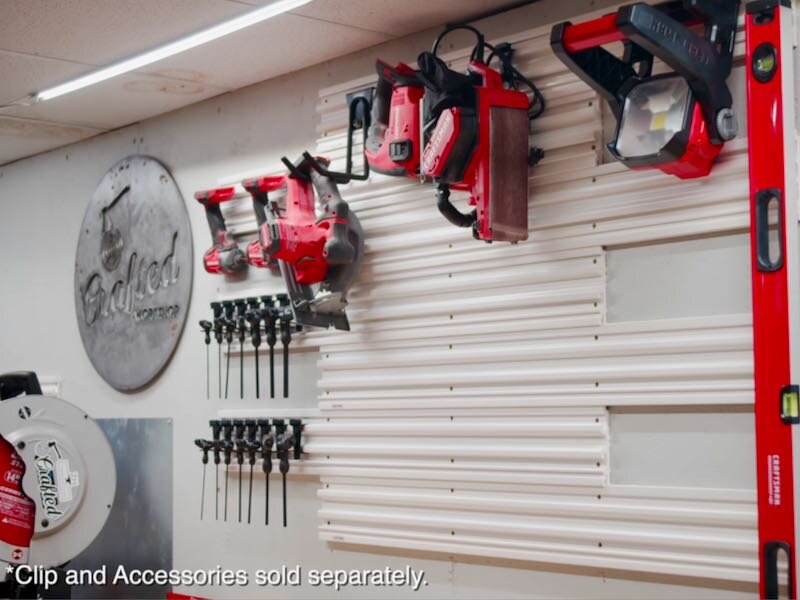
Next, I could get the rest of the tools hung on the wall. A lot of these handheld power tools, like the V20 drill, impact driver, and jigsaw, have VersaTrack clips that can be added, which makes them super easy to hang. For items like the belt sander without these hooks, I used one of the hangers that came with the VersaTrack kit, and this could hang both the power cord and tool itself.
Another thing I knew I wanted to have easily accessible were these sets of open end wrenches, which I also use quite a bit, especially when assembling things. I hung these on hooks, but it’s also be really easy to take the whole set with me if I need to.
I also added a big power strip to the wall below the VersaTrack, which is a convenient spot to plug in any corded power tools I might use at this workbench.
Next, I could get the VersaTrack above the welding table organized, which included hanging all of my angle grinders, as well as my welding clamps and a pair of welpers. I use these items every time I weld, and it will be super handy to have them within arms reach.
Next, I wanted to whip up a quick storage system for my belt grinder belts, which have always been in my way. I decided to keep it simple and just added some long screws to a 2x4. These screws have a large head, which keeps the belts from sliding off.

I mounted the rack above the belt grinder, making sure to hit the stud.
Next, I could start moving the rest of my stuff over to the big 3000 series tool chest. This thing is so ridiculously nice and I love this built in power strip, which is great for charging batteries, powering a boombox, or changing my phone.

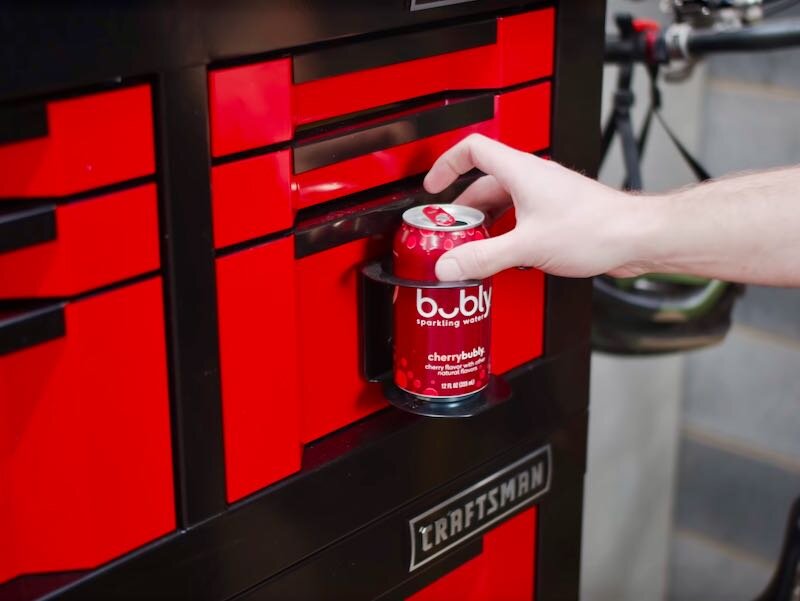
I also added this magnetic cup holder to the front of one of the drawers, to hold any liquid refreshments I might have with me in the shop.
And after that, other than a few odds and ends, that was pretty much it, so I could call this project complete.