Workshop Renovation Part 3 : Framing Walls & Windows
In part 3 of my dream workshop renovation, I cover framing the exterior walls along with boarding up the windows!
🛠 Tools Used :
Materials Used :
Framing Walls and Windows in My New Workshop
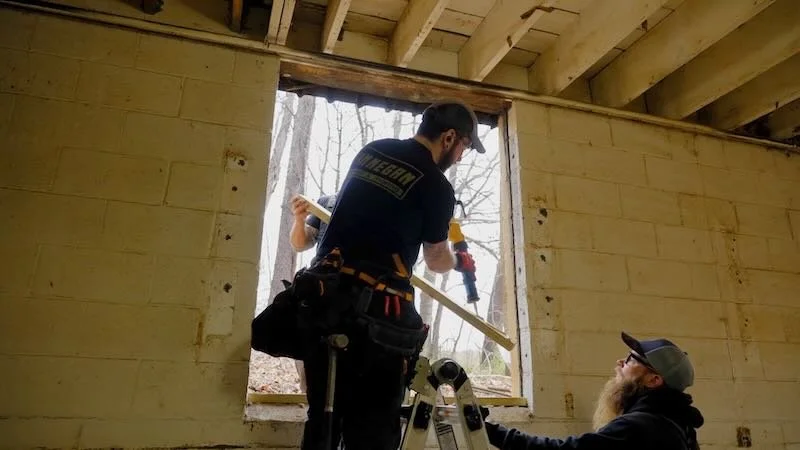
Window Removal and Framing
As soon as the Perkins guys arrived, the windows were promptly demoed and removed, so we could get to work framing in the window openings.
Since these walls are concrete block, we used treated material here to avoid any moisture damage and fastened the plates to the walls with concrete anchors. We also added a heavy bead of sealant between the plates and the block to keep any moisture outside.
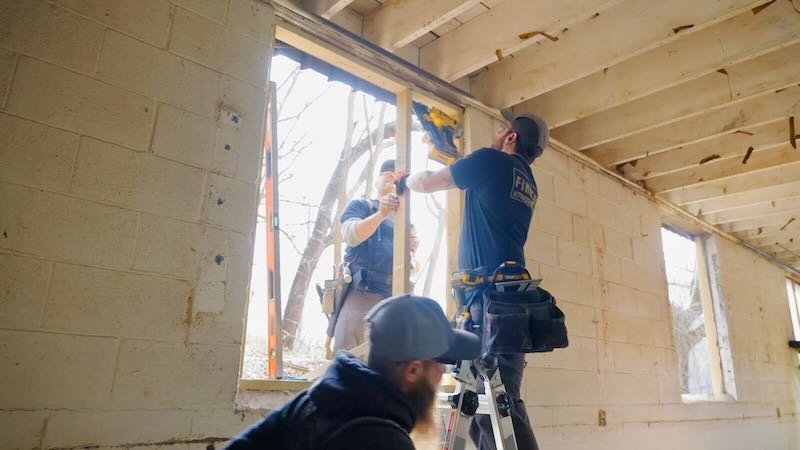
We repeated the same process for the right and leftmost studs, attaching them to the concrete block in the same way, and this cordless DEWALT SDS drill was super handy here. It even has built-in dust collection, which made it easy to keep our lungs clean.
Once the boards around the perimeter were installed, we filled in the center of the window with more studs, and we used pressure treated boards here although this wasn’t necessary in retrospect.
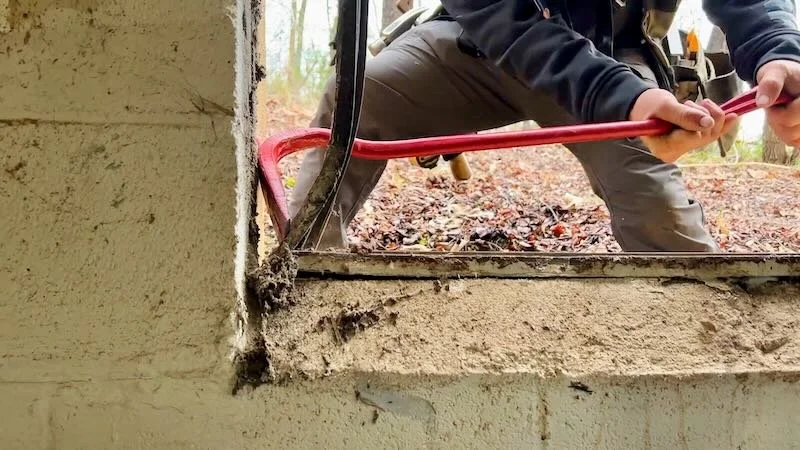
While Ray and Jason wrapped up the first window, I moved to the next window in line and started getting the bottom of the window opening cleaned up. These window sills are sloped and were essentially just a pile of mortar, so it was pretty easy to chip away any high spots.
On the outside of the shop, Jason and Jono worked on getting the windows sheathed with that leftover Zip-R material, and, considering these window openings were 4 feet by 5 feet, they were super simple to sheath with one piece of Zip-R.
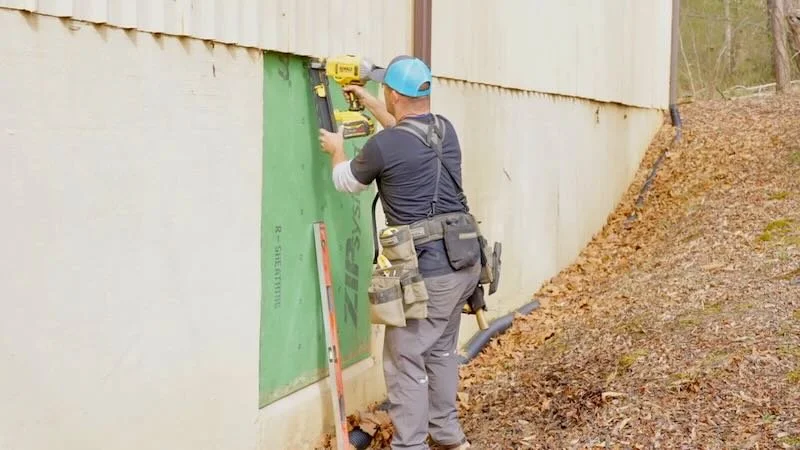
Once that was done, we could repeat the process on the next two window openings.
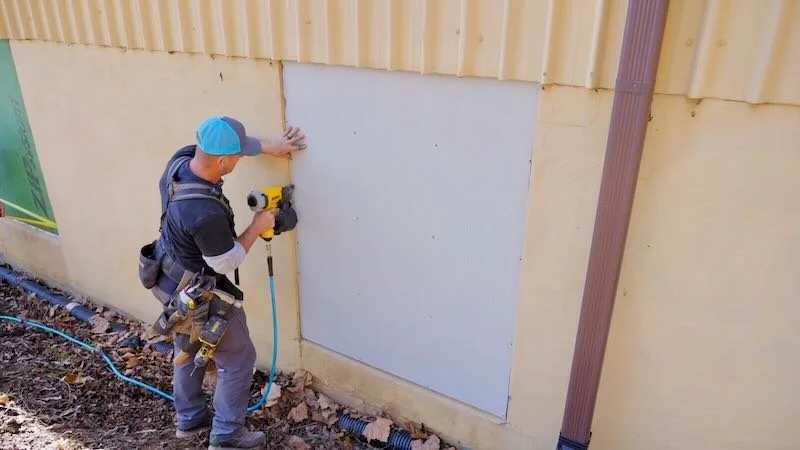
The last thing to do was get some siding on the sheathing, and we used the leftover fiber cement panels here, as they matched the block exterior fairly well.
Cutting these panels is a super dusty job, and this concrete saw made quick work of the task.
We used a siding nailer to attach the panels and I’ll probably come back and add some kind of trim to dress these openings up a bit.
I also went back and added some sealant around the left, right, and top edge of the siding pieces, to make sure no water worked its way in.
Shop Prep and Framing Walls
Clear Material Off Existing Walls
With the windows done, we could move on to framing the walls, but first we needed to get everything cleared off the walls, and you can see that Nate and I started on this prior to the Perkins guys arriving, removing the existing shelving and the electrical runs on this wall.
Shutting Off Gas and Removing Natural Gas Heater
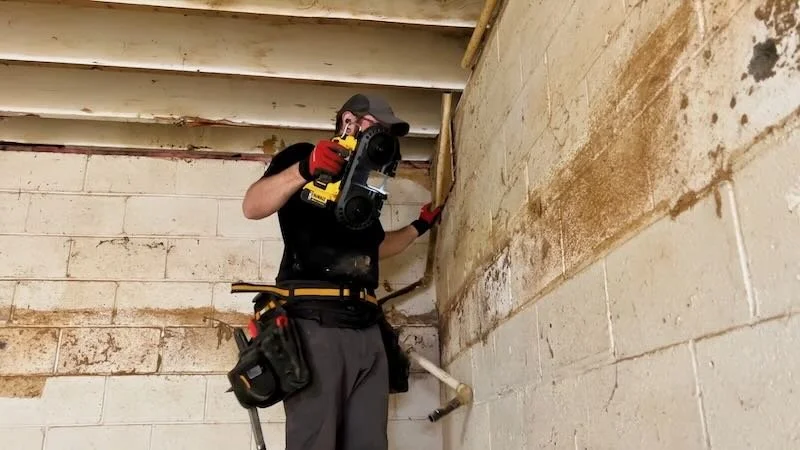
The other big thing that needed to be removed was the natural gas heater and the gas line running to the heater, which was directly in the way of where we needed to frame the walls.

We had an HVAC company come shut off the gas and then we broke down the gas line into manageable chunks with this little portaband. The advantage of using one of these vs an angle grinder is it doesn’t create sparks, just in case there was any residual gas hanging around in the lines.
Finally, the HVAC technician capped off the line to close the new opening in the line and then he got the gas turned back on and checked for leaks.
Once the gas line was dealt with, we cut the heater free of the threaded rod it was hanging from and dropped it onto some scaffolding to keep it mobile.
I’ll be installing mini-splits in this space in the future, which are both much quieter and take up less space than this monstrous heater, but it was a bit of a bummer to lose our only heat source in the shop.
Remove Vent Pipe For Heater and Seal Opening
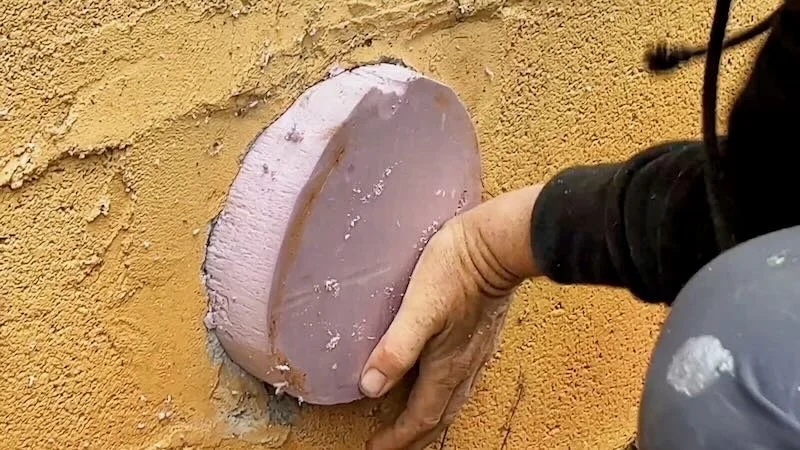
With the heater out of the way, Erik and I took a quick detour around the back of the building because, with the heater officially out of commission, it meant we could get rid of the giant vent pipe for the heater, which was blocking the doors leading into the attic.
After removing the pipe, we headed up to the attic to get the doors opened up, and this was a little easier said than done. Evidently, the previous owner knew they wouldn’t be using the doors since the vent pipe was in the way, so they consequently nailed the doors shut.

This was nothing a little sledge hammer work couldn’t fix and, in no time, we had the door open. After removing one last pesky nail, the door was operational again.
We got back on track and went ahead and plugged the hole in the side of the building left by the vent pipe with a little rigid foam and sealant, and then it was time to get to framing.
I had the material for the walls delivered a few days before the Perkins guys showed up and was once again so thankful to have this big 10x10 roll top door leading into the shop, as the material could just be dropped off inside, right where we needed it.
Set Bottom and Top Plates For Framing Walls
On to the framing, we got started by getting our top and bottom plates set in place, but this was a little tricky due to the severe bow in the middle of these walls. We wanted the studs to be in contact with the wall in the center, as the support created by these walls was the entire point of building them, and Erik came up with a simple but very effective technique for marking the locations of the plates.
First, he took a straight 2x6 and held it tight to the center of the wall and plumbed the board with a level. Next, we could mark where the board intersected the joists in the floor above and the slab.
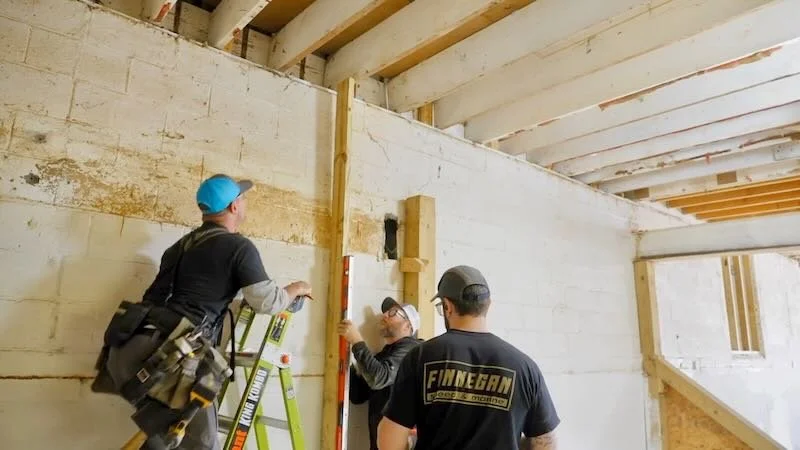
We repeated this process every four or five feet and then, once we had enough marks, we came back and connected the marks with a chalk line, and this was our layout line for the bottom and top plates.
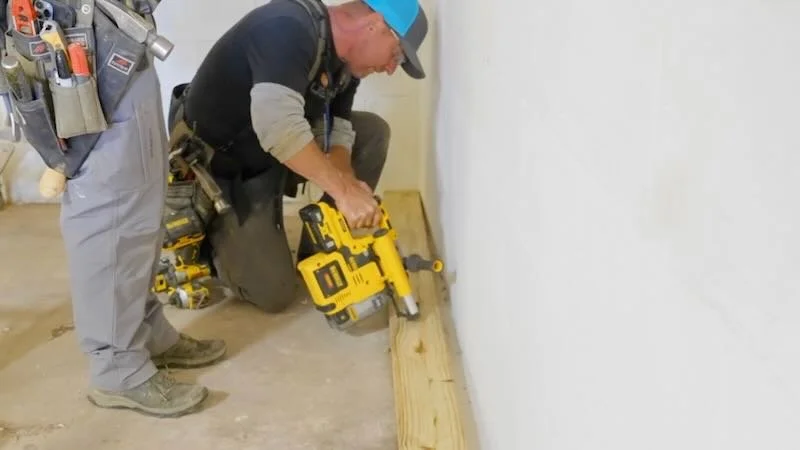
We attached the bottom plate to the slab with a few concrete anchors, and these were just to hold the plate in place while we worked, as I needed to come back and connect the plates to the slab with 3/4” anchor bolts, as specified by the structural engineer who came up with this plan.
We got the top plate attached the floor joists above with 3 1/4” long 16 penny galvanized nails, and the engineer called out a double top plate here, so added a second top plate in the same manner, making sure to mark our stud layout on the bottom and top plates before installing the top plate.

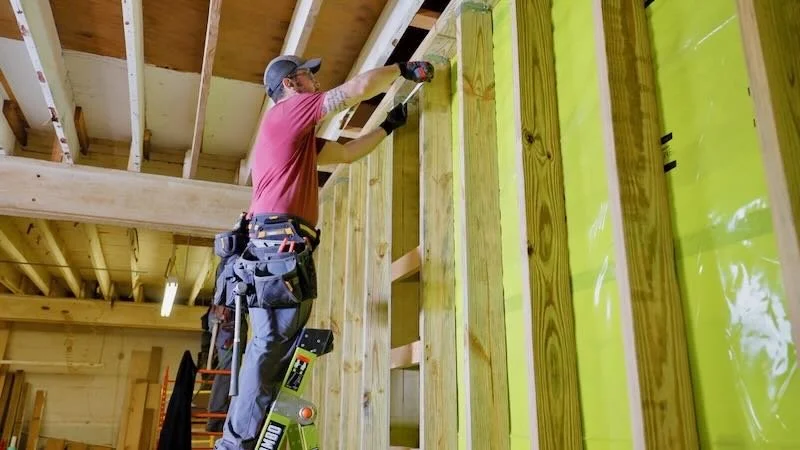
Cut and Install Studs for Walls
Once the plates were in, we could start cutting the studs to fit and installing them, toenailing them to the plates.
We had to frame these walls in place like this as the walls would have been impossible to stand up if we built them on the ground. Also, the slab level ebbs and flows a bit and we could account for that by framing the walls in place.
Add Joist Hangers to Studs for Added Strength
To further add to the strength of these walls, the engineer also spec’d joist hangers at the top and bottom of each stud, and thankfully I was able to pick up a pair of metal connector nailers prior to this, as we had roughly 180 joist hangers to install on these walls.
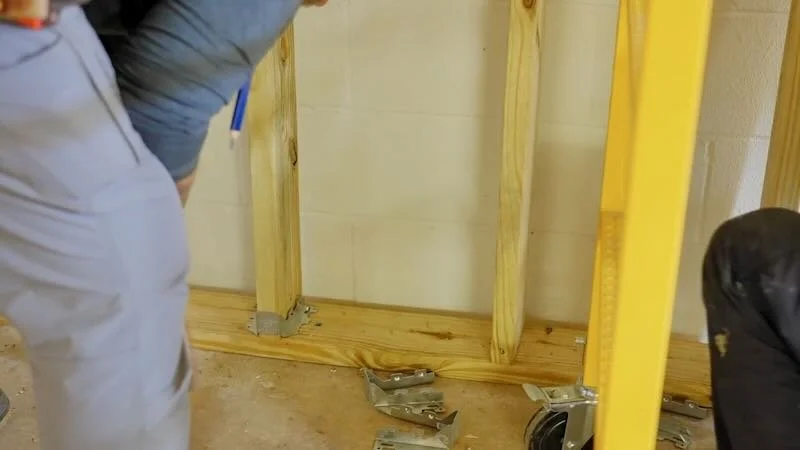
Having two guns ended up working out great, as we could keep one loaded with 1 1/2” joist hanger nails for the straight connections and then keep the other gun loaded with 2 1/2” nails for the diagonal connections.
From there, it was really just rinse and repeat until we got to the first diagonal wall brace, which we decided to go ahead and remove since it was sitting there loose, clearly not under any load.
With that out of the way, we kept chugging along with the framing, and we did decide to leave the second wall brace in place for the time being, as it actually seemed to be doing something.
Planing Bottom Plate (If Necessary)
We did need to plane down the back edge of the bottom plates towards the end of this wall due to some excess mortar, and I thought it’d be good to get some sweet slow-mo shots of the planing…
And hopefully that shot was worth getting covered in sawdust, let me know in the comments if it was…
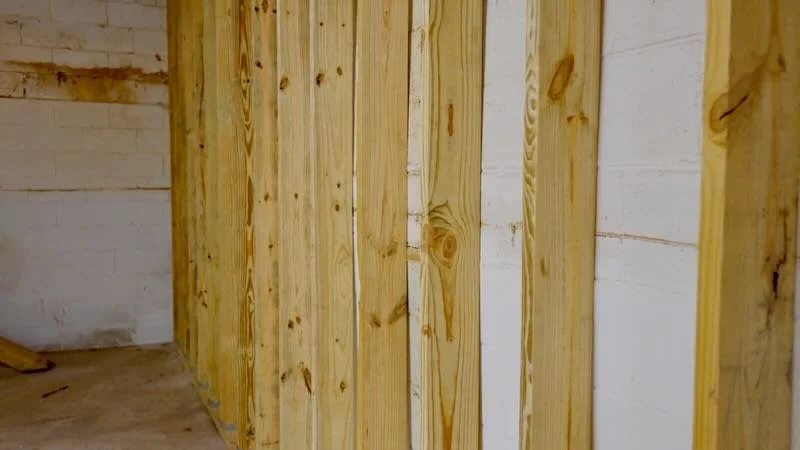
Anyway, we wrapped things up for day one shortly after, and I think we made really good progress on this first day. It was crazy looking at the studs up against these bowed block walls. It was almost like an optical illusion, because it made the studs look insanely crooked when in reality it was just the wall that was crooked.
Also, Erik’s technique of setting the plate locations seemed to work perfectly, as you can see that pretty much every stud contacts the wall in the middle.
Back for day 2, the guys got to work wrapping up the framing on the right wall, and it was a little tricky working around that natural gas line but they got it done.
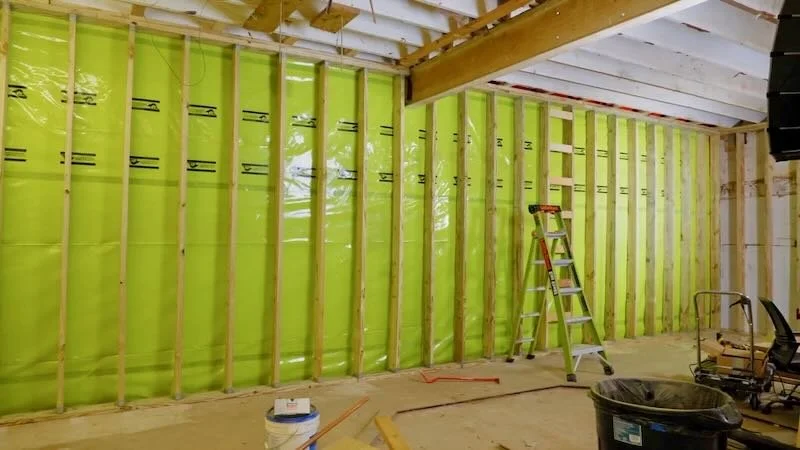
Installing Vapor Retarder Behind Walls
While they worked, Erik and I got the vapor retarder laid out for the back wall…
We attached the Stego vapor retarder to the wall with this StegoTack tape, and we went ahead and ran three rows of the tape before hanging the vapor retarder.
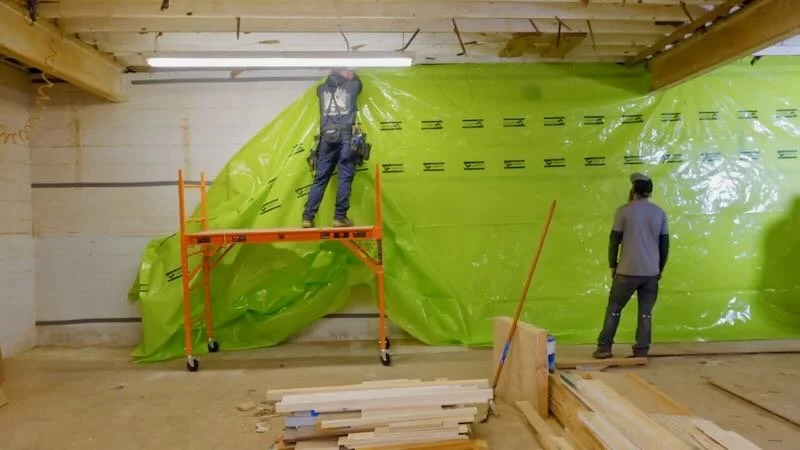
You might be asking why I’m even using this vapor retarder here, and it’s really just an extra layer of protection, as this should help to keep excess moisture from building up behind this back wall, which is completely sub-grade.
As you can see, we taped all of the edges of the vapor retarder to seal it, and I think this is pretty simple peace-of-mind for a job like this.
I had planned on adding this material to the right wall as well, but working around the wall braces seemed like too much of a hassle so we skipped it there.
I also added this vapor retarder below the wooden platform that we built over the floor drain and frame straightener, and I’ll cover that in the next video in this series.
Framing Back Wall and Adding Ladder Blocking
With the vapor retarder installed, we could get to framing the back wall, which was really just more of the same except we needed to add some blocking where the top plates landed between the floor joists above.
While the guys wrapped up framing the rest of the wall, I came back and added blocking where the walls for the CNC room would meet up with the exterior walls and, rather than going with the typical stud pocket that I would have used in the past here, I instead used this ladder blocking style, which saves a ton on materials vs. a stud pocket.
I could use up lots of short offcuts for this ladder blocking and the only difference will be when I go to add the plywood wall sheathing, as I’ll need to pay more attention to where this blocking is during installation.
The guys got the rest of the back wall wrapped up and, with that, we could call the exterior wall framing done.