
How To Build A Table Saw Cross Cut Sled with Stop Block & Dust Collection
Learn how to build a table saw cross cut sled, complete with a t-track stop block and hold downs plus a custom DUST COLLECTION hood! A cross-cut sled is one of the ultimate table saw jigs, allowing you to safely cut long parts to length.
Note: All links below are Amazon affiliate links
📦 Materials Used On The Crosscut Sled:
🛠 Tools Used On The The Crosscut Sled:

Process For Building A Cross Cut Sled For Your Table Saw:
Step 1: Break Down And Glueing Up of Plywood For The Cross Cut Sled
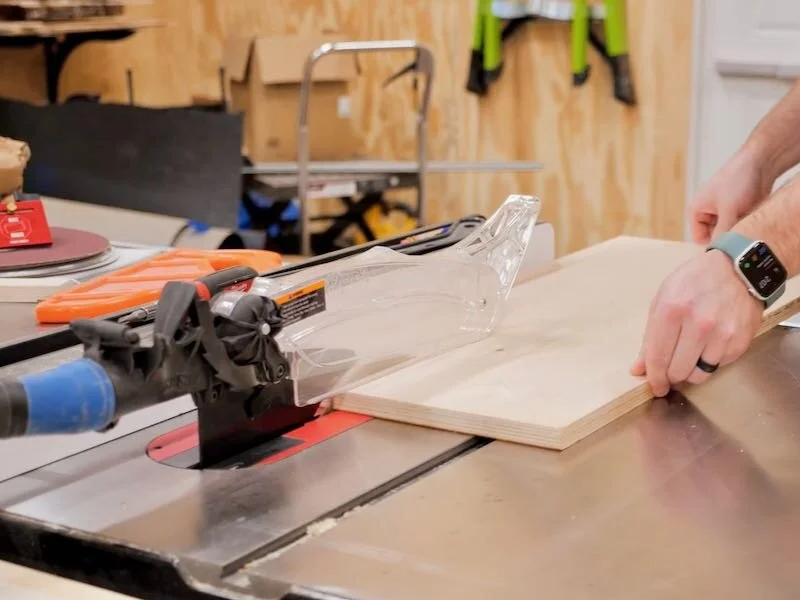
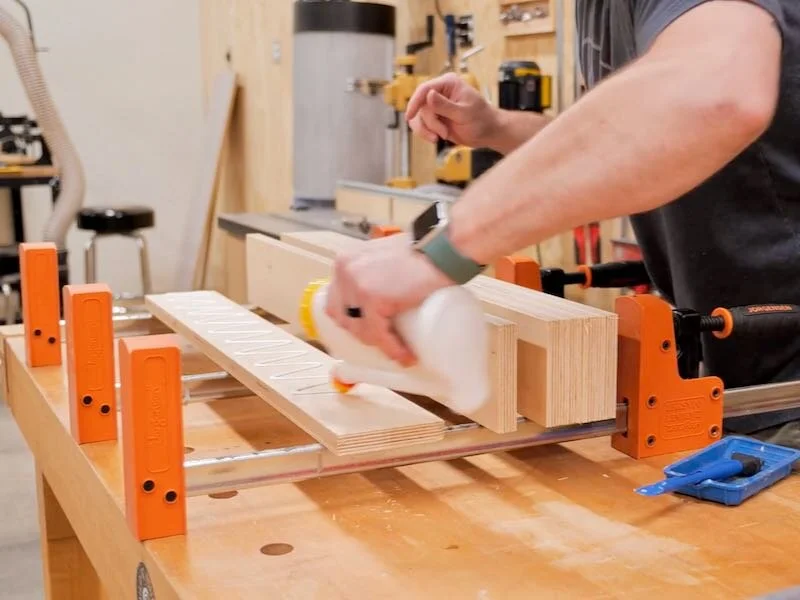
I started the crosscut sled build by ripping a piece of ¾” Baltic Birch plywood into strips at the table saw. These pieces would make up the front and back fences on the sled, and to help beef up these fences, I glued two of the strips together to form 1 ½” thick fences.
Also, in case you’re interested in building one of these sleds for yourself, I do have plans available here that include all of the specific dimensions I used.
Step 2: Cross Cut Fence Detailing
After the glue had a chance to dry, I took the fence blanks out of the clamps and then squared them up at the table saw, scraping off any excess glue squeeze out from one edge before doing so.
Once I had the edges cleaned up, I first cut the back fence to length by cutting one of my fence blanks roughly in half, and this was again because I was creating fences for two sleds.
I could then clean up the ends of the front fence, which I kept as long as possible, removing just enough material to square things up.
While I had my stop block set to length for the front fence, I also went ahead and cut the double t-track I’d be using on top of the front fence to length as well. I had to cut off a bit from one end of the double t-track to make sure the screw locations worked out for my fence size, but this aluminum t-track cut easily with my miter saw.
Next, I could get a slot cut into the top edge of the front fence to house the bottom portion of the double t-track. This piece actually helps to keep the fence straight, so I tried to keep the slot nice and snug, while also making sure the t-track was just shy of the face of the fence so it didn’t interfere.
Before screwing on the t-track, I went ahead and chamfered the edges of the fence at the router table, adding a heavy chamfer to the front edge of the fence. This chamfered area will give a place for sawdust to pile up without affecting the accuracy of the fence.
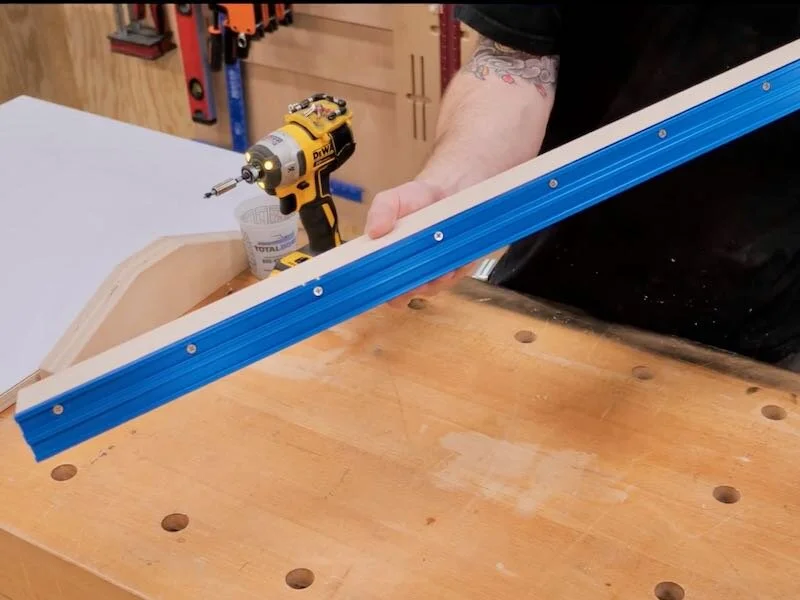
Finally, I could get the double t-track mounted to the fence, and I pre-drilled the holes with a self-centering drill bit then drove in some #6 screws.
Step 3: Laminating The Plywood Base Of The CrossCut Sled
With that, the fences were done for the time being, so I could get to work on the base of the sled. To help the sled slide across the surface of the table saw a little more smoothly, and also to improve its wear resistance, I decided to add laminate to the base.
When applying laminate to a piece like this, it’s important to apply it to both sides to keep the piece from warping, and, as luck would have it, I had two scrap pieces of laminate leftover from previous projects that were pretty much the perfect size for my sled.
After cutting the pieces to rough size at the table saw, I added contact cement to one face of the plywood base and the inside face of one of the laminate pieces and let the cement setup for about 20 minutes.
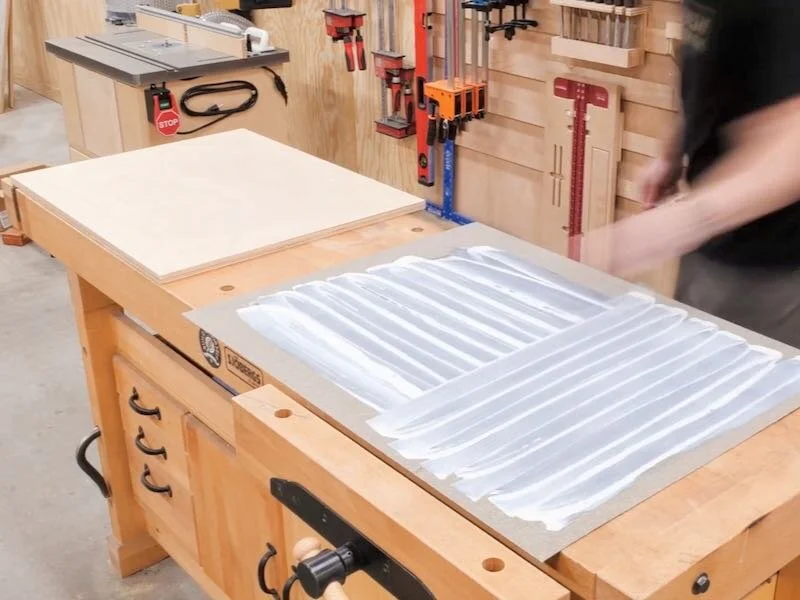
Once the cement setup, I added some aluminum clamps as spacers and then got the laminate positioned above the base. It’s important to get this exactly right before removing the spacers, because as soon as the two pieces touch, the contact cement will bond permanently.
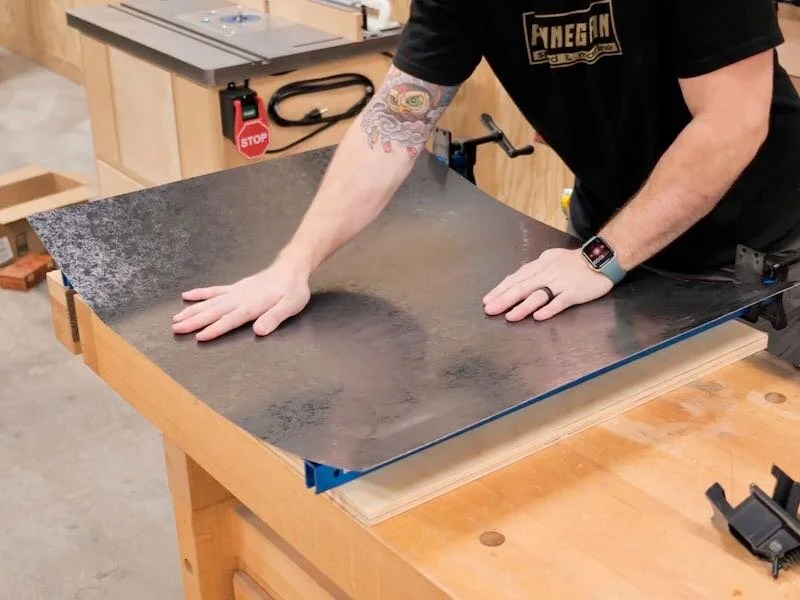
Luckily, I had plenty of overhang on this first piece of laminate, so lining it up was easy and, once I had removed the spacers, I used a pressure roller to help activate the contact cement.
I repeated the process for the other side of the sled base, but this time my piece of laminate was a much tighter fit. Luckily, using these clamps as spacers allowed me to get the positioning dialed in and I ended up with a good fit.
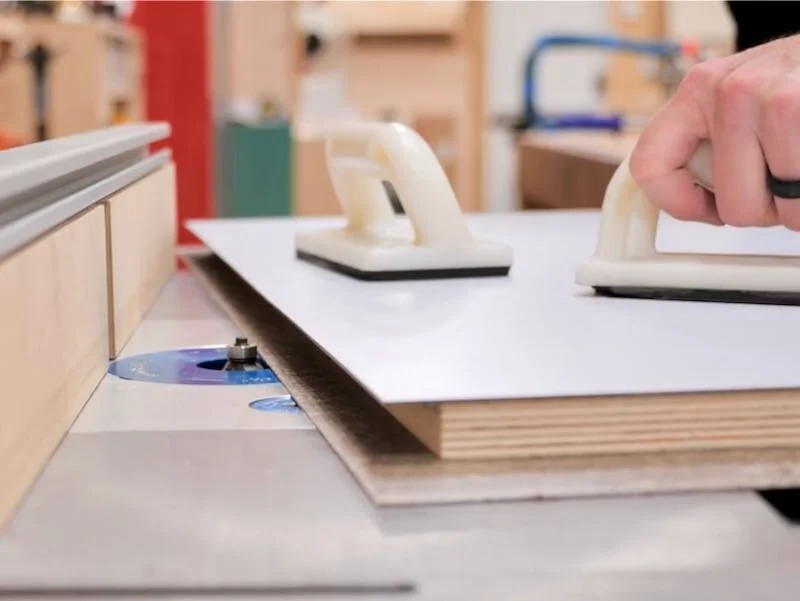
Next, I needed to get the laminate trimmed flush with the edges of the base and I initially tried to kill two birds with one stone here and used a chamfer bit to both flush up the laminate and add a chamfer.
Unfortunately, this particular contact cement has the tendency to gum up during routing and this left me with an extremely uneven chamfer, so I just swapped over to a flush trim bit to knock off the excess before adding the chamfer.
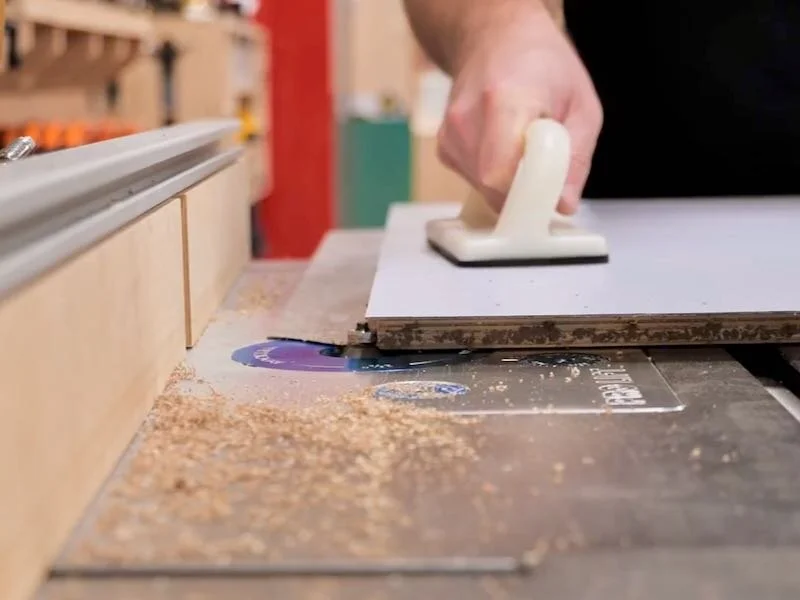
After flush trimming and scraping off the caked on adhesive, I chamfered the edges of the sled base and then sanded the edges of the base as well as the fences to remove any splinters and clean things up. Also, I cut off a little material from the back fence, and this was just to reduce the overall weight of the crosscut sled.
Step 4: Attaching The Miter Bars To The Cross Cut Sled

Next, I could work on getting the miter bars added to the base, and I went with these aluminum miter bars from Rockler. Now, if you’re on a tight budget, you can certainly make these out of scrap pieces of hardwood, but these aluminum miter bars have some definite advantages.
First, they are dimensionally stable, so they won’t expand and contract seasonally like wood runners. And second, these miter bars include little nylon set screws that allow you to dial in the fit with the miter slots on your table saw, giving you a completely slop-free fit.
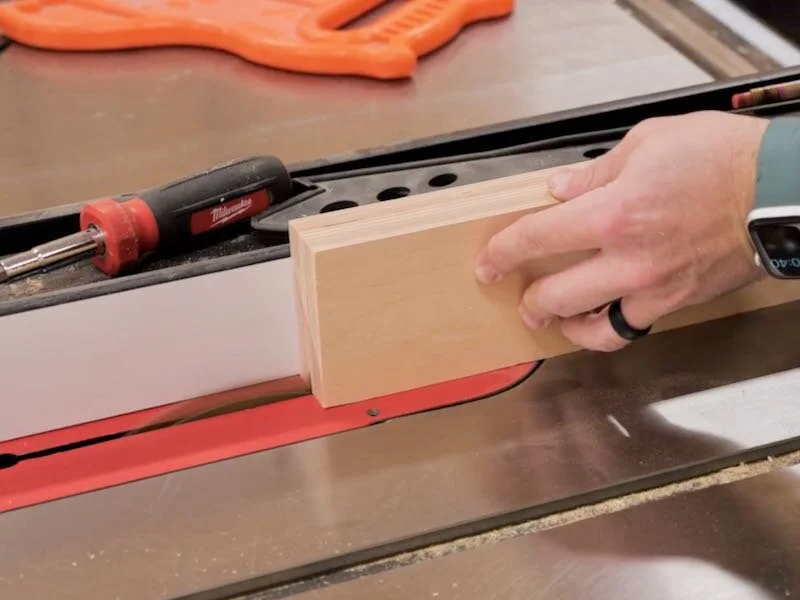
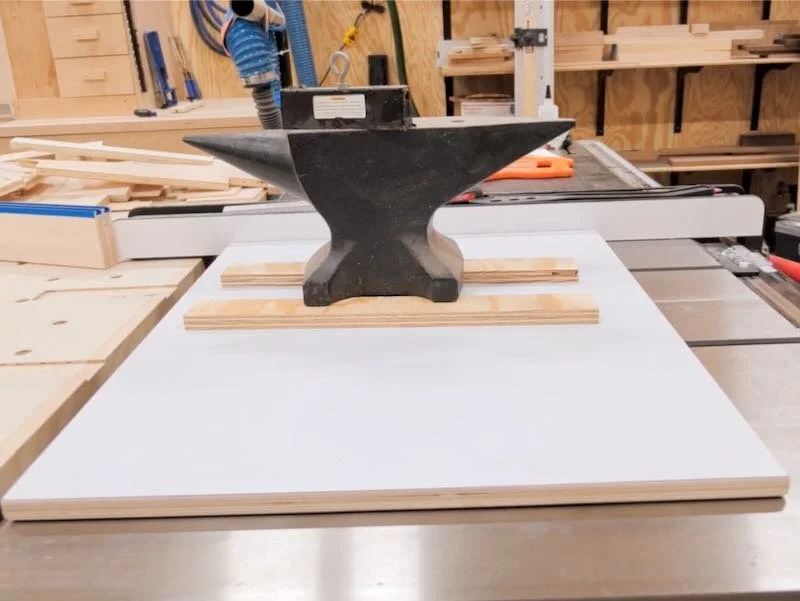
After dialing in the set screws, I set my table saw fence to match the positioning I wanted, added a few washers under the miter bars, and then added a few beads of CA glue to the top of the miter bars.
Finally, I dropped on the sled base, making sure it was aligned with the front edge of my table saw and the fence, and then added the heaviest thing in my shop, an anvil in my case, on top of the sled while the CA glue set up.
After the glue had a few minutes to cure, I moved the sled over to my workbench so I could get the miter bars permanently attached. These miter bars actually have three ¼-20 threaded holes on each of them, so I needed to drill matching holes through the sled base.
I center punched the holes and then drilled a locating hole through each of the hole locations, to transfer those hole locations to the top surface of the sled.
Next, using a Forstner bit, I drilled a recessed hole at each location, then followed this up with a countersink bit to remove the sharp edges from the laminate. Finally, I drilled an oversized through hole to finish things off then added a ¾” long ¼-20 bolt along with a lock washer to each hole location.
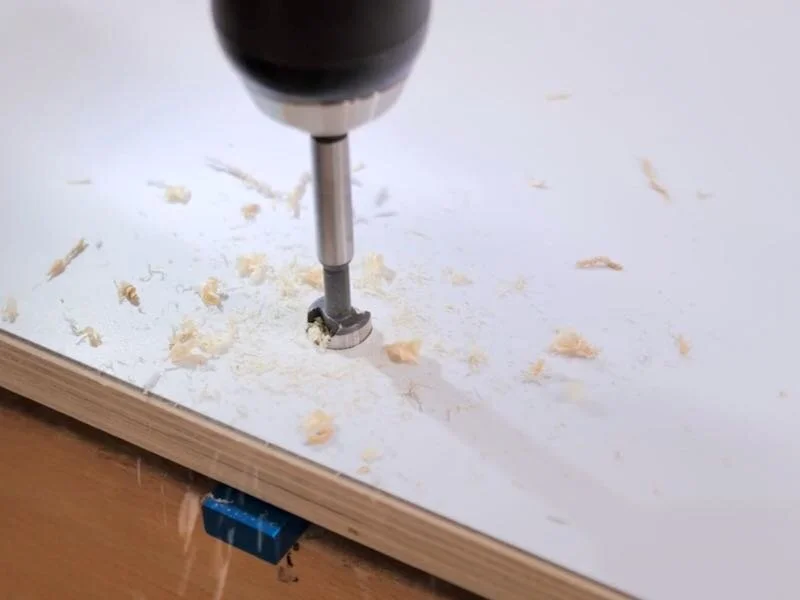
The finished result is a pair of very well secured miter bars and man did that countersink bit make these bolt holes look super clean. I also double checked that the sled slid well after adding the bolts and I had a great fit with no play.
Before getting the sled assembled, I decided to go ahead and add a few coats of my go-to polyurethane, TotalBoat’s Halcyon Clear, to help protect the sled from wear and tear. Halcyon is extremely durable and dries super quick, as it’s a water based finish.
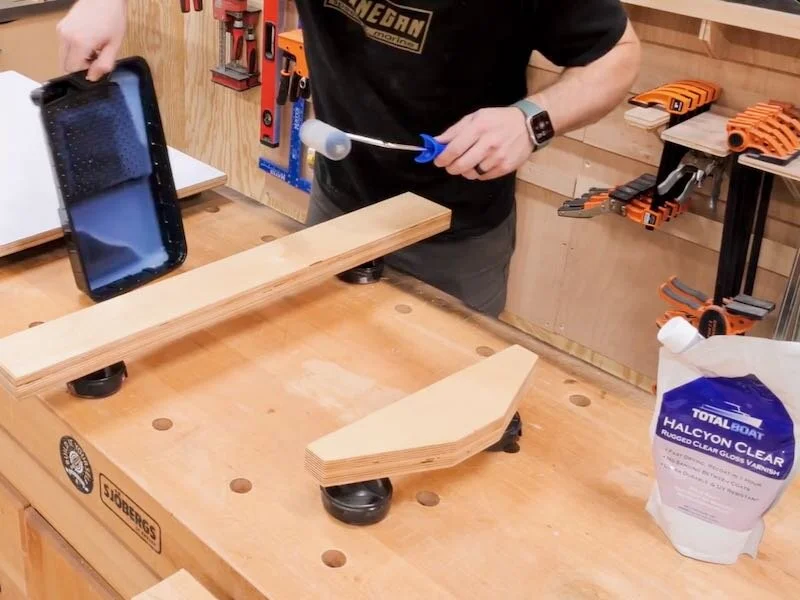
Also, one other note here, I only needed to apply finish to the edges of the sled base, as the laminate obviously doesn’t need any kind of additional finish.
Step 5: Adding T-track To The Cross Cut Sled
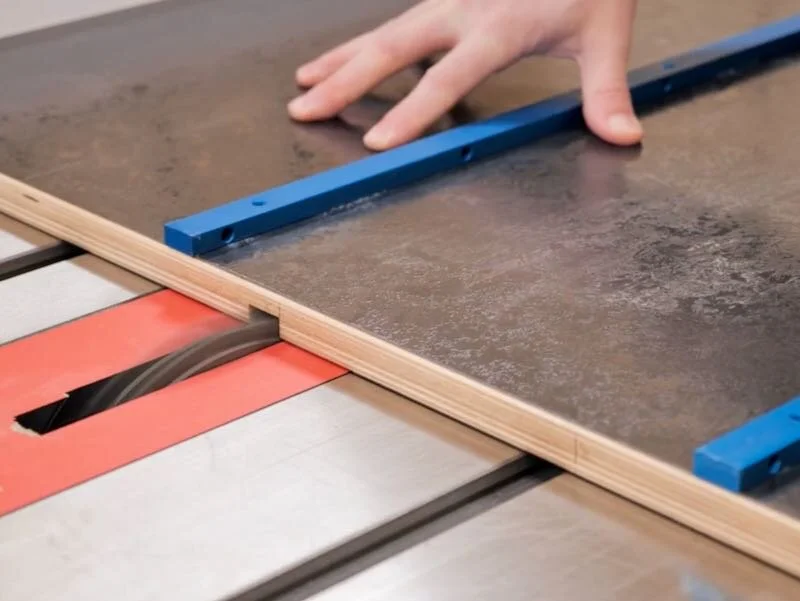
After the finish dried, there was one last thing to do before attaching the fences and that was to cut two grooves into the surface of the sled to house a few pieces of t-track. This t-track will serve a few functions on this sled, mostly as workholding while cutting, but also for jigs I plan to build onto this sled platform in the future.
I set up a ¾” dado stack on my table saw, marked out two locations on either side of the blade that were also equidistant from the blade, and then I could get the grooves cut, which went smoothly.
Next, I mocked up the fences on the base to figure out my t-track length, and I cut the pieces shorter than the distance between the fences so I’d have a place to remove the t-track accessories easily.
I cut the pieces to length at the miter saw and then drilled and countersunk holes at the drill press, and this was more of that t-track I accidentally ordered from Rockler which doesn’t have pre-drilled holes.

Luckily, I figured out that if I slowed the drill press way down to about 250 RPM, these 5-flute countersink bits worked a lot better in this aluminum without gumming up the bits.
Now, even with the ¾” thick base on this crosscut sled, there was not a lot of material left to screw into when attaching the t-track, and the shortest screws I had on hand would have still run through the underside of the sled.
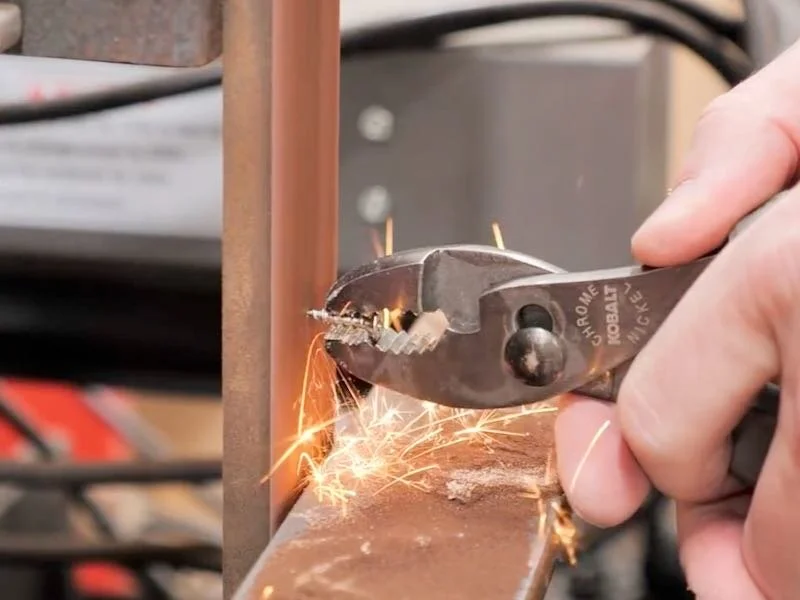
I needed to grind the screws down to a shorter length and my belt grinder made quick work of this task. I actually used the little grooves on the jaws of this pair of pliers to help set a consistent grinding depth and I ended up with screws with the perfect length for this sled.
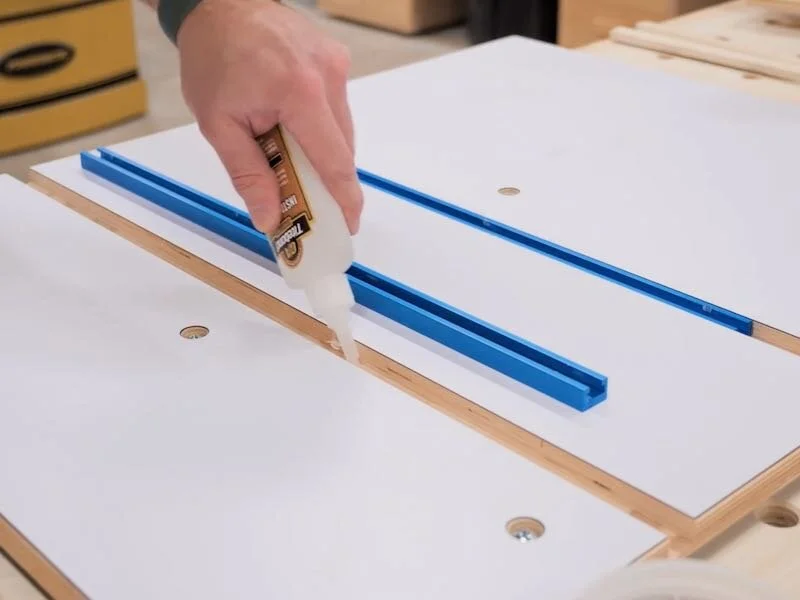
When attaching the t-track to the sled, I did add a little CA glue to help create a stronger bond, again because the screws had so little material to grab on to, and I was also really careful when driving the screws to keep the holes from stripping. Luckily, this impact driver has a small screw setting that makes this easy to manage, plus this Baltic Birch has a ton of screw holding power.
Step 6: Attaching Fences To The CrossCut Sled
With the t-track installed, it was finally time to start getting the fences attached, and I started by raising my table saw blade through the sled base to establish exactly where the blade would intersect with the sled.
With the blade location established, I could attach the back fence, centering it with the blade and flushing it up with the back edge of the sled. I made sure to clamp the fence in place so it didn’t shift around while adding the screws and I also countersunk the holes to ensure the screw heads didn’t protrude and scratch up my table saw.
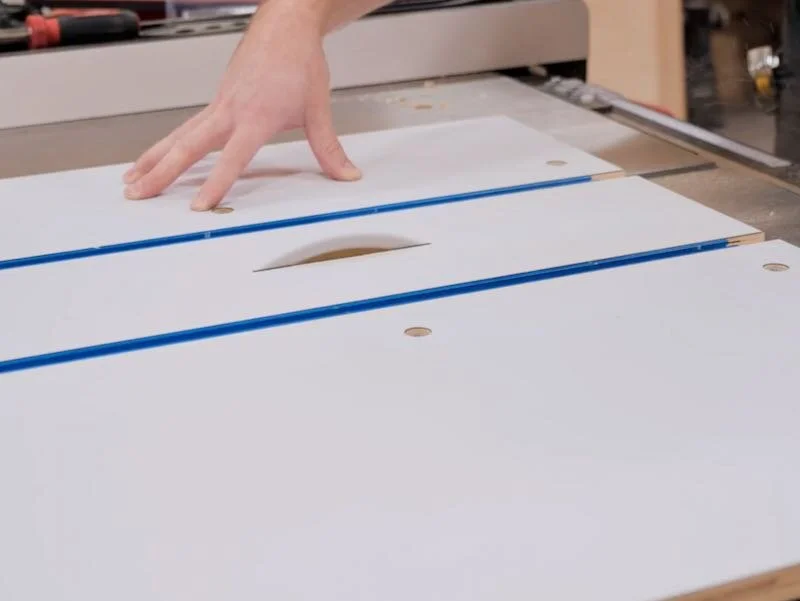
Finally, I could raise the blade and cut all the way through the back half of the sled, stopping just short of the front edge of the sled.
Next, it was time for what is really the most important part of any crosscut sled build, adding the front fence. If this front fence is out of square, it makes the sled completely useless, so it’s definitely important to take your time and get this dialed in.
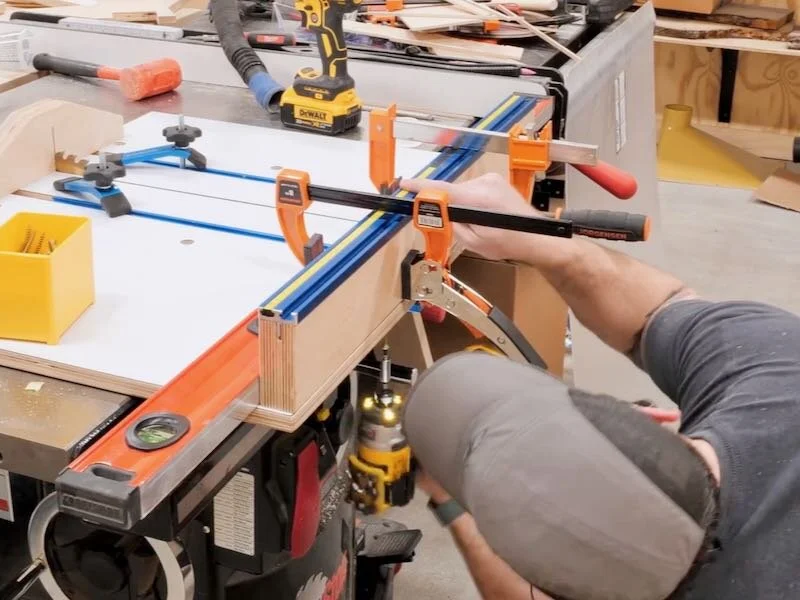
I started by flushing up the fence with the front edge of the sled base, clamping it in place, and attaching one end of the fence to the base, again pre-drilling and countersinking the screw hole.
Using my longest square, I squared the fence to the kerf I had cut into the surface of the sled, clamped the other end of the fence in place, and then drove in another screw.

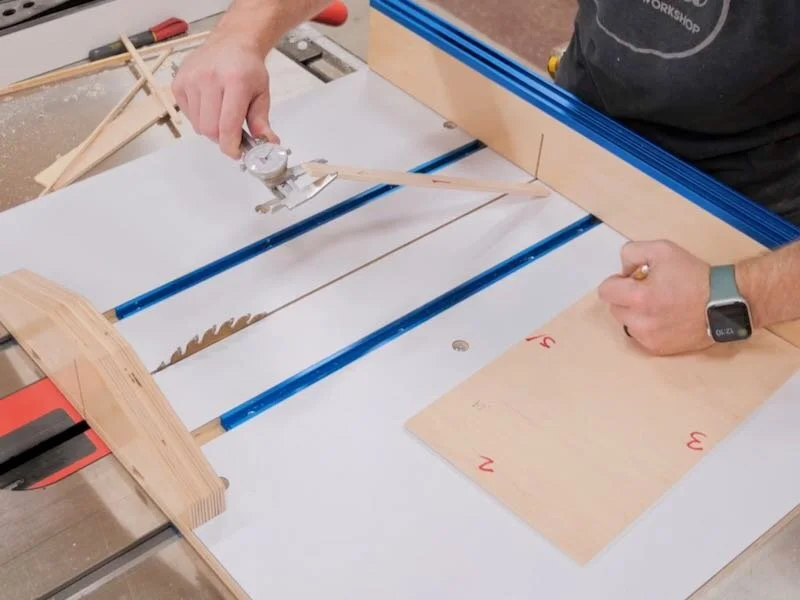
Now, if you’ve watched any other crosscut sled build videos, I’m sure you’ll know what’s next, and that was calibrating the fence’s squareness using the five cut method. This brilliant technique was created by William Ng and has made dialing in your crosscut sled fence a breeze.
Essentially, this technique involves making five cuts on a scrap piece using your crosscut sled, and these five cuts multiply any error in the squareness of your fence, allowing you to more easily measure and then correct this error.
This technique does involve a good bit of math and I actually found a web-based calculator that does this math for you, which I’ll link to here.
My fence was only off by about seven thousands of an inch over 24 inches, but I had bought a set of feeler gauges just for this build, so I figured I’d put them to use and try to get the fence even more accurate.
To do this, I clamped a scrap piece of wood in front of my fence, since I needed to move my fence forwards, and I placed a feeler gauge matching the distance I needed to move the fence between the scrap block and the fence.
Next, I removed the screw holding that end of the fence in place, moved the fence against the scrap block, clamped it down, and then drilled a new screw hole and drove in a screw. This is critical, as driving the screw back into the previous hole would likely move the fence back into its previous position.

After readjusting the fence, I repeated the five cut method and ended up with an error of roughly one thousandth of an inch per foot, which is plenty square for anything I’ll be building.
One thing that I forgot to do when I finished dialing in the fence and ended up doing later was adding more screws to the underside of the fence, which just helps secure the base to the fence and also will keep the fence straight over time.
Step 7: Adding Accessories To The Cross Cut Sled
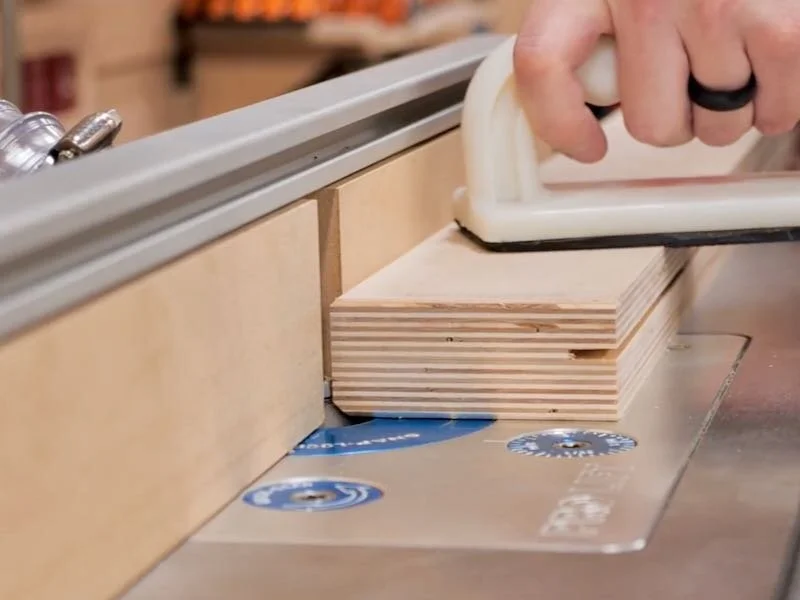
With that, the fence was dialed in, so I could start getting the rest of the accessories added to the sled, starting with a block to cover the area where the blade exits the back side of the sled. I cut four small pieces of plywood using the sled and then glued the pieces together to form the block.
While the glue dried, I continued working on the sled by adding the tape measure to the double t-track. The tape measure kit I used, which is from Rockler, includes this plastic insert which the tape measure adheres to and this insert fits into the t-track.
Now, this thing was an extremely snug fit. I had a heck of a time getting it seated, so much so that I just turned off the camera, but I eventually figured out that cutting the piece in half and sliding it in from both ends made the process a lot easier.
After getting the plastic insert added, I could add the peel and stick tape measure, but first I needed to figure out how I wanted to reference this stop block I’m using, which is produced by my buddy Jonathan Katz-Moses.

I was initially thinking I’d just reference the edge of the stop block, but I instead decided to make more work for myself and I actually cut out an opening to house the hairline indicator that came with the tape measure kit.
After adding the indicator, calibrating the stop block with the tape measure was as simple as putting a block of wood with a known measurement between the blade and the stop block, lining up the tape measure with that measurement on the indicator, and peeling off the backing from the tape measure and sticking it to the plastic insert.
I will probably widen the opening in the future to allow fine adjustment if I change my blade, but as is, the measurements are dead on and, as you can see, I repeated the same process on the right end of the fence as well.
Step 8: Adding Dust Collection To The CrossCut Sled

With that, the sled was functioning great but one thing I had noticed when making cuts with the sled was the amount of dust coming off as I was cutting. This makes sense, as this saw pulls the dust through the zero clearance insert plate, which is entirely covered up by the sled.
I use the dust collection blade guard with this table saw, so I already had a second hose running on the top of the table saw and I figured I could whip up a quick dust collection hood that would both make this crosscut sled safer to use but also improve the dust collection.
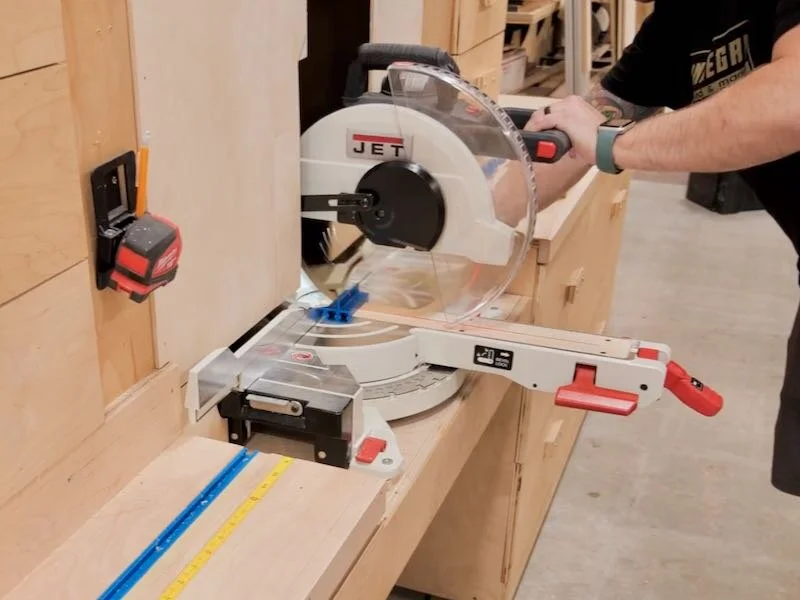
I started by taking some measurements for the pieces I’d need and then ripped a few pieces of plexiglass and plywood to width at the table saw and cut them to length at the miter saw.
Now, I knew this wasn’t going to most likely be the final version of the hood, so I just quickly assembled it using screws and these pieces of plywood to give the screws something to hold onto, and then I could test fit the hood.
I realized at this point that the back fence was of course lower than the front fence because of the double t-track, so I added a few spacers there, and I also wanted the hood high enough to cut pretty much any thickness of wood that I’d typically use, so I added additional spacers at both the front and back ends.
Next, I laid out hole locations for the t-slot bolts which would attach the hood to the t-track and then drilled those holes.
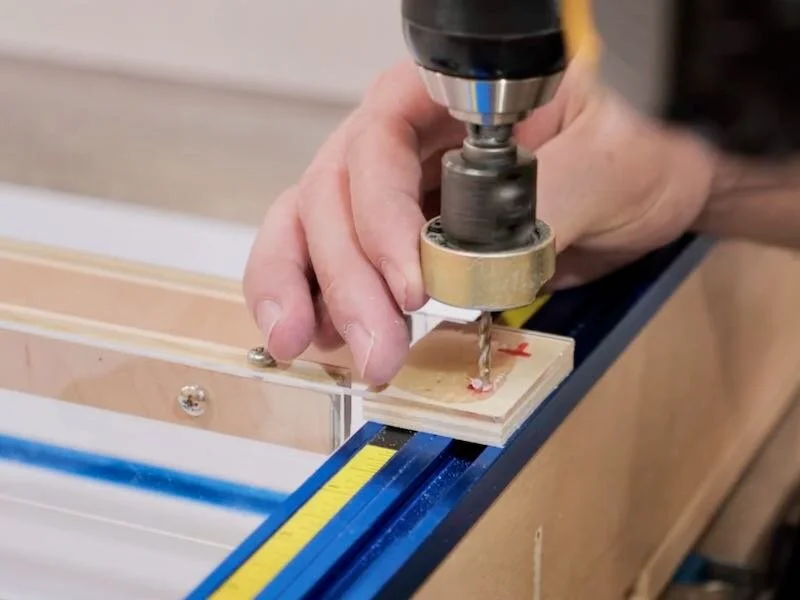
I modeled up a custom dust port in SketchUp and then quickly 3D printed it, which only took about 20 minutes. After confirming the fit with the dust hose I use for the blade guard, I drilled a hole through the top of the hood to accept the dust port.
Finally, I got the hood reinstalled on the sled, temporarily screwing it to the back fence just for testing, and then I made a few test cuts.
I ripped the ¼” acrylic into strips at the table saw, cut them to length at the miter saw, and then I could get the hood assembled. I actually changed my mind after seeing the E6000 adhesive needed 24 hours to cure and switched to CA glue instead, but if I had to do this again, I’d probably use acrylic cement and as well as flame polish the edges to get an even clearer finished hood.
I had a bit of an overhang on the top piece after assembly, so I flushed it up at the router table, and then I drilled another hole for the dust port I had printed.
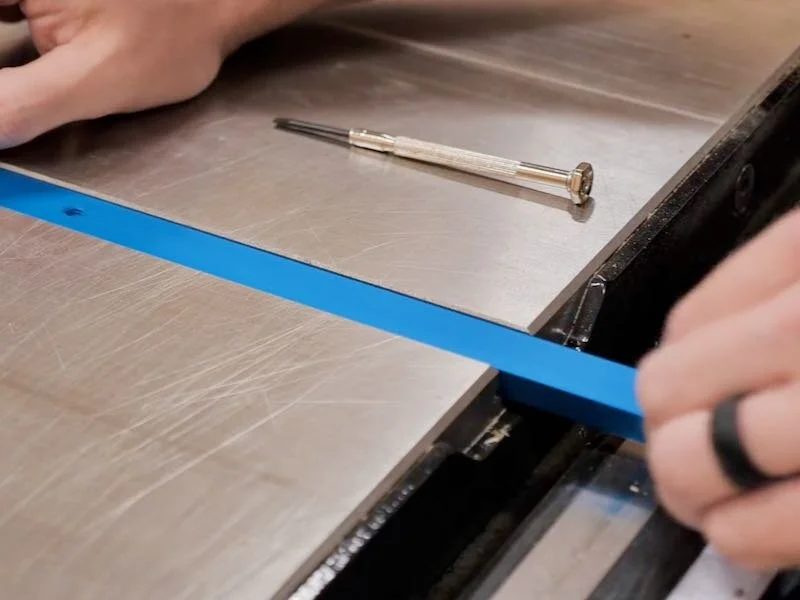
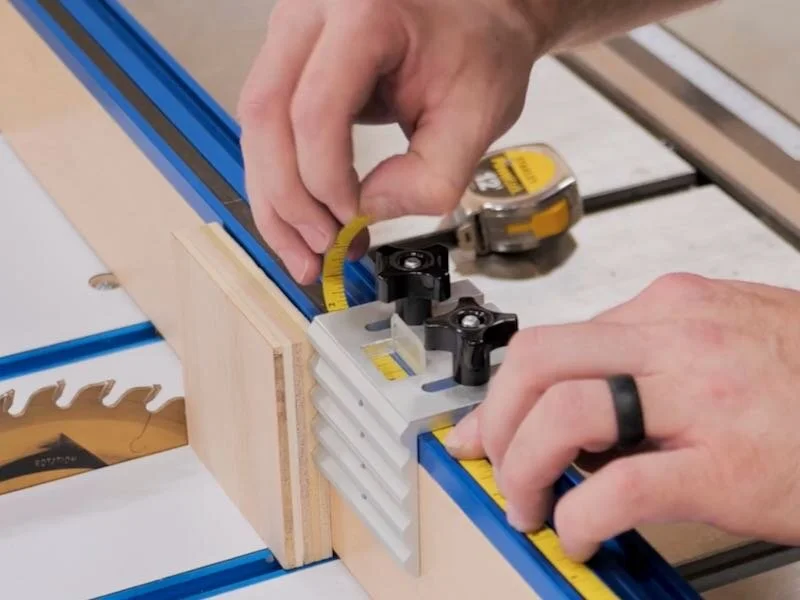
As I mentioned, I planned to attach both ends of the hood with t-slot bolts, so I removed the back fence from the sled and routed a groove to accept a piece of t-track. I used this super nifty gauge from Rockler to set the fence location so the groove would be centered on the fence, and I also used the gauge to set the depth of the groove, and I ended up with a perfect groove after a few passes.
I cut a piece of t-track from a scrap piece I had lying around, drilled and countersunk holes off camera, and then attached the t-track after reattaching the back fence. Luckily, the screws pulled the fence right back into place.
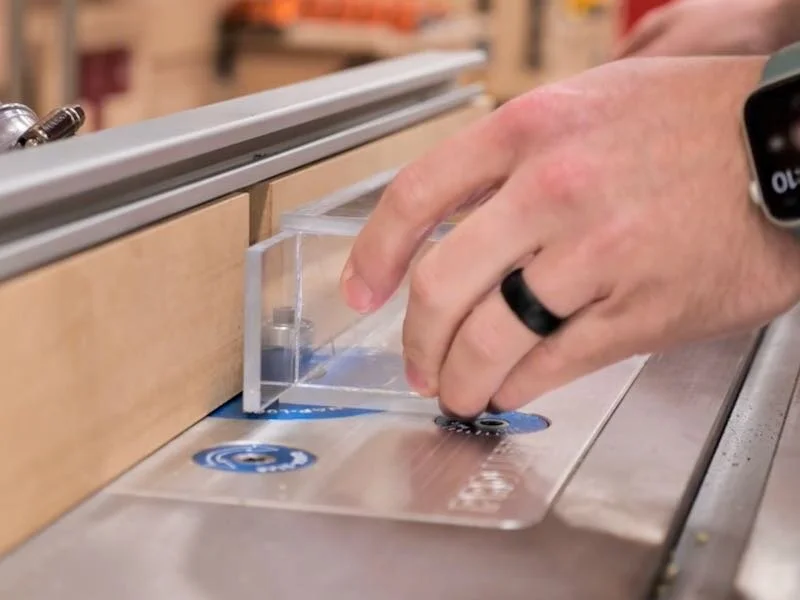
Once again, I needed a little spacer for the back end of the hood, which I cut using the sled, and then I drilled oversized holes at both ends of the hood for the t-slot bolts.
Finally, I could reinstall the hood and test it out and it worked great, and this definitely keeps most of the dust down and keeps anything from flying up off the blade and hitting me in the face.
In this lower position, the hood is about 1 ¼” off of the bed of the sled, which is fine for most of the pieces I cut, but I decided to make a few spacer blocks to allow me to quickly raise the height of the hood if I’m cutting thicker stock.
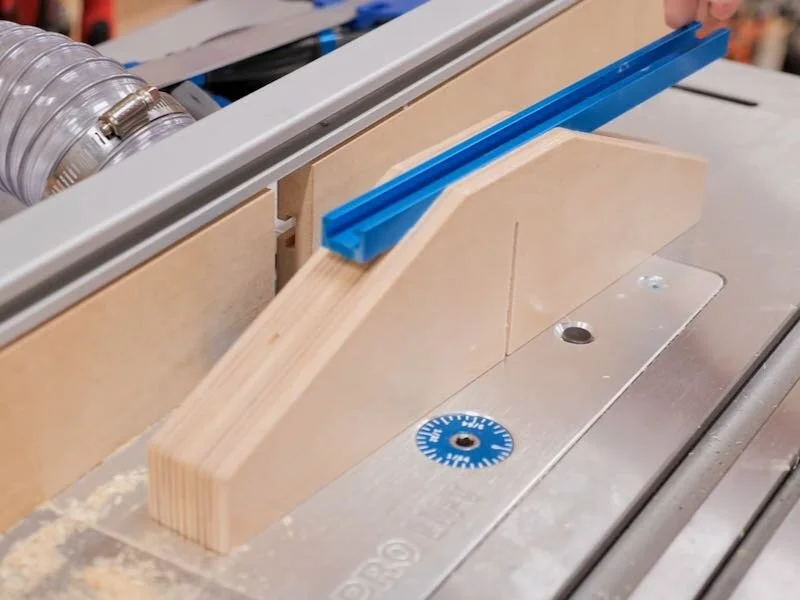
The last thing to add to the sled was the safety block which covers the blade as it exits to back side of the back fence, but first I needed to get it cleaned up and shaped a bit at the spindle sander.
I also went ahead and pre-drilled mounting holes for these super long 4 ¾” screws which I luckily already had on hand, and then I could get a little red paint in the form of TotalBoat Elixir added to the block to really make sure people know not to put their thumbs on this thing.
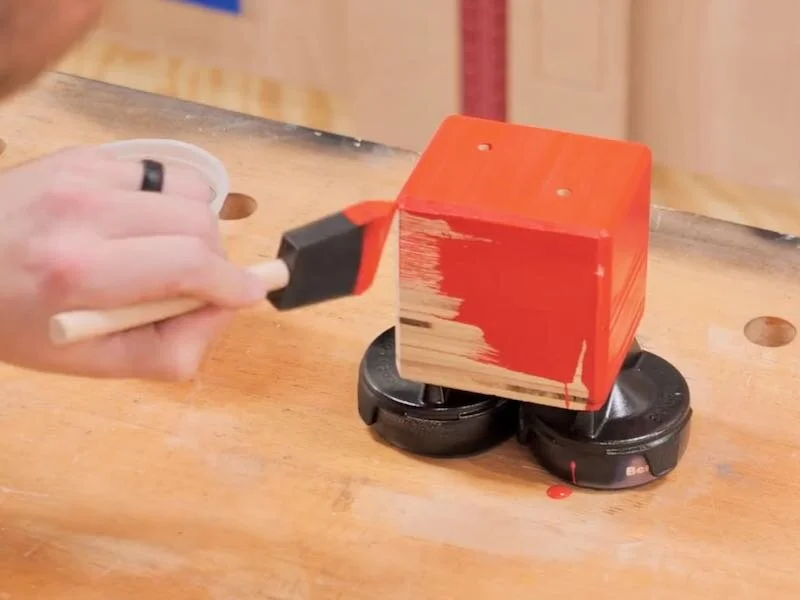
Once the paint dried, I clamped the block to the back of the sled, centered around the blade, and then drove in the screws. I also threw on one of my stickers to really make the sled mine. Finally, I could raise the blade all the way to make kerf cuts in both the dust hood and safety block.
Last but not least, I added some paste wax to both my table saw as well as the bottom of the sled and let me tell you, this thing is like butter now. And with that, I could call this crosscut sled complete.
