
How To Build An Easy DIY Modern Baby Gate or Pet Gate 👶
I built this super simple DIY modern baby gate (or pet gate) to keep my little dude from taking a tumble down the stairs! This was a back to basics build and could easily be completed with a miter saw, drill, and sander. I used a few extra tools here and there (jointer and planer to get things extra flat), but they were really entirely optional.

💰 Want to help support my new shop build out?
Note: the links below are affiliate links.
DIY Baby Gate Build Process :
Step 1 : Assemble The Baby Gate Mounting Block
The first thing to work on was this mounting block, which I needed to add so that I could mount the gate square to the top of the steps without it interfering with the railing. This was basically just a big chunk of wood, and the cheapest big piece of wood I could come up with was a Southern Yellow Pine 4x4 sandwiched between a few pieces of Poplar 1x4s.
After cutting the pieces to size at the miter saw, I ran the 4x4 pieces over the jointer and planer to flatten them out a bit, but this was really an optional step and wouldn’t have been necessary if I found better quality 4x4s.

With the pieces flattened, I glued up the four pieces into one big chunk. I made sure to keep the pieces aligned when clamping everything together, although I left the pieces a little oversized so I could trim them to final size later. Also, the piece with the angle cut on the end is where the block meets up with the baseboard trim, and that angled cut matches the baseboard.
After the glue dried, I removed the clamps and went back to the jointer to flatten the block. Again, if you don’t have a jointer, you could just skip plane this piece with a planer, or even just belt sand it smooth. It doesn’t really need to be perfectly flat, as the gate hardware I used has a ton of adjustability in case things are slightly off.
Once the piece was nice and flat, I trimmed it to final length at the miter saw, making sure to cut the end with the angled piece to the correct length, so that the angle would line up with the baseboard.
Step 2 : Drill Holes In The Baby Gate Mounting Block
Next, I laid out the hole locations for these massive structural screws I used to mount the block to the wall. I of course wanted this gate to be extremely secure, and with three of these screws, the entire wall moves when trying to move the mounting block. Realistically, two screws would have been more than sufficient here.
I drilled recessed holes for the screws using a Forstner bit, and then drilled a clearance hole most of the way through the block, to make it a little easier to drive in the screws.
After drilling the clearance holes, I ran the screws all the way through the block, so that any splintered pieces could be removed from the back before painting.

With that, the mounting block was basically done, so I could move onto the gate itself.
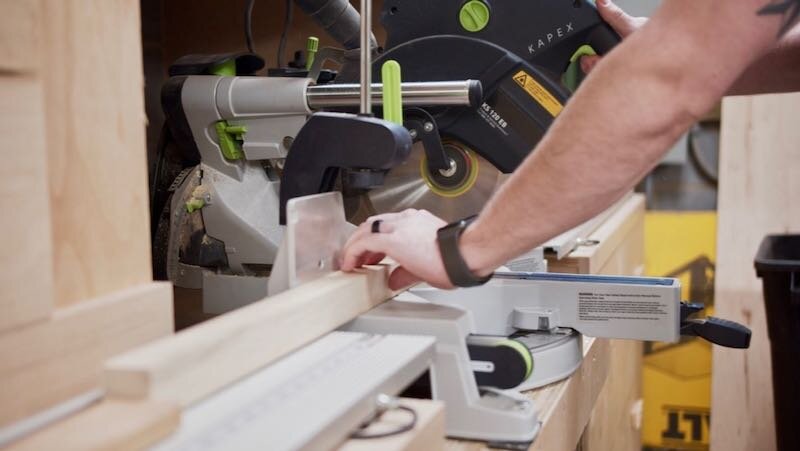
Step 3 : Cut Baby Gate Slats To Size

The gate is made up of a bunch of pieces of Poplar 1x2s, and I cut the pieces to length at the miter saw. It’s a really good idea to set up some kind of stop block here, just to make sure your pieces are super consistent.
Step 4 : Assemble The Baby Gate Frame and Slats
The assembly process for the gate was super simple, I just glued and screwed the pieces together. I started by attaching the two uprights to the top and bottom slats, and I was extremely careful when doing this, checking for square multiple times. Basically, these first two slats will dictate the position of the rest of the boards, so it was important to get this right.
I wanted all of my screw locations to match for aesthetic reasons, so I measured out the locations before driving the screws.
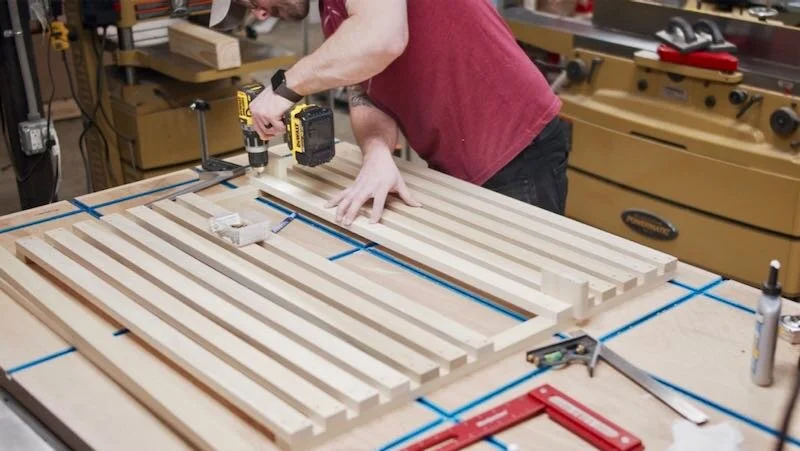
I used small 1 ¼” trim head screws, which have a really clean finished look, and just worked my way up the gate, using a few offcuts of the Poplar boards as spacers.
I worked my way from the outside in, which ended up working out well since the gap for the centermost slat was ever so slightly bigger than the rest of the slats, I think due to the fact that these boards were slightly narrower than I had accounted for. By working my way towards the center, it allowed me to center that last slat in the remaining space, making the slight difference disappear visually.
Step 5 : Add Filler Pieces For Mounting Hinges

After getting all of the slats added, I needed to add a few extra filler pieces where the hinge hardware mounted. The screws run through the center of the hinges into what would have been an empty space between the slats otherwise. I just glued in a scrap piece of Poplar, cut it flush with my flush trim saw, and then flushed up the face with my block plane.
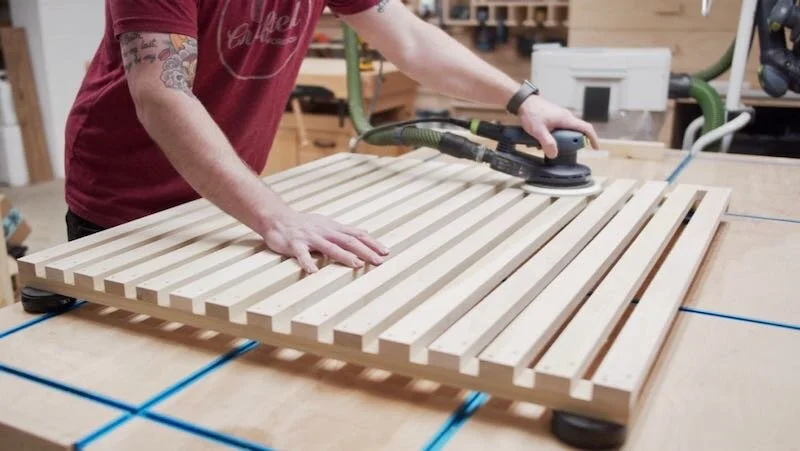
Step 6 : Sand and Apply Finish To Baby Gate
With that, the gate was basically done, so now came the tedious task of getting it ready for finish. Any time there’s this many slats on a project, it becomes a real pain to get everything smooth with no sharp edges.
After sanding the gate, I moved on to getting the mounting block ready for finish. I filled any knot holes with wood filler and also chamfered the outside edges with my block plane before sanding it up to 180 grit.
The last piece to cut before finishing was this little length of 2x2, which would be where the gate latch would be mounted.
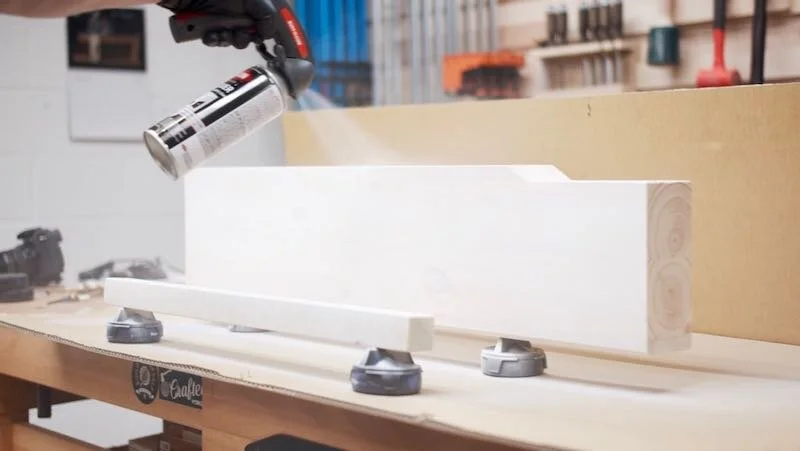
For the finish on that mounting piece and the mounting block, I went with a white spray lacquer, as I wanted these pieces to blend in with the wall and trim. I’m really liking this tinted spray lacquer, as it dries incredibly fast and leaves a really nice surface finish. That said, the fumes are horrendous, so make sure to spray it in a well ventilated area with a respirator.
For the finish on the gate, I went with a clear spray lacquer, which again sprayed on really nicely but also had some pretty terrible fumes. Lacquer also tends to need a bunch of thin coats to build up a nice finish, so try not to get impatient and spray on too much in one coat. Otherwise, you’ll end up with drips.
Once the finish dried, I could head back to the new house and get the gate installed.
Step 7 : Mount Baby Gate Mounting Block

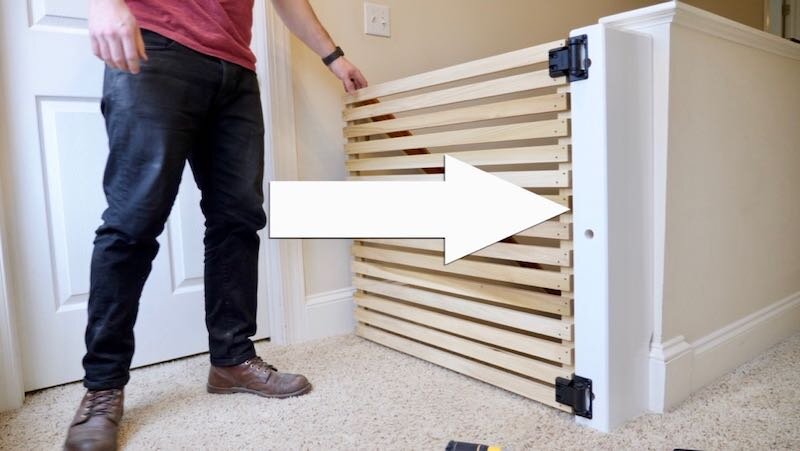
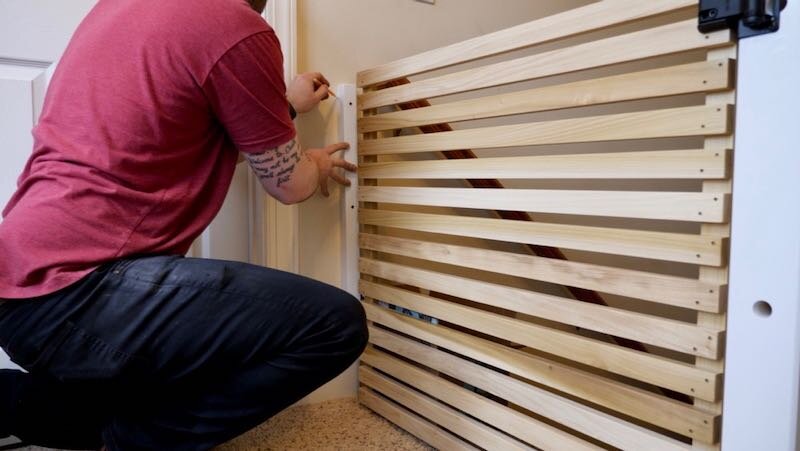
First, I attached the mounting block to the wall with those structural screws, making sure I was driving them into a stud. As you can see, this half wall isn’t exactly plumb, so I had to mount the block slightly out of parallel, but I really needed to gate to be level in order for it to work properly.
Step 8 : Mount Baby Gate To Mounting Block
Next, I could get the hinges mounted to the gate. These hinges are meant for an outdoor gate, but they worked fine indoors and I think they look great, plus they automatically close the gate behind you.
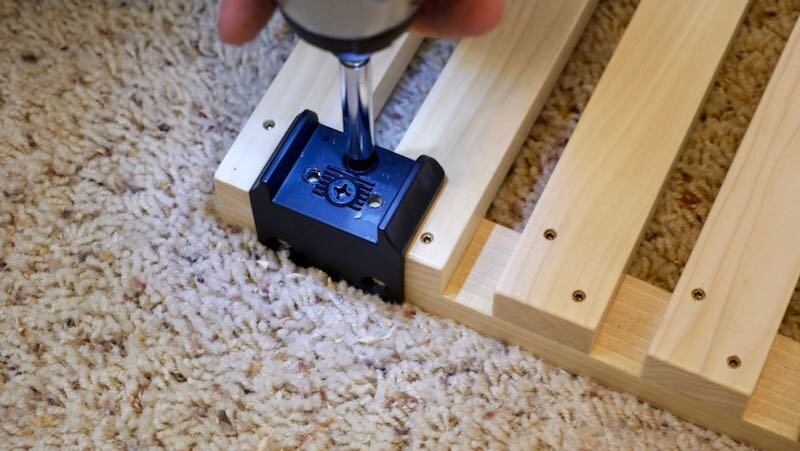
I first mounted half of the hinge to the gate itself, marking the location then disassembling the hinge to mount it. I made sure to pre-drill the holes to avoid splitting and attached the hinge with the included screws.
Once the hinge was attached to the gate, I reassembled the hinge and put the gate in place, using a ¾” thick board below the gate to provide some clearance.
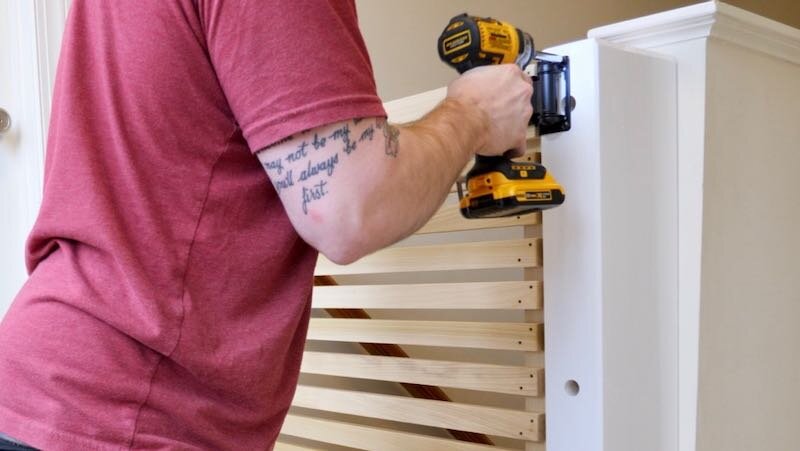
I marked the hole locations on the upper hinge, pre-drilled, and then drove in the included screws, then removed the spacer and repeated the process on the lower hinge.
After attaching the two screws on the front of the hinges, I added the screws through the side of the hinges, opening the gate first to gain access to them. Also, as you can hear, my little dude isn’t a huge fan of the sound of the impact driver.
Step 9 : Mount Latch Block and Attach Latch To Baby Gate
Next, I drilled holes in the mount for the latch, first drilling recessed holes for the screw heads then drilling through holes.
I then marked out where the piece needed to be mounted on the wall, and then drove in screws into the wall to mark the location for the drywall anchors.
I removed the piece, drove in the drywall anchors, and then remounted the piece to the wall. By the way, I’m loving these self-drilling drywall anchors, super easy to install.
Next, I installed the latch striker on the gate. I realized I should have added one more filler block here to allow me to add all of the included screws, but I figured three screws is still plenty strong for this application.

With the striker installed, I marked the location for the latch and then removed the piece from the wall to install the latch, since I couldn’t get my drill that tight to the wall.
After getting the latch mounted, I could test it out and it worked perfectly.
Step 10 : Mount Gate Stop To Baby Gate

The last piece to install was this gate stop, which helps keep the gate tight against the latch, making it harder for any baby fingers to open. It also fills in some of the gap between the latch mount and the gate.
Once that was installed, I could call this project complete!
Finished DIY Modern Baby Gate


Hopefully you enjoyed reading about how to build a DIY modern baby gate or pet gate, and please let me know if you have any questions in the comments section below! This was a quick project that really came together nicely, and I think the finished baby gate looks miles better than any of the commercially available options.
If you’d like to see more of my woodworking projects, click the highlighted text! Check out the Tools I Use page to learn more about the tools I recommend. Last, if you want to help support Crafted Workshop, check out my woodworking plans. Thanks and, until next time, happy building!