FLOOR FRAMING & I BENT MY TAILGATE! // Not So Tiny House Build Part 4
Learn how to frame a floor system, including assembling all of the joists, attaching them to the girders with hurricane ties, and finally sheathing the floor with Advantech sheathing! Welcome to part 4 of the (Not So Tiny) Tiny House build series, where I'm building a house in the woods from start to finish!
🛠 Tools Used On The Closet Cabinets (affiliate):
How To Frame Out The Floor Of Your House:
In case you missed the post, we got the concrete footings poured and built the girders, and now we could move on to getting the floor system framed.
Step 1: Obtain Lumber For Floor Joists
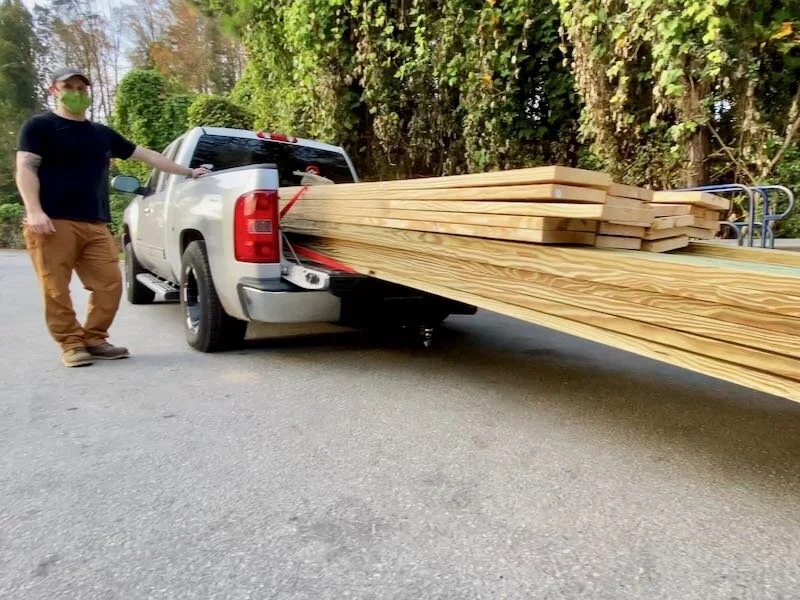
First, though, we needed to pick up the lumber for the floor system framing and this ended up turning into a saga of its own. I tried putting all of the lumber in the bed of my truck which was not the best idea. A friend came with another pick up truck to split the load we me.
Step 2: Mark The Layout Of The Floor Joist Locations
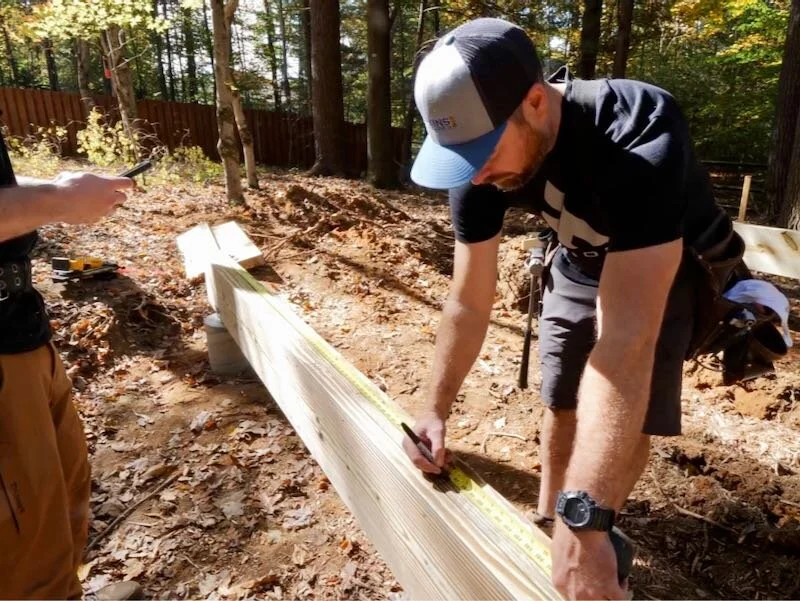
After finally getting the lumber unloaded back at the house, we could work on marking out our layout for the floor joist locations, and we ran into another slow down here.
Once we confirmed the toilet location would work with unmodified joists, we could move on to marking the layout and Erik had a few tips here as well.
Once the layout was marked out on both girders, we could finally get some boards moved back to the site, get them cut to length, and then start getting the joists set in place on the girders.
Step 3: Set Both End Joists And Attach A String Line Between Them
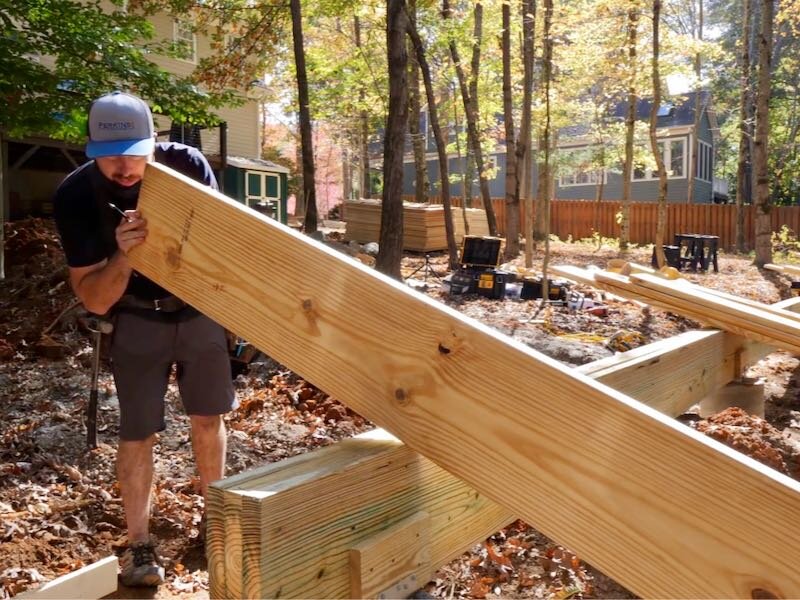
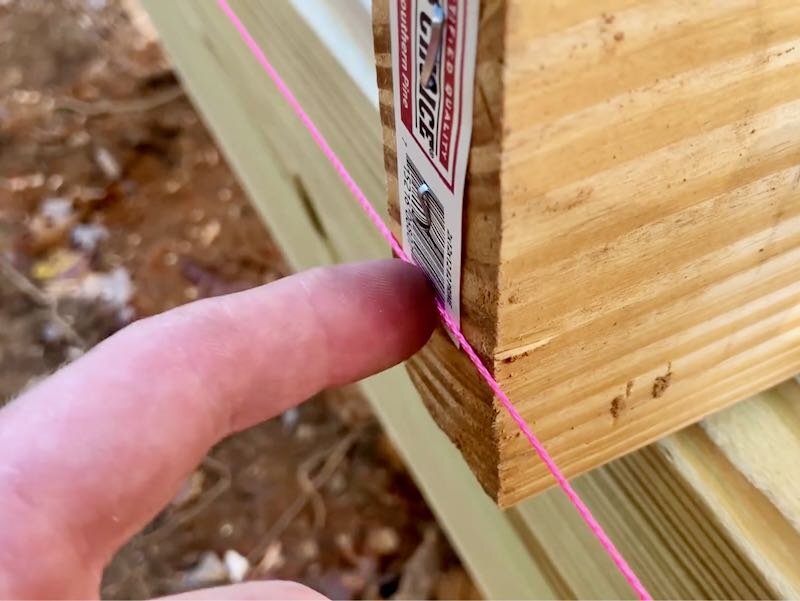
After getting one joist set at each end of the building, we set up a string line running across the ends of those joists, which we could use as reference when setting the rest of the joists.
We wanted the ends of the joists just touching the string here, and this would ensure the ends of each joist were all perfectly in line.
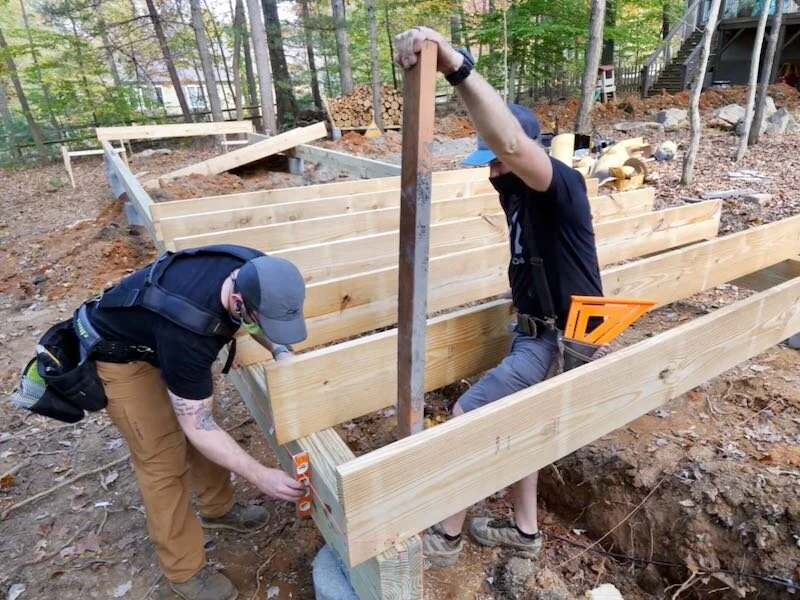
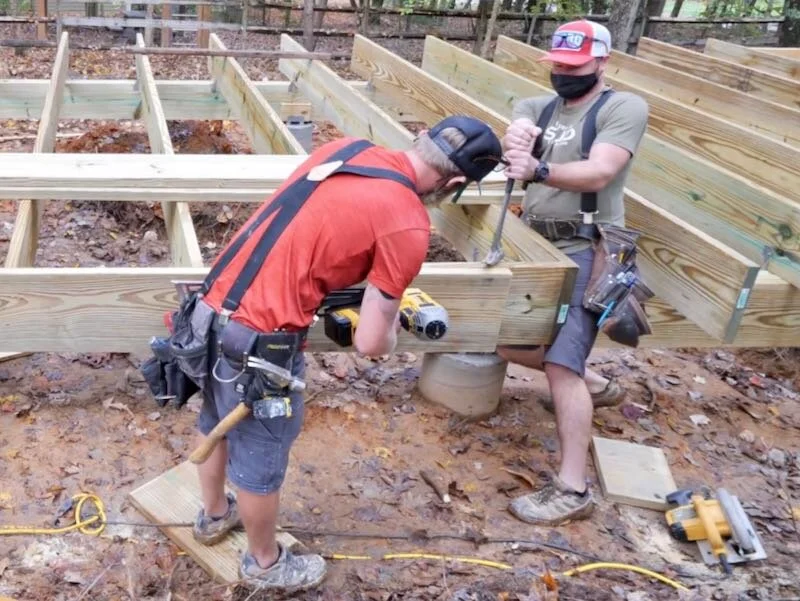
One other thing we noticed at this point was that the end of this girder had a slight twist to it and wasn’t perfectly plumb. To fix this, we attached a long board to the girder to give us some leverage and were able to pull the girder into plumb before reattaching the joist.
We set the rest of the 12 foot long joists at the other end of the building and then called it a day, since the lumber loading fiasco had set us back quite a bit.
Step 3 continued: Attach All Remaining Joists
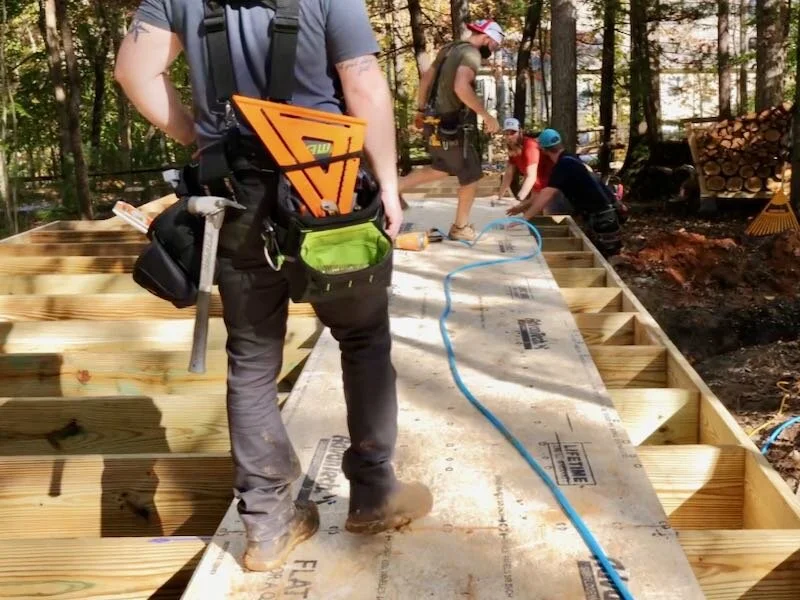
The next day, we got back to work and finished setting the rest of the joists in the center section of the house, and we were joined by two more members of the Perkins crew, Ray and Jason, who also have their own channel, the RayJay Builder Buddies.
It was pretty crazy how much faster things went with a few more sets of hands, and Ray and Jason got to work cutting the center joists to length while Erik and I set up another string line.
These center joists are longer than the joists at each end of the building. The overhang on the back side of the house creates a bump out which provides more area in the kitchen and living area, and the overhang on the front will end up as a small deck which will then transition to the paver patio area.
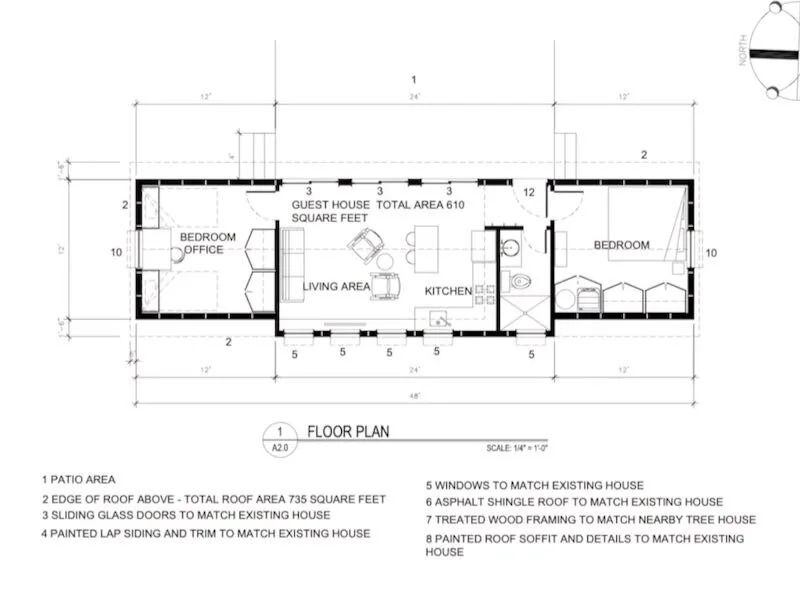
Because part of these joists will be exposed as part of the deck at the front of the house, our architect called for pressure treated joists in this center section, but this ended up causing a few issues, which you’ll see later.
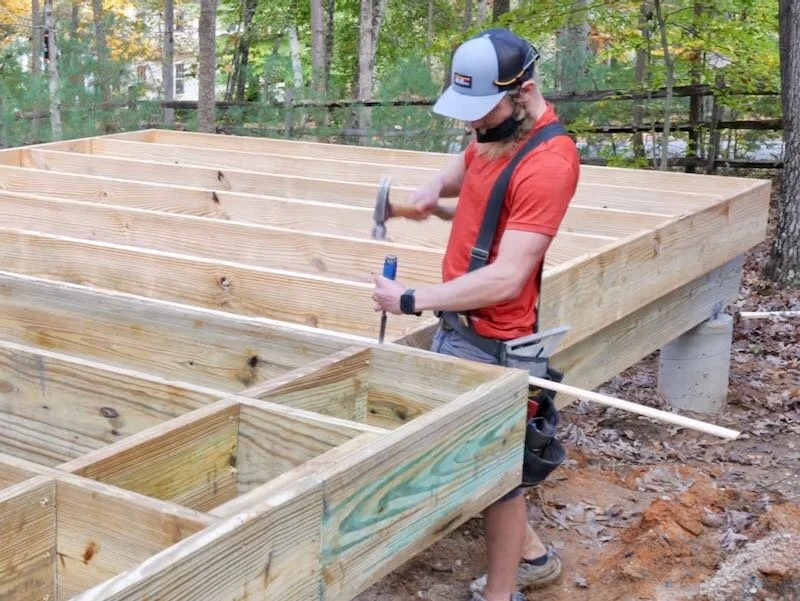
Step 4: Add Hurricane Ties At Each End Of The Joists
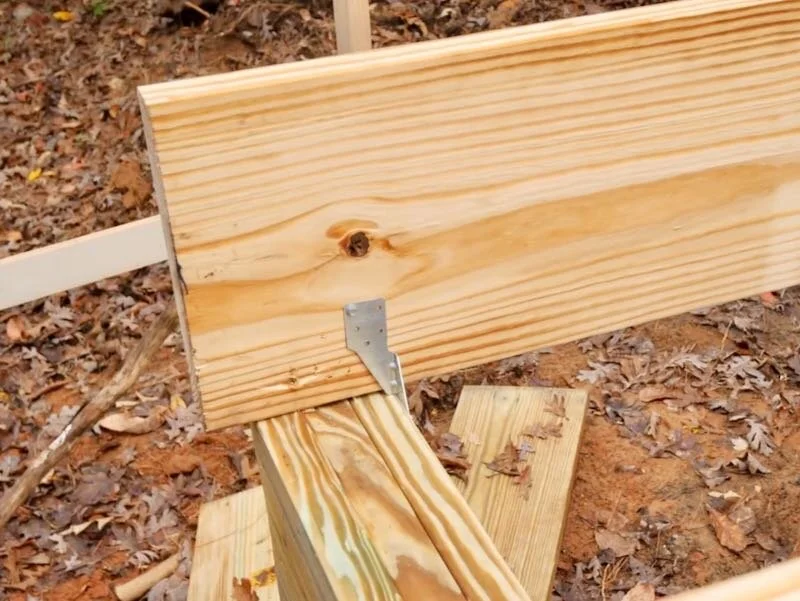
Anyway, after getting the joists in the center section set, we came back and added hurricane ties at each end of the joists, where they met the girders. These hurricane ties securely attach the floor system to the foundation and prevent the building from lifting during high winds or shifting during seismic activity.
Also, you might notice that I’m just setting the ties in place with a pair of the connector screws, but we did come back and fill in all of the holes with either connector screws or joist nails before moving on.
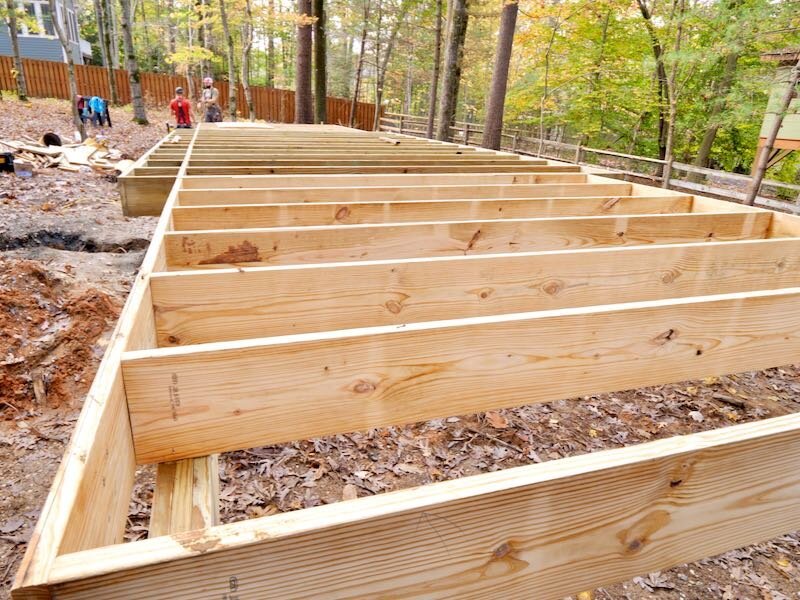
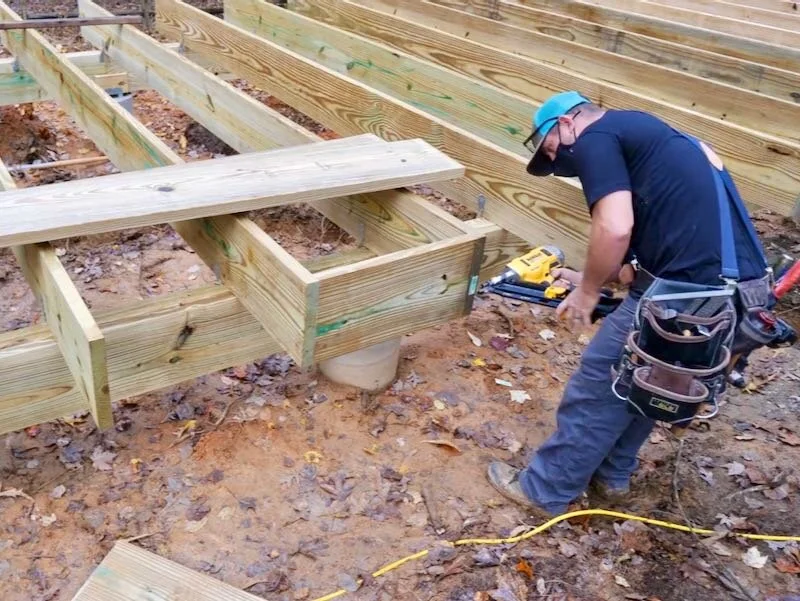
Step 5: Add The Rim Joist To Each End Of The Floor Joists
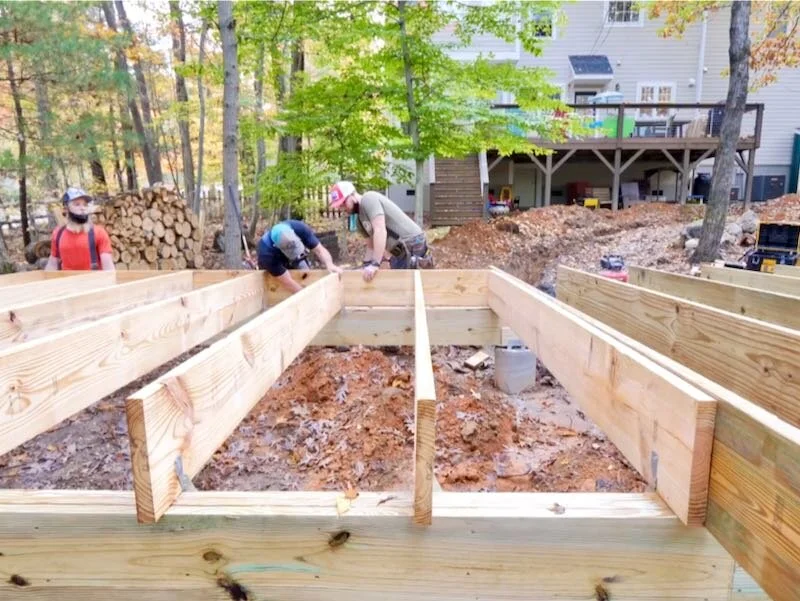
Next, we could add the rim joists to each end of the joists and these are attached with four nails into each joist.
When attaching the rim joists, one person would man the nail gun while another made sure the joist was square to the girder and raised or lowered the end of the board so the top edge was flush with each joist.
We could use a single board for the rim joist on each end section, but we had to use at least two boards on the center section since it’s 24 feet long. To make sure these boards were well attached, we added a piece of blocking behind where the two boards met up, to give plenty of material on which to nail the boards.
If the rim boards were going to break centered on a joist, we added more blocking material to either side of the end of the joist, again to provide more surface for nailing.
We repeated the process on the rest of the rim joist sections and then we needed to come back and add blocking where the floor joists in the center section transition from interior floor space to exterior deck.

This blocking needed to be added so that insulation could be added between the floor joists later, and it also helped to support the edges of the subfloor material in that area.
Step 6: Add Shims To Align Pressure Treated Joist with Non Pressure Treated Joists
The last step before adding the sheathing was to deal with some of the areas where the pressure treated and non-pressure treated joists were out of alignment, due to the pressure treated material being slightly wider.
In retrospect, I probably have opted to use pressure treated material for all of the joists so that they were closer to the same width, but these small strips we used as shims solved any of the issues we had.
Step 7: Sheathing The Floor
With that, the floor framing was done, so we could move on to sheathing the floor, and I went with ¾” Advantech subfloor panels here. The folks at Huber Engineered Woods, who make Advantech and ZIP System products, were awesome enough to provide all of the floor, wall, and roof sheathing I needed for this project, so huge shoutout to them.
Unfortunately, I didn’t have a forklift on site, so we had to unload about 100 sheets of sheathing by hand, and it was quite the workout unloading these and then moving them back to the site. Thankfully, my buddy Alex from the Singletrack Sampler was around to help out, and the truck driver was even nice enough to lend a hand as well.
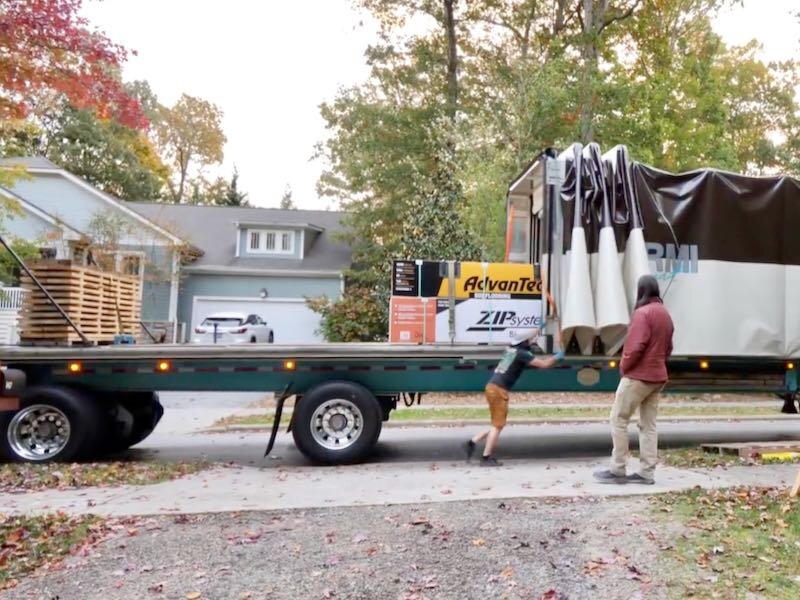
Also, I’ve gotta say, this was probably the coolest trailer setup I’ve ever seen and this driver had some incredible control over his rig to get into our fairly tight part of the neighborhood.
Anyway, back to sheathing, we started by snapping a chalk line about ½” in from the edge of the rim joist, and this gave us a good, clean line where we could start our sheets.
Step 8: Apply Subfloor Adhesive And Nail Down Subfloor
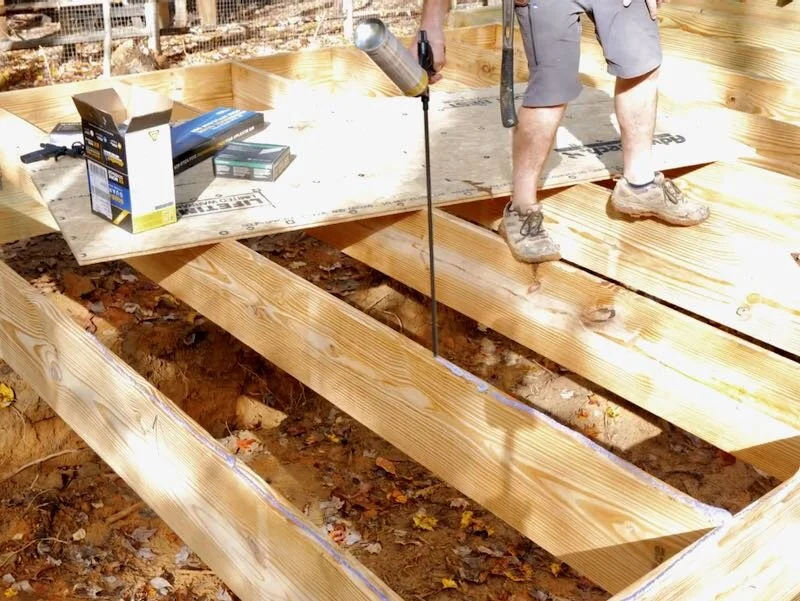
To install the Advantech, we first laid down a bead of this Advantech subfloor adhesive on the top edge of all of the joists. Adding this adhesive is a really important step, as it will help prevent squeaks in the subfloor later on.
To attach the subfloor to the joists, we used 3” ring shank nails, which was total overkill but will again ensure this subfloor doesn’t lift and start squeaking in the future. Screws would have been even better here, but we were in a bit of a time crunch and it’s hard to beat the speed of a framing nailer.

Another cool feature of this Advantech subfloor is how dummy-proof it is to install with all of the information printed on the panels. The correct nailing pattern is printed right on the panel, for 16”, 19.2”, and 24” on center joist spacing, and there’s a reminder at each end of the panel to add an ⅛” gap for expansion.
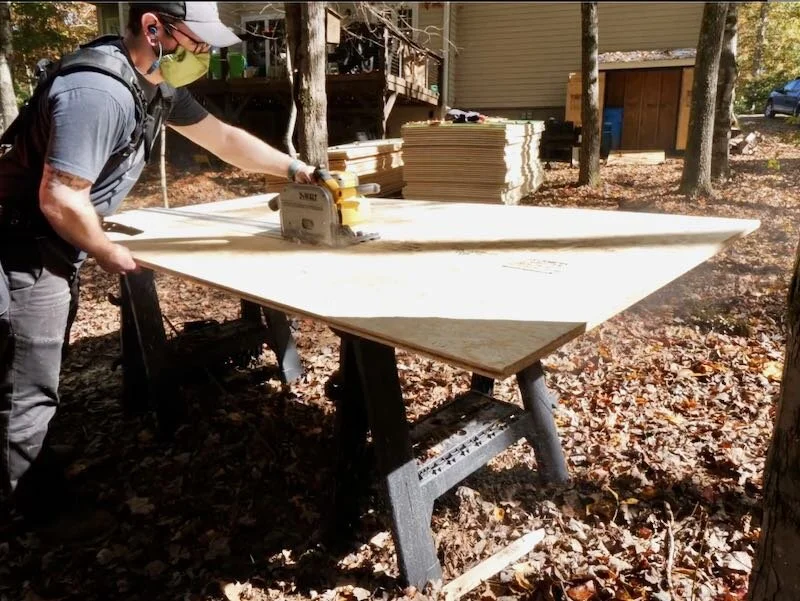
The first row of sheathing went down super quick, since they were all full length panels, but we needed to crosscut a panel in half to start the next row so the butt joints, where the ends of two panels met, were staggered.
The track saw made quick work of this cut and, after cutting the panel, we could add more subfloor adhesive, also adding it to the groove this time.
To help set the groove on the new panel onto the tongue on the previous row, we used a scrap piece of wood and a mini-sledge hammer. It’s important to use some kind of scrap block here to prevent damaging the tongue.

We continued on down the row, adding more panels, until we got to another spot where the joists didn’t quite line up. Once again, we cut a thin shim and applied the subfloor adhesive to both faces to make sure it was well secured.
We repeated the whole process for a third row, which was another row of full panels, so it went super quick.
The final row of sheathing to install was in the area where the back side of the house will bump out in the kitchen and living area. I ripped pieces to size for this final row, again using the track saw.
Because there wasn’t a groove on two of these ripped pieces, we added blocking underneath the subfloor where those panels met, to help support the pieces.
Once the blocking was added, we could attach the strips in the same way and then we got the subfloor cleaned off so we could lay out where the walls would need to go, but we’ll cover that in next week’s video on wall framing and sheathing.
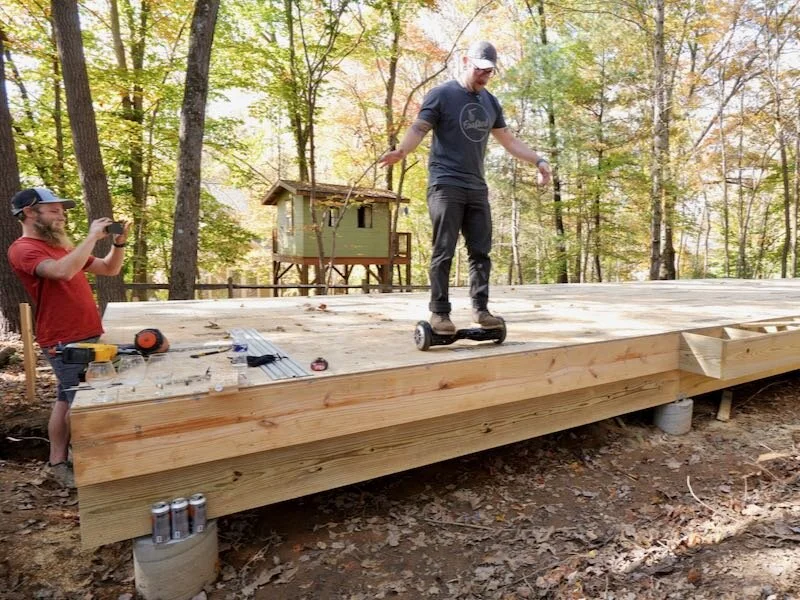
After finishing that layout work, and since the delivery of the framing material hadn’t arrived yet, we called it a wrap and had a little fun christening the subfloor with my hoverboard.