
How To Build Mid-Century Modern Walnut End Tables
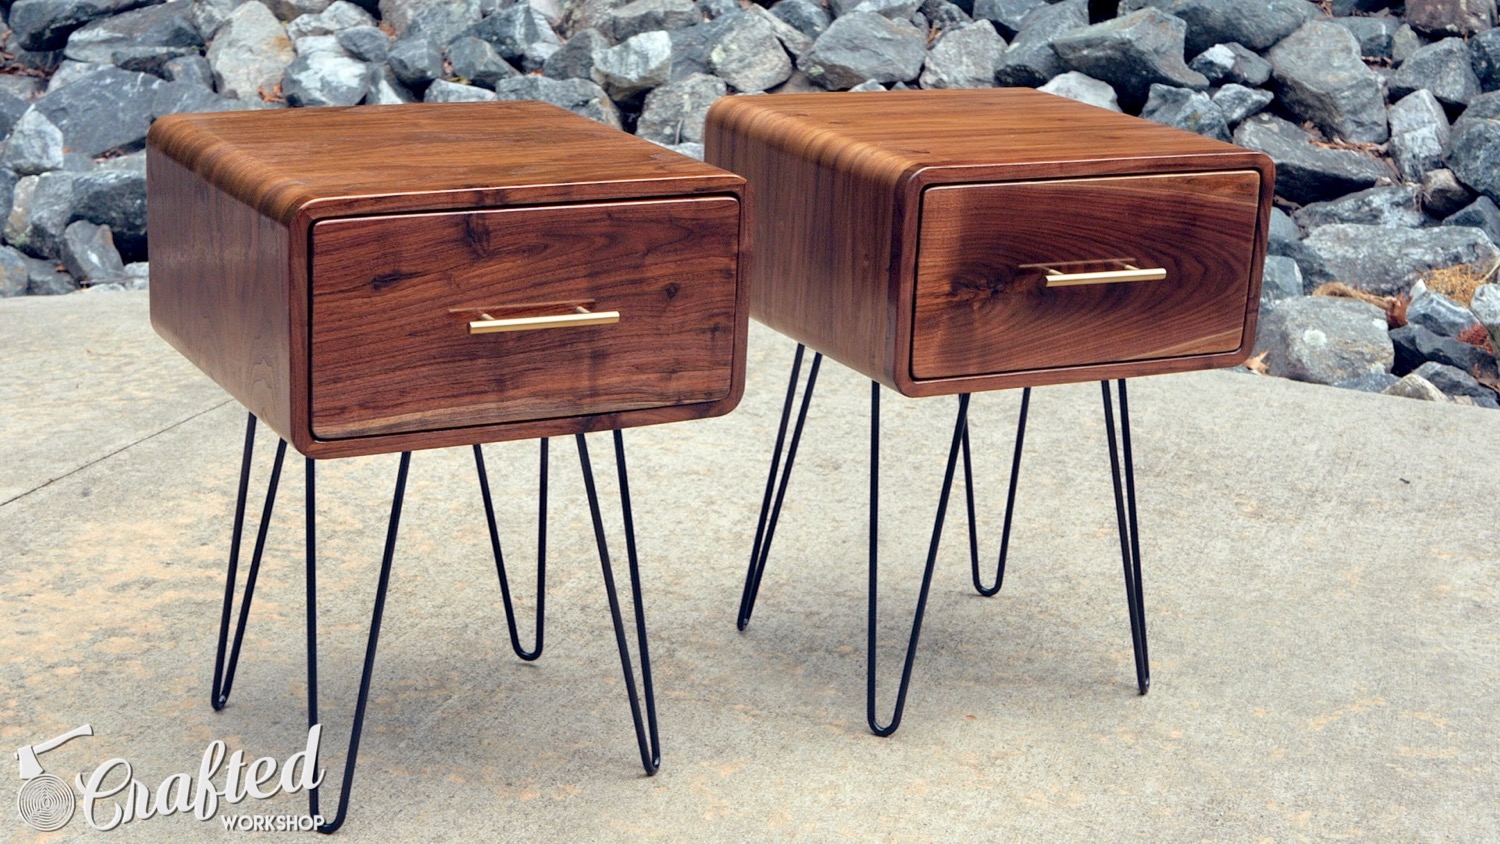
In this project video, I build a pair of mid-century modern end tables using solid Walnut and Walnut veneered Purebond plywood. I used a technique called "kerfing" to allow me to bend the corners of the end table's carcass into the smooth radius you see in the final piece.
Materials Used On Mid-Century Modern Walnut End Table:
Some of the links used below are affiliate links, for which I get a small percentage of the sales. Thanks for your support!
- Waterlox Tung Oil Wood Finish : http://bit.ly/waterloxcrafted
- Purebond Plywood : http://bit.ly/purebond
- Hairpin Table Legs : http://amzn.to/2q0V2rm
- 16-Inch Bottom Mount Drawer Slide : http://amzn.to/2q12a7c
- Brass Drawer Pulls :
Tools Used On Mid-Century Modern Walnut End Table:
- SawStop PCS 1.75-HP Professional Cabinet Saw : http://amzn.to/2aqqRyn
- DEWALT FLEXVOLT 12" Compound Sliding Miter Saw : http://amzn.to/2ah20gS
- Powermatic PJ-882HH 8-Inch Jointer : http://amzn.to/2phphdg
- Powermatic 15HH 15-Inch Planer : http://amzn.to/2phKqE9
- Festool Domino XL : http://bit.ly/festooldealers
- MIRKA DEROS Sander : http://amzn.to/2oz4QIN
- Whiteside Ultimate Flush Trim Bit : http://bit.ly/whitesideultimate
Mid-Century Modern Walnut End Table Build Process:
Step 1 : Rip Plywood To Size & Cut Kerfing Cuts
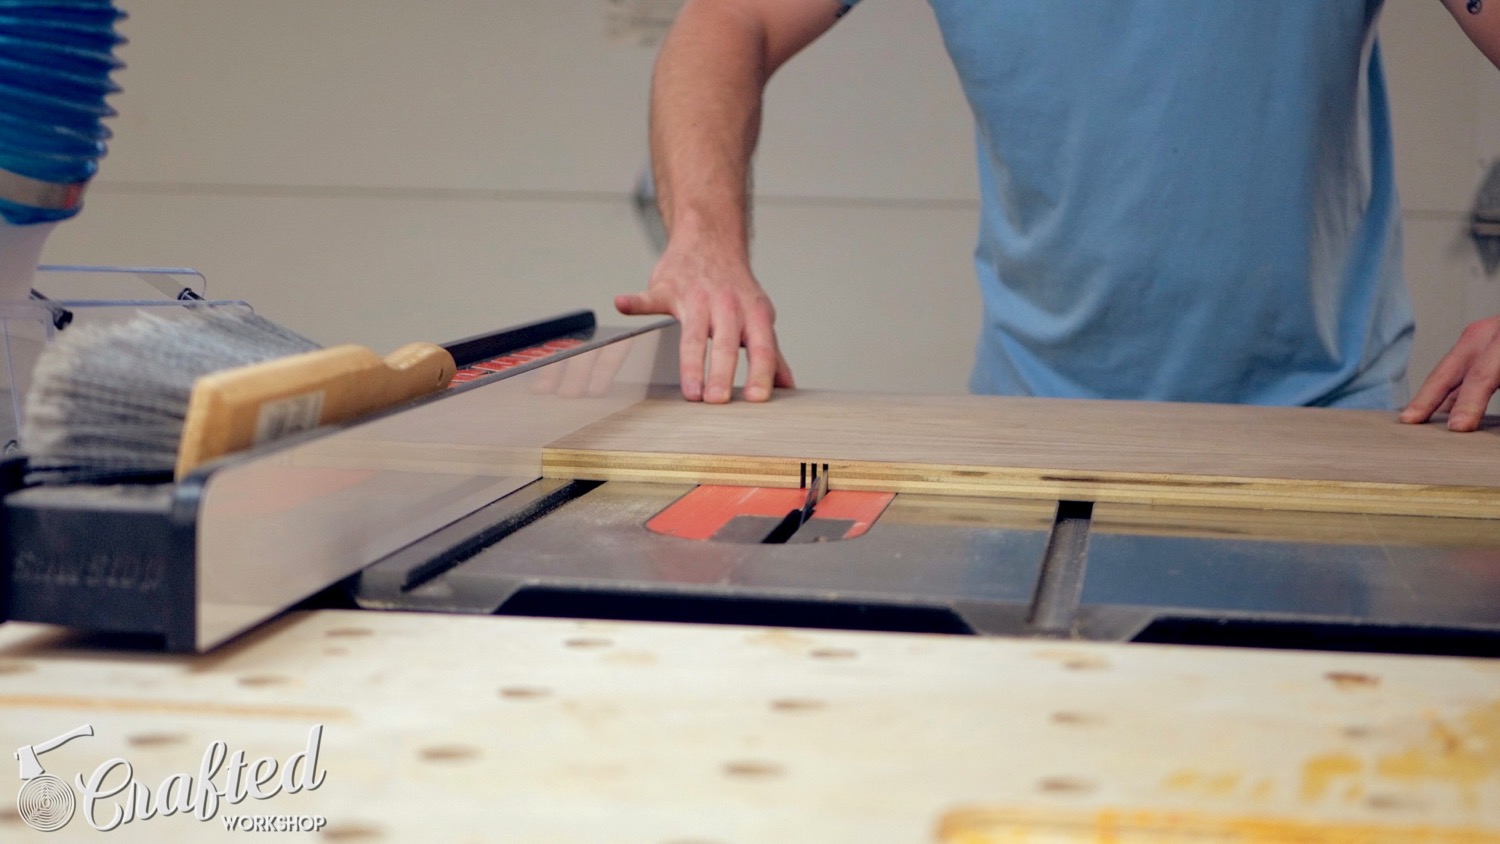
I built this project out of two 2 foot by 4 foot Purebond Walnut veneered plywood project panels. The first step was to cut the panels to width, 17 inches in my case, which I did on the table saw.
After cutting to width, I needed to set the blade height for the kerfing process, which is the method I used to bend the plywood. Kerfing involves making a number of cuts, almost all the way through the piece. I cut through all but the last layer of the plywood. Removing this material allows the plywood to form a radius. The exact radius depends on how the kerf cuts are spaced.
In my case, I wanted a fairly sharp radius, so after a lot of trial and error, I landed on a spacing that worked for me. My table saw blade has a kerf of ⅛”, and I moved the fence over ¼” between each cut. This left me with ⅛” kerf cuts with ⅛” strips in between each kerf.
Since these end tables are rectangular, I mirrored my kerf cuts and only had to move the fence every other cut. I started the cuts with the fence at 6 inches, made a pass, turned the panel around 180 degrees, made another pass, then moved the fence over ¼”, to 6 ¼”. I continued this two more times, bringing the fence to 6 ¾”, then moved the fence back to 5 ¾” and went down four steps to 5”. This process meant all of my kerfs on this first pass were centered at 6 inches.
Next, I moved the fence to 15 inches and repeated the process, moving the fence ¼” at a time, up to 15 ¾” and then down to 14”. You can see the ends of the panels start to get flexible as I made more passes. I just kept making cuts until I had all of my kerfs cut.

Step 2: Cut Plywood Strip & Add Dominos
I wanted my end tables to be about two feet tall, and I used 16” tall hairpin legs for the base. This meant that the carcass of the end table needed to be roughly 8” tall, which was taller than I could get with the 4 foot long project panel. To make up for the additional length, I needed to add a strip to the bottom of the carcass.

I cut the strip to 6” wide at the table saw and 17” long at the miter saw, and then cut Domino mortises to attach the strip to the carcass. This could have been done with dowels, biscuits, or even pocket holes from the bottom of the carcass, since no one would ever see them.

Step 3: Glue Up End Table Carcass
Next, it was time for the glue up, which was pretty interesting. First, I added glue to each of the kerfs, making sure to focus the glue towards the center to avoid squeeze out on the edges. I then started the slowly bend the plywood, which was pretty stiff at that point. I wiped on some warm water around the corners of the bends to help the wood bend without cracking. I held each half in place temporarily with a few clamps.
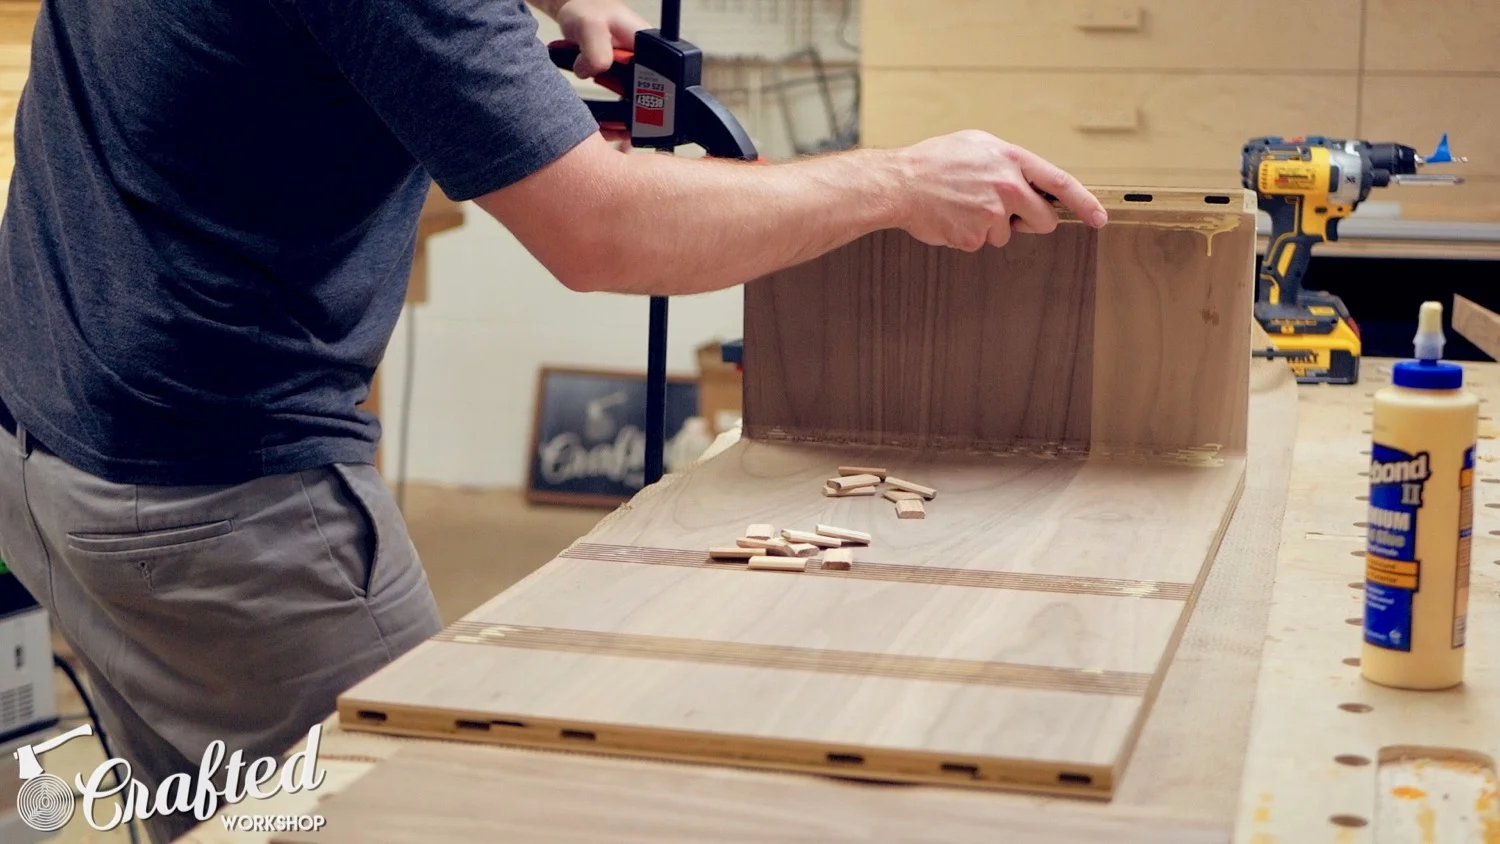
Next, I added the strip with the Dominos with my Festool Domino XL, gluing it into place. I clamped the bottom section together with a few parallel bar clamps, and then used some more clamps to make sure everything was properly aligned. Finally, I checked for square and wiped away any glue squeeze out.

Step 4: Build Face Frame & Glue To Front Of Carcass
While the carcass dried, I started working on the face frame. I milled some Walnut using my planer and jointer, and then cut it into strips on the table saw. I needed the face frame to be extra wide to account for the radius in the corner.
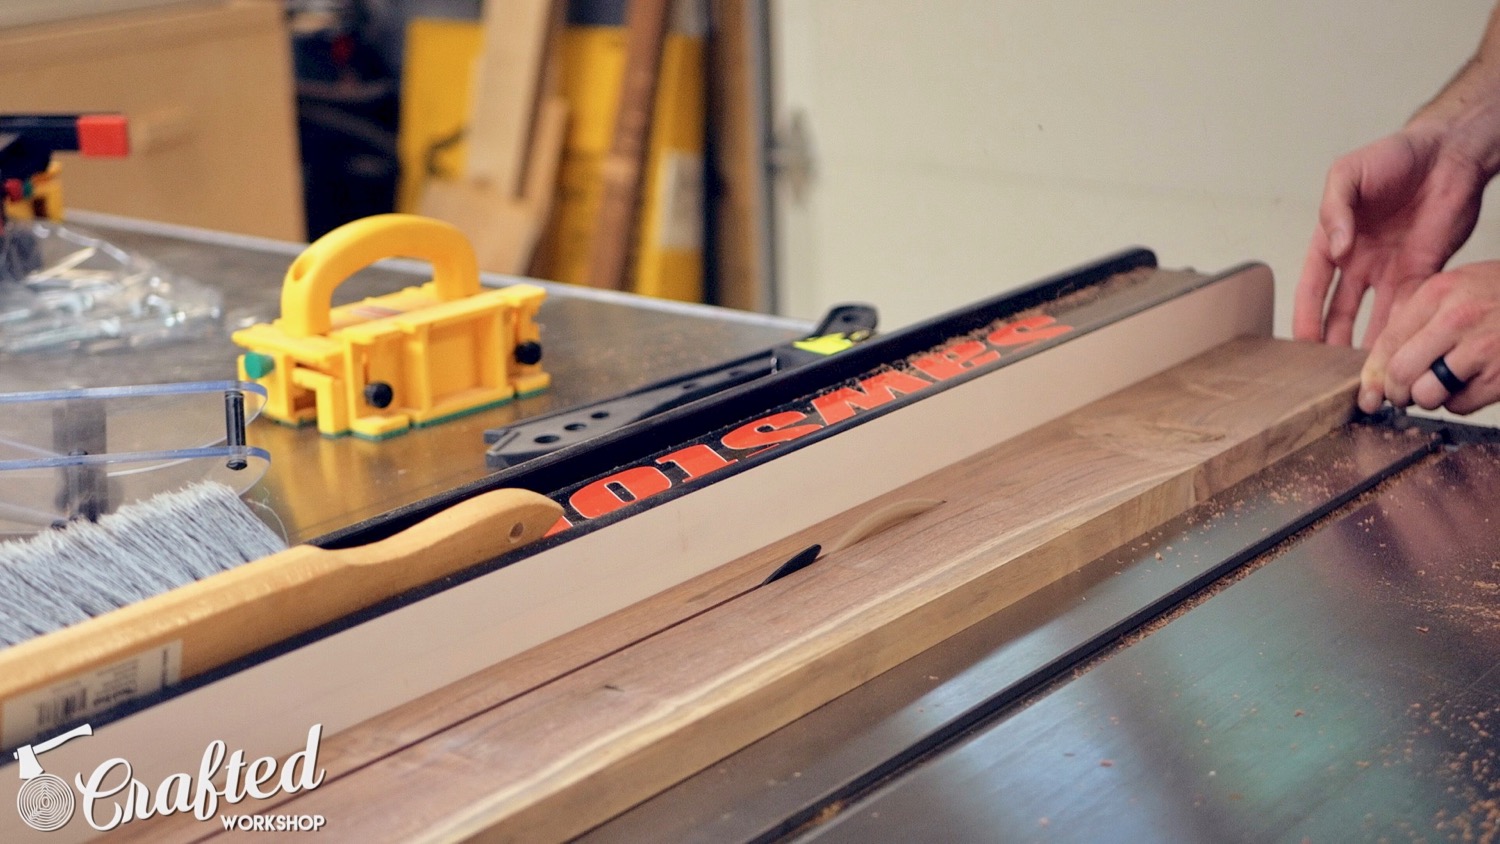
Next, I cut the face frame on the miter saw and then glued the frame together using a band clamp.

Once the carcass and face frame had dried, I glued them together. I just picked up some of these face frame clamps and they make this process a lot easier. It takes a lot of clamps to get rid of any gaps between the carcass and face frame.

Step 5: Trim Face Frame Flush With Flush Trim Bit
After the glue dried, I flushed the face frame to the carcass using a Whiteside Ultimate flush trim bit that I picked up from Woodpeckers. This bit has been a game changer for me. You can see how nice of a surface finish this bit leaves, it’s pretty amazing.

Step 6: Mill & Shape Drawer Fronts
Next, I milled up some more Walnut for the drawer fronts, using my planer and jointer. I cut the drawer fronts so that they had an ⅛” reveal around all of the sides, and then traced the corner radius on the drawer fronts. These corners are all slightly different, so this process took a lot of fitting.

I sanded to my line on the oscillating belt sander, and just kept checking the fit until it was how I wanted it.
Step 7: Install Plywood Back On To Carcass & Roundover Edges
Before attaching the back to the carcass, I gave the whole piece a good sanding, making sure to sand the inside well while I still had each access to it.
For the back, I used ¼” plywood. I cut it oversized and glued and nailed it onto the back. After the glue dried, I flushed it up at the router table and also added a heavy chamfer. If you chamfer the edge so that the chamfer just meets the side of the piece, the back panel basically disappears.


Finally, I added an ⅛” radius roundover to the outside and inside edges of the face frame, as well as the drawer fronts.

Step 8: Cut Drawer Parts & Assemble Drawer
Next, it was time to work on the drawers. I actually had enough Walnut veneered plywood to make the drawers out of, so that’s what I went with. While I’m cutting the drawer sides, let’s talk about Purebond plywood, one of the sponsors of today’s project. I really love using their plywood, it’s formaldehyde-free, made in USA, and super high quality. It’s available exclusively at Home Depot, click here to learn more.

With the drawer sides cut to size, I cut the drawer bottoms from ¼” plywood, and then it was time for assembly.

First, I added some glue to the drawer bottom and temporarily assembled the drawer sides using glue and brad nails. Next, I attached the drawer bottom to the sides using brad nails, making sure everything was square before attaching. Next, I reinforced all of the corners using 1 ¼” screws, and then reinforced the bottom using the same screws. This process is really quick and simple, and makes for a very strong drawer.

Step 9: Apply Finish To Mid-Century Modern Walnut End Table
Next, it was time for finishing. Off camera, I did some more sanding, bringing all of the pieces up to 180 grit and then removed the dust. For the finish, I used Waterlox, one of the sponsors of today’s video. Waterlox is one of my favorite finishes for Walnut, since it really brings out the grain as you can see here.

Waterlox is a blend of tung oil and resins, and creates a really tough, water-resistant finish that is also beautiful. The tung oil penetrates into the wood while the resins remain elastic, and this combination holds up to wear extremely well. To learn more about Waterlox, click here.
I applied three coats of Waterlox, sanding between coats with 320 grit sandpaper.
Step 10: Install The Drawers & Drawer Fronts
Next, I installed the drawers. I used these bottom mounted drawer slides. These were a little tricky to install but I eventually got them installed.


With the drawers installed, I could install the drawer fronts. I used the playing card trick to get the spacing right around the drawer front, and then temporarily attached the drawer front using double sided tape. This held the drawer front in place long enough to attach them permanently with 1 ¼” screws.

Step 11: Install Drawer Pulls & Hairpin Legs
Next, I installed the handles on the drawer front. I used these brushed brass handles, which I think look great with this mid-century modern style piece. I used this drawer handle jig to get everything aligned and had to countersink the screws from the inside to reach through the drawer and drawer front.

The last step was to attach the hairpin legs, which was a super simple process. I just make the location for the legs, pre-drilled the holes, and then screwed them on. These I-Semble legs from Rockler come already painted, and with the mounting screws.
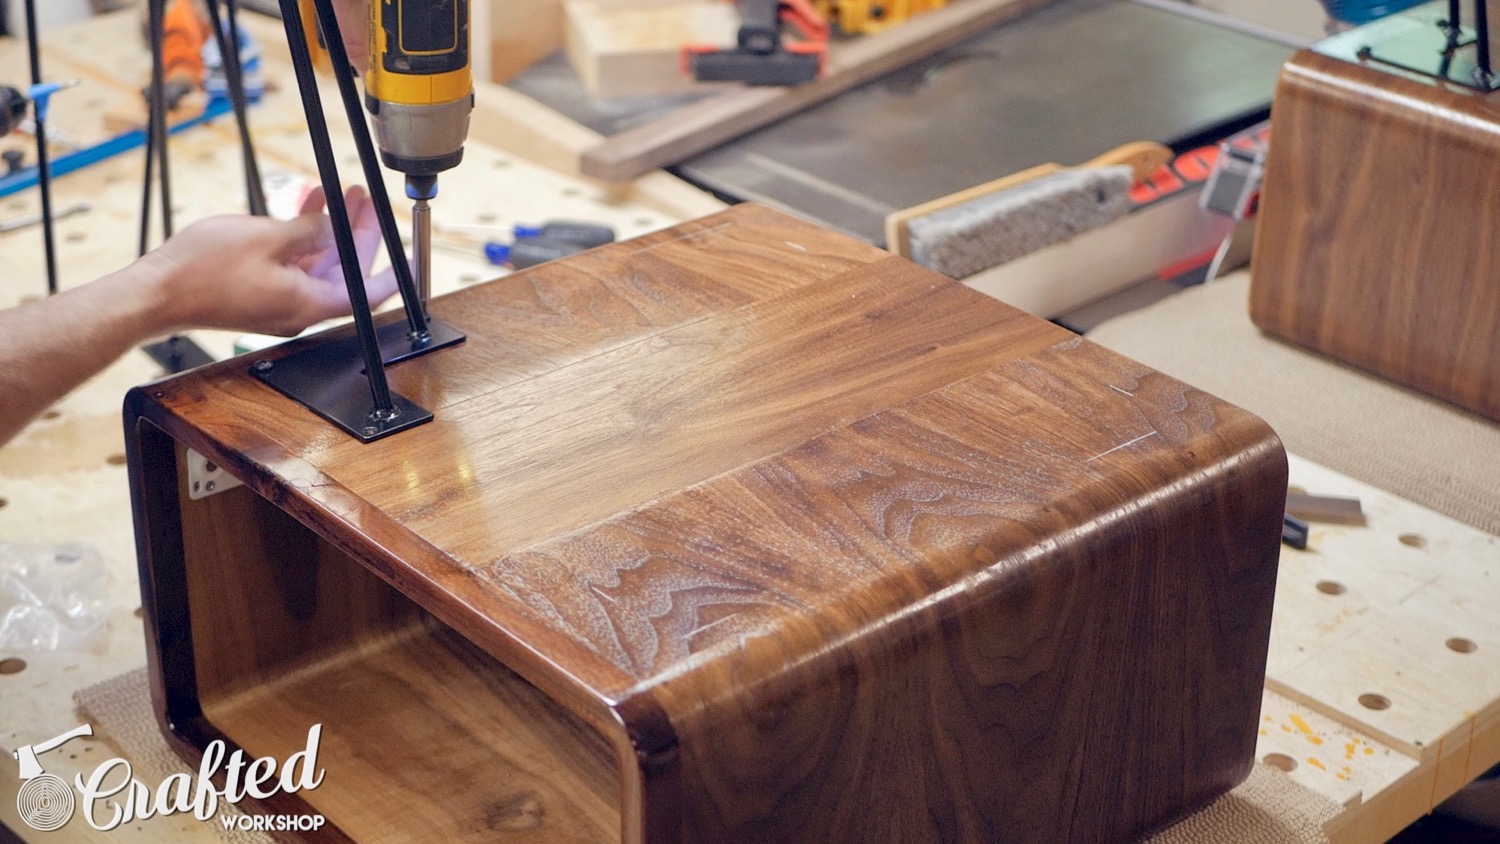
With the legs attached, the tables were done!
Wrapping Up The Mid-Century Modern Walnut End Table Build
This was a really cool build, as it utilized a technique I'd never tried before: kerfing. This process allows you to create a unique piece that wouldn't otherwise be possible. When woodworking, you get used to everything being square and 90 degrees, so this was a fun change of pace.


If you enjoyed this build, go ahead and get subscribed to my email newsletter and my YouTube channel so you never miss a build!
If you'd like to see more Mid-Century Modern woodworking projects, check out the archives here. To see my other woodworking projects, check them out here.
Thanks for reading, and until next time, happy building!