
How To Build A Farmhouse Table and Benches For $250
In this video, I'll show you how to build a farmhouse dining table and matching benches using construction lumber. The total cost of materials is less than $250 for the table and two benches! Let's get started.
Support This Week's Sponsors!
Waterlox Tung Oil Finishes: http://bit.ly/waterloxcrafted
Rockler Woodworking & Hardware: http://bit.ly/rocklercrafted
Materials Used On Farmhouse Table and Benches:
The links below are affiliate links, from which I get a cut of the sales. They don't cost you anything extra and help to support me!
- 6 8 foot long 2x10s
- 1 12 foot long 2x10
- 10 8 foot long 4x4s
- 1 Gallon Wood Glue : http://amzn.to/2rbzABf
- (Optional) ~ 200 Dominos : http://amzn.to/2resRD1
- (Optional) 5 3 foot long 1” dowels : http://amzn.to/2t1cR8R
- 1 Quart Waterlox TrueTone Stain : http://amzn.to/2rgUSKs
- 1 Quart Waterlox Original Sealer/Finish : http://amzn.to/2srUQDN
- 12 Table Top Fasteners : http://amzn.to/2rv9Z24
- 12 4” Deck Screws : http://amzn.to/2ss95Z3
Tools Used On Farmhouse Table and Benches:
- SawStop PCS 1.75-HP Professional Cabinet Saw : http://amzn.to/2aqqRyn
- DEWALT FLEXVOLT 12" Compound Sliding Miter Saw : http://amzn.to/2ah20gS
- Powermatic PJ-882HH 8-Inch Jointer : http://amzn.to/2phphdg
- Powermatic 15HH 15-Inch Planer : http://amzn.to/2phKqE9
- Festool Domino XL : http://bit.ly/festooldealers
- Festool Kapex Miter Saw : http://bit.ly/festooldealers
- Festool TS55 Track Saw : http://bit.ly/festooldealers
- Mirka Deros Sander : http://amzn.to/2qXGhHH
Farmhouse Table and Benches Build Process
I started by breaking down the parts to rough size, leaving everything long so it could be trimmed to final size later. I used 2x10s for the top, even though the final width of my top boards was 7 ¾”. This extra width allowed me to remove the rounded edges from the pieces as well as cut away any damage to the edges of the board.

Cutting 2x10 to length on miter saw.
To remove the rounded edges, I used my jointer to square up one side then ripped off the other edge at the table saw. These steps are optional and certainly aren’t required, but they really make the top look a lot cleaner if you have the tools.
Ripping 2x10 to width on the table saw.
After getting rid of the rounded edges, I flattened the boards at the jointer and planer. This removes any of the cupping or twist from the boards and leaves a clean surface. Again, this isn’t required but it makes the boards look 100 times better than they do when you get them from the store.
Running the 2x10 through the planer after flattening the opposite face on the jointer.
Next, I laid out the lines for the dowels that I used to align the top boards. I used this Rockler dowel jig and it worked great. I typically use my Domino for this, but the dowel jig went almost as fast and the results were identical.
Using the Rockler dowel drilling jig to drill dowel holes, which will help with alignment during the glue up.
With the dowel holes drilled, we moved on to gluing up the top. As you can see, the dowels really help keep things aligned during the glue up. I also discovered this Rockler glue roller during the build, and it is an absolute pleasure during these panel glue ups. It applies the perfect amount of glue and is much faster than using a brush to spread the glue.
Gluing up the center panel of the table top.
Once the top dried, I trimmed the ends square using my track saw. A circular saw with a straight edge would work just as well here. Since I left my top boards long, I didn’t need to worry about them being perfectly aligned during the glue up, and I just trimmed the top to length here.
Trimming the ends of the center panel square using my Festool TS55 Track Saw.
With the ends trimmed square, it was time to install the breadboard ends. I go into the breadboard ends into a lot more detail in the build video, check that out at the top of this post for more information.
For my breadboard ends, I first laid out the locations for the Dominos. I used 12mm by 140mm Dominos and used 5 of them on each end of the table top. The process when using Dominos for a breadboard end is to first cut the mortises on the panel on the tight setting.
Next, on the breadboard ends, cut the center mortise on the tight setting and then cut the rest of the mortises on the loose setting. This will allow the top panel to expand and contract freely while keeping the breadboard centered on the center panel.
When cutting Domino mortises on the breadboard end, the center mortise should be cut on the tight setting while the rest of the mortises should be cut on the loose setting.
With the mortises cut, I glued the Dominos into the mortises in the center panel, making sure to wipe away any glue squeeze out, since it would interfere with the fit later on.
Gluing the Dominos into the mortises in the center panel.
Next, I laid out the hole locations for the dowel pins which will hold the breadboard ends in place. I used ⅜” dowels and drill the holes all the way through the breadboards at the drill press.
Drilling holes in the breadboard ends of the dowel pins which will go through the Dominos.
I installed the breadboard end and marked the location of the holes on the Dominos using a brad point drill bit. I also marked the overhanging area of the breadboards, since I kept them long up until that point. I trimmed the breadboards to their final length at the miter saw and tested to make sure they were even.
With the breadboards trimmed to length, I could mark the hole locations on the Dominos. I used a process called drawboring on the breadboards, which means that I offset the holes in the Dominos slightly towards the center panel. Once the dowels are driven in, this offset will pull the breadboards tight against the center panel.
Drilling holes in the Dominos for the drawbored dowel pins. Make sure to widen the holes on the outer two Dominos on each side to allow for wood movement.
I drilled the holes using a ⅜” drill bit and made sure to widen the holes in the Dominos that went with the loose mortises in the breadboard. This will allow the center panel to expand and contract. Finally, I used a drawbore pin to expand the holes slightly, which allows the dowels to go in easier.
Next, I glued the breadboard ends in place. Only the center Domino received glue, as this is the only tight joint on the ends. The dowel in the center Domino is also the only one that received glue, the other dowels only received glue at the very end to keep them in place in the holes.
Installing the breadboard ends using drawbore pins and glue.
With all of the dowels in place, I trimmed them flush using a flush trim saw.
Once the breadboard ends had dried, I went to work getting the top flattened. Using the dowels for alignment really helped with this, so I just needed to make a few passes with my low angle jack plane to get it nice and smooth. I absolutely love planing pine, it’s so easy to work with.
After planing and a little card scrapping, I sanded the entire surface with 120 grit sandpaper, followed by 150 grit. Since we stained the pieces, I didn’t go past 150 grit.
Finally, I chamfered all of the edges using a block plane. This is so much simple than setting up a router and makes way less of a mess.
Building The Farmhouse Table Base
With the top basically done, we moved on to building the base. Again, we used untreated Douglas Fir 4x4s from the home center, so they were pretty rough right from the store. I sent them through the planer, taking off about ⅛” from each face, which really cleaned them up.
The 4x4s are pretty rough right from the home center, so we planed each face equally to remove the roughness.
Next, I cut the base pieces to size at the miter saw. The legs are made up of four pieces: a top apron that has 90 degree cuts on each end, and then two legs and a stretcher, which have 10 degree cuts on each end. As I mentioned earlier, I have detailed plans available for this project that walks you through each cut, step-by-step. There’s a link in the video description below if you’re interested.
Cutting the 4x4s to length on the miter saw.
To assemble the base, I again called on my trusty Domino. There are plenty of other methods to put the base together, though. Dowel joinery, which I’ll show later in this video when we build the bench bases, as well as just plain old screws.
Cutting the Domino mortises in the table base pieces.
A few 6” screws in each joint would give quite a bit of holding power and you could easily fill the screw holes, or just leave them exposed. That’s one of the advantages of this rustic style.
Once the leg joinery was cut, we did a test assembly of the base and marked the length of the truss supports. These are cut at a 55 degree angle and are mostly decorative, but definitely add a good bit of strength.
I cut the trusses to size on the miter saw, then I added Domino mortises to them. With the joinery on all of the pieces cut, we did a quick dry assembly to make sure everything fit properly.
With everything fitting nice and snug, I went back and cut a second mortise in each location, so that we could use two Dominos per joint. This made for an incredibly strong table base.
With all of the joinery for the base cut, it was time for the glue up. We tackled the glue up in two phases. In the first phase, we assembled each leg structure and the center truss structure as three separate assemblies. This allowed us to really focus on getting rid of any gaps, plus I didn’t have enough clamps to glue up everything at once.
Once those three assemblies dried, we glued them together to form the base.
Assembling the table base.
After the base dried, we gave it a good sanding, starting with 80 grit and working up to 150 grit, and then temporarily attached the base to the top so we could move the table to John’s house for finishing. We centered the base on the bottom of the top and I drove in a few 4” screws along the center of the table.
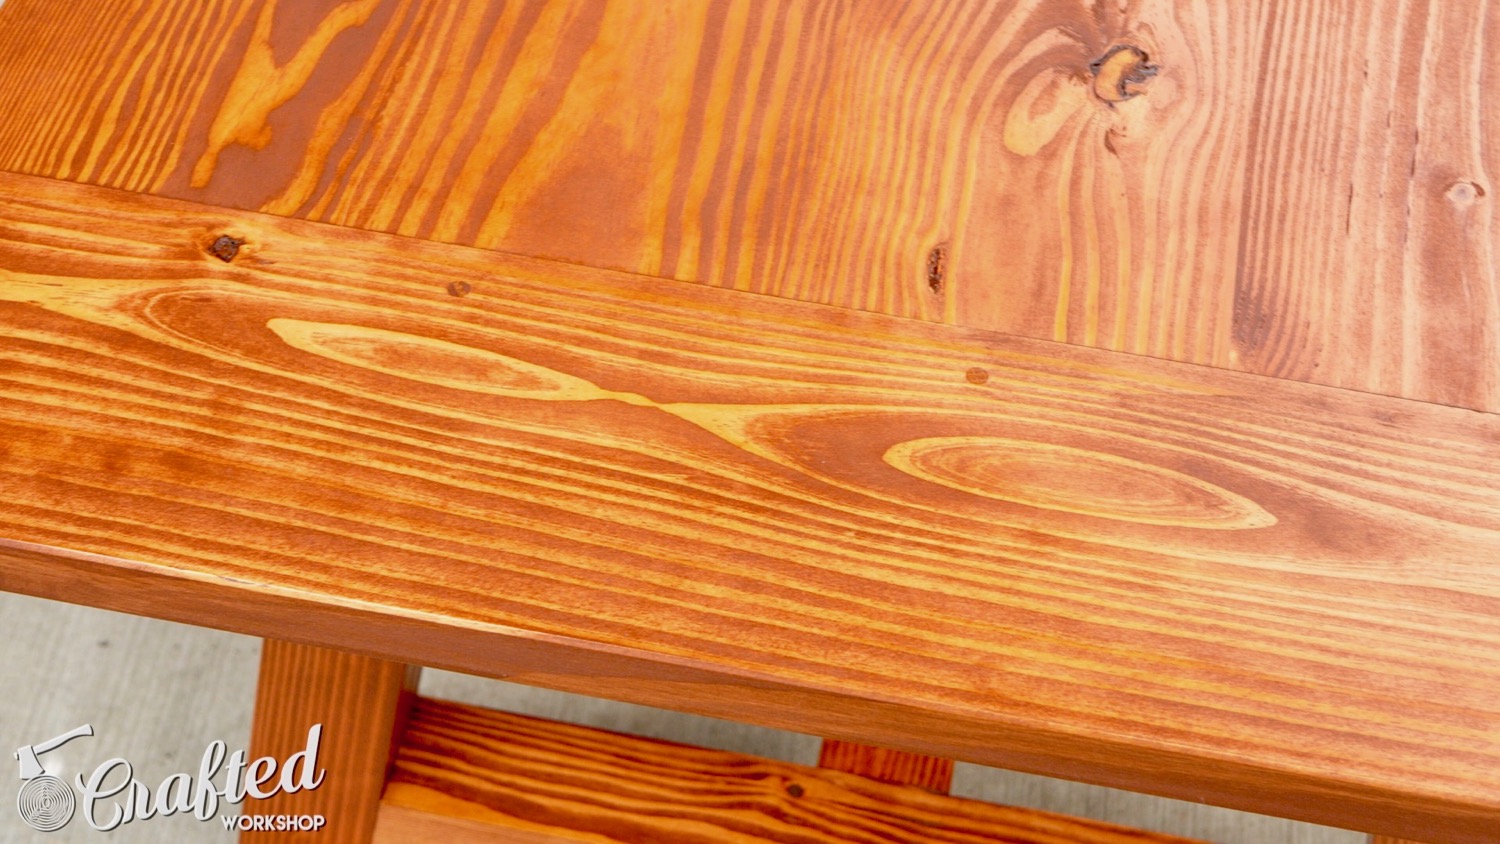
For the stain, we used a Waterlox product called TrueTone. TrueTone is a color-infused tung oil, and is designed for flooring but works great on any raw wood application. I mixed TrueTone in a 4 to 1 ratio with Waterlox Original Sealer/Finish to make it more of a wipe-on finish, and then we brushed on the stain with a foam brush. We let it sit for a minute or two, keeping the surface wet, then wiped off the excess with a paper towel.
Applying Waterlox TrueTone tung oil stain.
I was really impressed with how evenly the stain went on, especially considering this is Pine, a wood notorious for splotching. Typically, you need to use a pre-stain conditioner on Pine and Fir, but I didn’t use one here and am super happy with the results. Thanks to Waterlox for sponsoring this video, and click here if you’d like to learn more about Waterlox.
Building The Farmhouse Benches
With the table done, let’s move on to building the benches. Obviously, we built these pieces simultaneously, but I thought it might be easier to follow if I split the two builds up to keep things separated.
The benches are essentially identical to the table, only smaller, so I’m just going to skim through the process. I squared up the boards for the top on the jointer, table saw, and planer, just like I did on the table. John drilled the dowel holes and, after the holes were drilled, we glued up the bench tops.
After the glue dried on the top, I squared up the ends on the miter saw and then installed the breadboard ends, again with Dominos, drawboring the ends into place. You might also notice in the video that I tried to use ¼” dowels on one of the benches, but they proved to be too small to survive the drawboring process.
With the tops done, we moved on to building the bases, which are the same as the table base, just smaller. I did want to illustrate how you could use dowels for the joinery on the base, so we used dowels rather than Dominos on one of the bases.
Drilling the holes for the dowels using a 1" spade bit.
The key when using dowel joinery is to completely immobilize the base, so that it doesn’t move around while you’re drilling the dowel holes. I used 1” dowels, which provided a ton of strength.
I drilled the holes with a 1” spade bit, going through the sides of the legs into the stretcher and through the top apron into the legs. As you can see, you end up with a nice looking, super strong leg with no screw holes to fill.
The finished leg assembly using dowel joinery. Obviously, once the dowels are glued in place, they would be trimmed flush.
Since we were in a time crunch, I used Dominos for the rest of the joinery on the bench bases, and again, the process was the same as the table base. We did make the mistake of trying to glue up the entire base in one go, and this was way more stressful than it needed to be and also caused some gaps since we couldn’t get the clamping pressure in the right spots.
After the glue dried, we gave everything a good sanding and then attach the base to the top with 4” screws, again temporarily just for moving to John’s for finishing. We used the same Waterlox TrueTone stain, and then John followed up with three coats of Waterlox Original Sealer/Finish on the table and benches.
The last step in the build was to cut the slots for the table top fasteners. These allow the tops of the table and benches to expand and contract seasonally without restriction. I cut the slots using a Biscuit Joiner, but there are tons of options for cutting the slots.
Cutting slots for the table top fasteners using a biscuit joiner.
I used the 4 inch screws in the center of the tops, since I wanted the tops to expand from the center, and used two table top fasteners at each end of the benches and four fasteners at each end of the table.
Finally, we added some feet to the table and benches so they could be moved around more easily, and the dining set was complete.

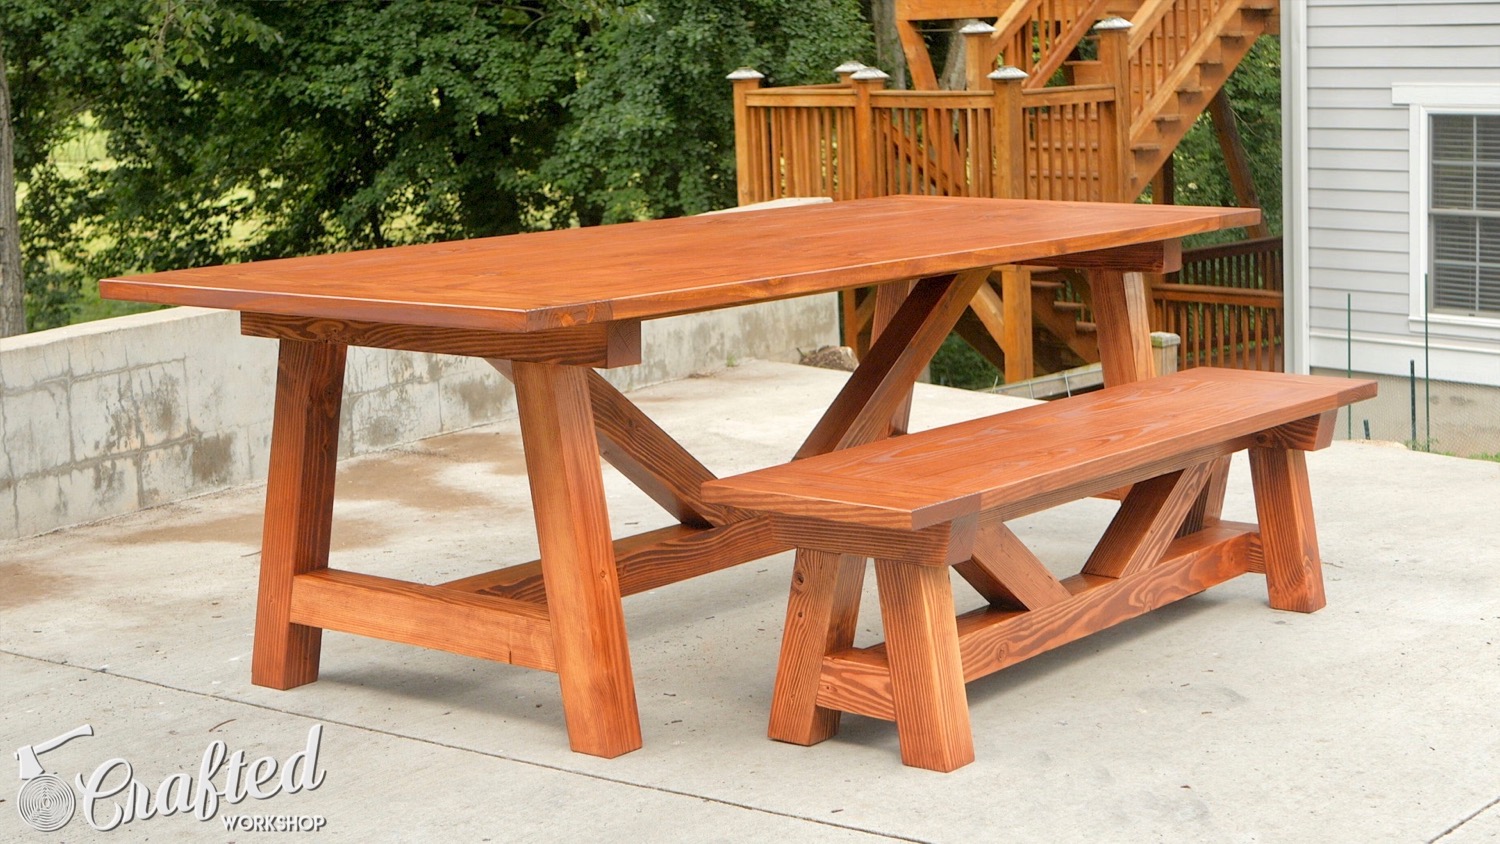
Hopefully you enjoyed this build! Again, I do have plans available for this project with a detailed cutlist, step by step build process, and a SketchUp file. If you're interested, check them out here.
If you enjoyed, make sure to subscribe to my email newsletter below to be notified of new posts. Until next time, happy building!