Drainage Grading & Pouring Concrete Footings / Workshop Renovation 11
In this week's workshop renovation episode, I finally get the grading work done outside the shop and also dig and pour the concrete footings for the big front porch project! I also built a DIY window well to keep water away from the window openings on the side of the workshop.
Note : Some of the links below are affiliate links.
📦 Materials Used On The Grading & Concrete
🛠 Tools Used On The Grading & Concrete
Starting The Drainage Grading
With the weather cooling down here in Asheville, it was finally time to turn my attention to the grading work outside the shop.
As many of you have seen, there have been some moisture issues inside the shop and, while these have largely been solved by getting the gutters cleaned and functioning, I figured I should tackle the exterior grading work as well.
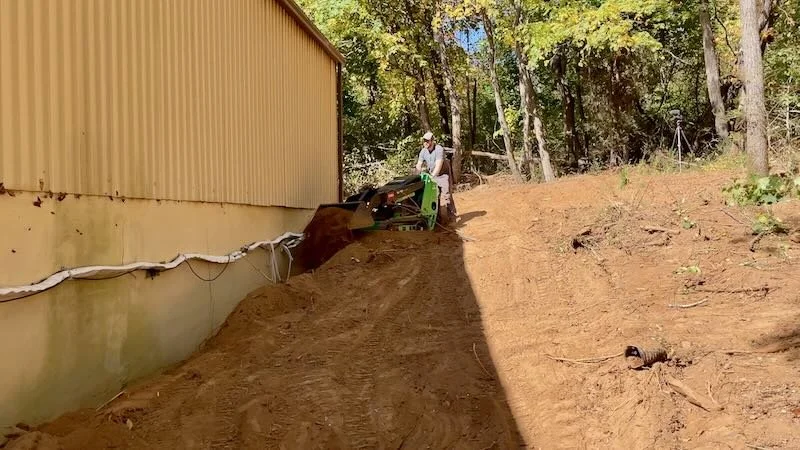
The main problem area was to the right of the shop, and as you can see, the grading here was about as bad as it could be, funneling any surface water right towards the shop walls and foundation.
To fix this, my plan was to essentially just shift the dirt around, with the end goal of the water being diverted into a swale, kind of a small valley, about 8 feet from the building.
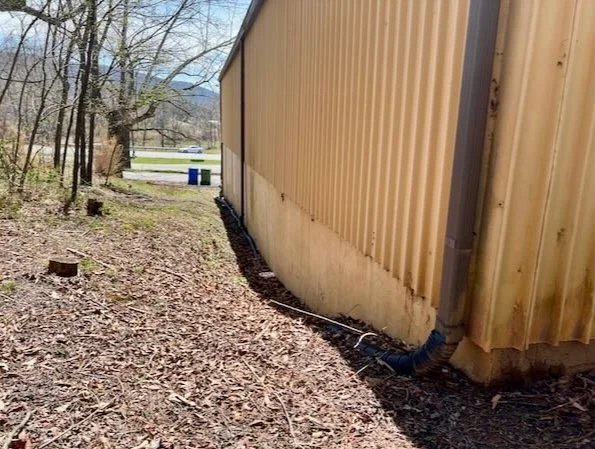
Before getting to work, I cleared out the area, removing the existing corrugated gutter drain pipe, and then my weapons of choice for this project arrived.
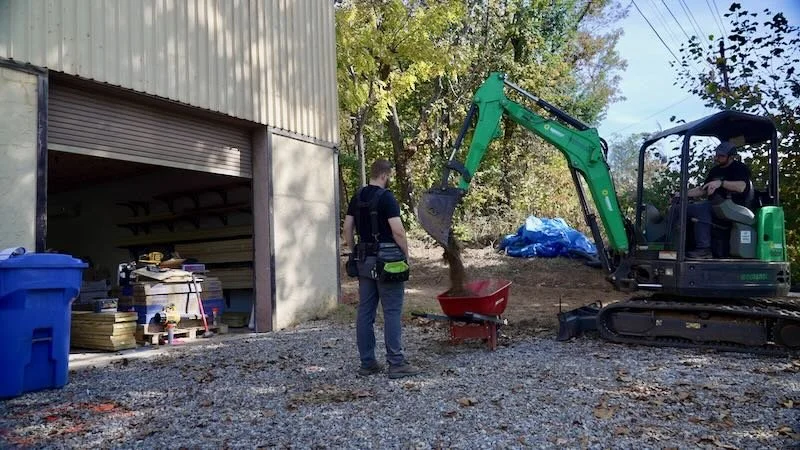
In this case, those were a mini skid steer in the form of a Toro Dingo and a small excavator, both from the folks at Sunbelt Rentals.
The driver got the machines unloaded with the help of this super cool truck bed, which could be remotely slid and tilted to assist in unloading, pretty awesome. Once the machines were off, I could get to work.
To start, I needed to do a lot of cleaning work, removing the grass, small stumps, and trees which were going to be in my way. Organic material doesn’t compact well and roots and stumps will rot over time, causing more issues, so I wanted to get rid of as much of the brush, grass, leaves, and other plant material as I could.
This was also really good practice so I could get back into the swing of things operating the excavator before I got closer to the building.
I continued around the back of the shop, and I wanted to do a little grading back here as well, although I don’t think the grading was nearly as bad on this side of the shop.
I did also decide to go ahead and take down this larger tree, since it was in the way of the grading work and also dumped a ton of leaves into my gutters.
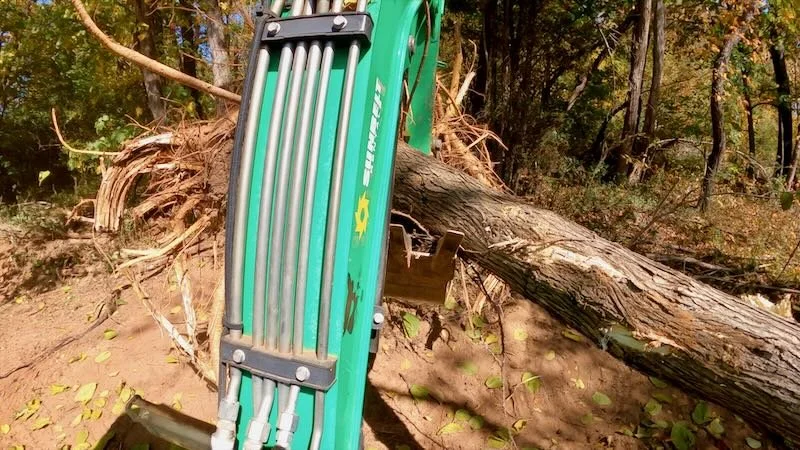
Taking this thing down required quite a bit of digging around the base of the tree but, eventually, I got it pushed over and dragged it into the woods behind the shop. Unfortunately, I also killed my Gorillapod, which I was using to mount the GoPro to the excavator, in the process.
From there, I just continued clearing brush around the back of the shop and then wrapped up day one with a little Dingo work, to start backfilling the area near the right shop wall, since I was getting down to some good quality dirt finally.
I started day two with more backfilling, this time with the excavator, but, while digging, I also found the old clogged corrugated drain line underground and it was of course surrounded by roots, so I worked on digging those up before continuing.
Once that was done, I could start backfilling in earnest, and I was able to really start building up the soil level against the wall by taking buckets of dirt from the area where I wanted to create the swale.
Between passes, I compacted the soil by running over the area with the excavator, tracking it in, and you can see I got a little too close to the building as the soil compacted and ended up denting one of the metal siding panels slightly.
While I was piling the buckets of dirt against the wall, Nate was also helping spread the dirt and remove any large roots, which was super helpful.
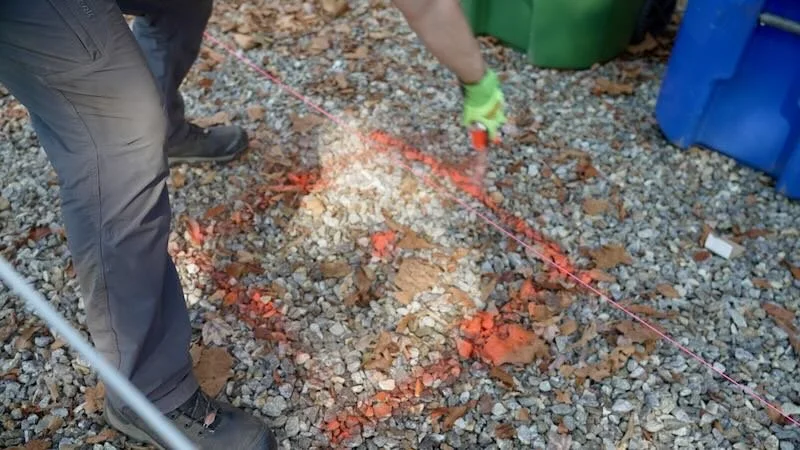
As I got close to where I wanted to be depth-wise for the swale, I ran into what seemed to be a trash and burn pit from when the building was originally built back in the 70s.
I found offcuts of the metal siding, old beer cans, and shocks, which matches up with the building being a chop shop at one point in its history.
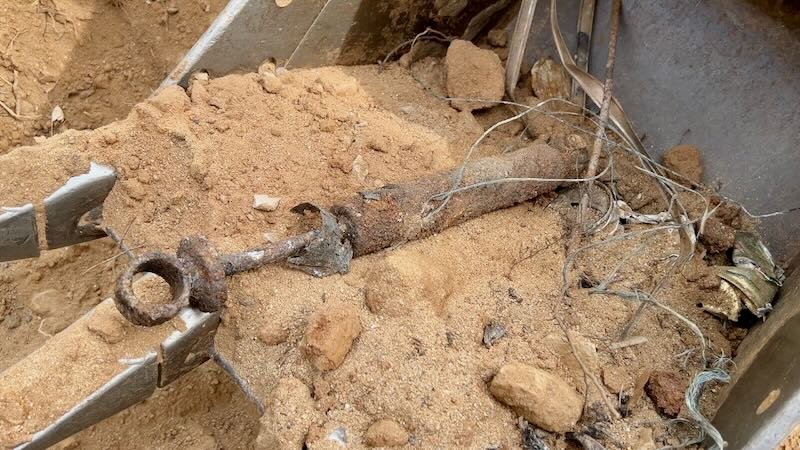
I threw away what I had dug up and kept digging, only to find some more beer bottles, these guys were pretty thirsty evidently, and I found some antique Stroh bottles, which I went ahead and recycled.
From there, I continued cleaning up the grading, widening the swale with the Dingo and smoothing out some of the areas before jumping back into the excavator to do more compacting.
I was able to really get things looking good at this point, with the swale starting to take shape and the grading at the wall looking pretty solid.
I kept working around the back of the building, with my next target being the low point at the back left corner of the shop.
Once again, I moved dirt around to backfill this area and found another trash pile back here.
Thankfully, I was able to really clean up this area and get it smoothed out enough to be able to pull my truck around back, which will be super handy for getting things in and out of the attic space, since there is a set of doors leading to the attic on the back of the building.
I called it a wrap for day three at that point and we ended up having some unexpected rain overnight, so I could see how the grading was working based on where the water was flowing.
Thankfully, the swale was working as expected, diverting the water away from the building. You can see this even worked where the gutter downspouts were draining out, since the corrugated pipe was removed for the time being.
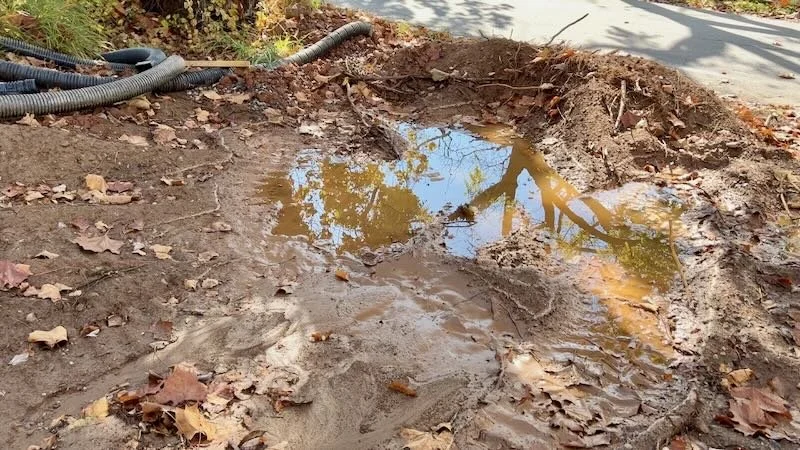
There was a giant puddle where I had piled up the dirt at the bottom of the hill at the street, so I focused on getting that cleaned up with the Dingo, piling up more dirt against the wall.
Porch Footings
With the grading work done for the time being, the next big project on my shop building was adding a huge front porch or awning to the front of the building.
I figured, while I had the excavator and Dingo rented, I could go ahead and get started on the porch by digging the footings.
As with any construction project, I started with the layout work, getting a few string lines set up to represent both sides of the building, as well as where the posts for the porch will land.
We used the 3-4-5 method to make sure we set the first pair of stakes square to the building, and in this case we used 12, 16, and 20 as our numbers, to give us a more accurate location. Using these longer measurements also meant the stakes were out of the way of the excavator.
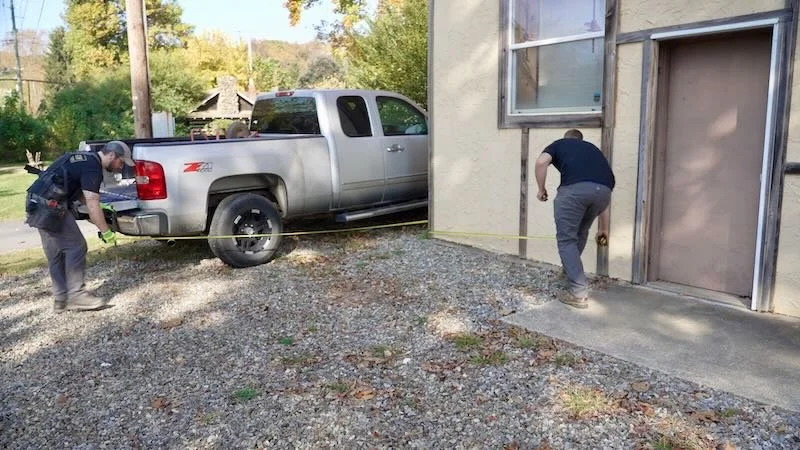
Once the first pair of stakes were set, I pulled a string line from the building, hooking onto a screw I added to the trim.
I used this method I learned from my buddy Erik Perkins to tighten the string, first spinning my finger to create a loop and then pulling each side of the line in opposite directions to tighten it down. I then pulled the excess line towards the stake, which locked the string in place, and then tied it off at the stake.
I repeated the process at the other end of the building, and then we could set our next pair of stakes.
These stakes needed to be 6 feet from the front of the building, so we measured and marked on the line at both sides and then pulled a line between those points to set our stakes.
Of course, I forgot to start my camera, but I think you get the idea, we were just matching the string with the 6 foot marks.
We repeated the 3-4-5 method at each string intersection, to make sure they were square to each other, which they were, so we could move on with marking out the post locations.
I had modeled the porch in SketchUp, and I created a drawing with the post locations for reference but, as you can see, I somehow completely spaced when creating the plans and set the rightmost posts over 16 feet apart, even though I was using 16 foot 2x12s for this project. This caused some issues later on, but we’ll come back to that.
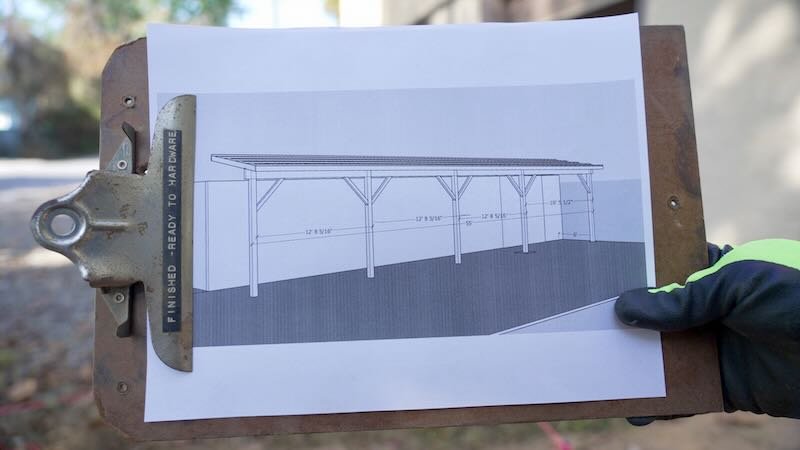
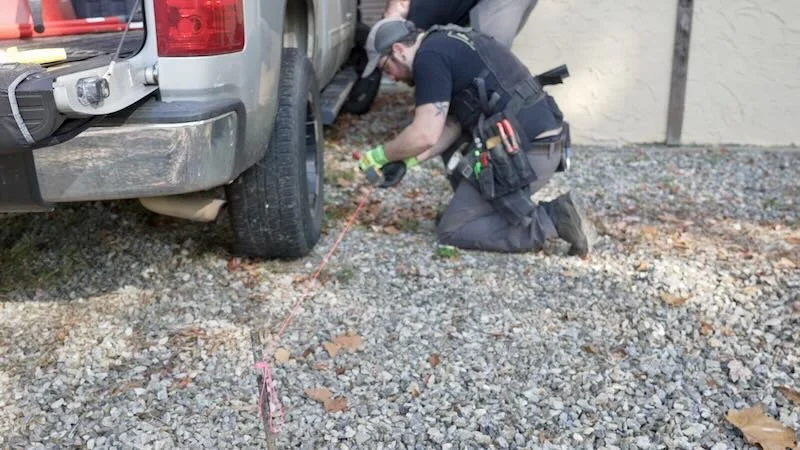
We marked the location of the rightmost post on the string line with a sharpie and then used a longer tape to mark the far left post, which was 55 feet from the right post.
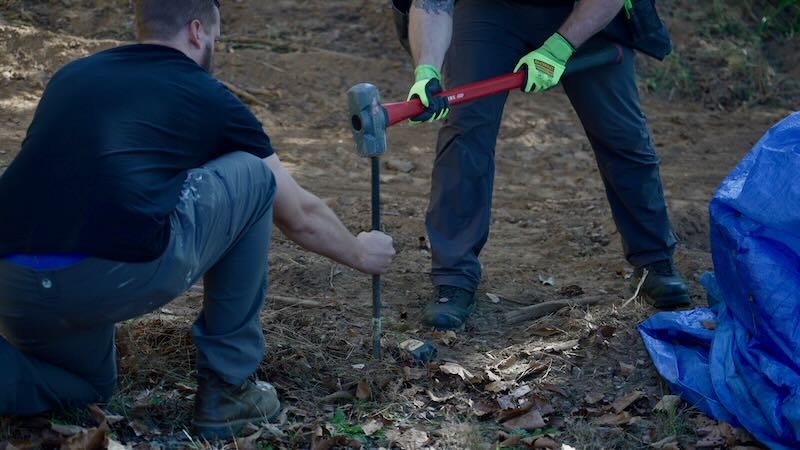
As we marked each point on the string line, we also transferred that mark to the ground, using a chalk line as a plumb bob and using marking paint to make a mark of the ground.
We continued on down the rest of the porch, marking the center of the post locations, until we had marked all five posts.
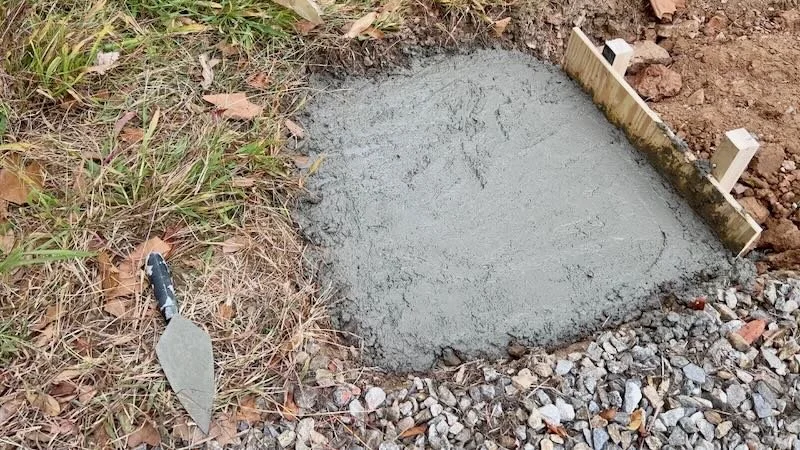
Once that was done, I could come back and mark out the footings, which were two feet by two feet square in this case.
Now, this was probably pretty massive overkill, but concrete is fairly cheap and I figured giving ourselves some wiggle room on the post locations would be beneficial. As it turned out, this couldn’t have been more true with my over 16 foot beam snafu, and I am so glad I went this route in retrospect.
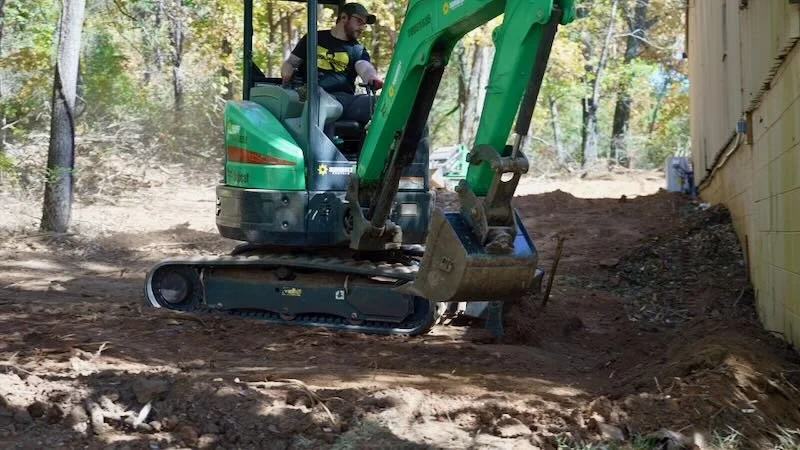
After marking all of the footing locations, it was time to bring in the machinery and start digging the footings with the excavator. I emptied the excess dirt into a wheelbarrow as I dug and I’m so glad I did, as we would have had a huge mess to clean up otherwise.
The ground here was incredibly hard, since this has served as a parking area for the last 50 odd years, and I’m really glad we didn’t try to dig these footings by hand.
Pairing the grading and porch projects really helped to get the most use out of this machine rental and I’m glad I waited on the grading until I was ready to start on the porch.
We were shooting for a footing depth of 18 inches, which is below the frost line of 12 inches in this area.
You want the bottom of your footings well below the frost line, as this will prevent the footings from being shifted or damaged by frost heaving as the ground freezes and thaws through the colder months.
After digging with the excavator, the footings still needed to be cleaned up by hand and we found out just how hard this dirt was while cleaning up the footings.
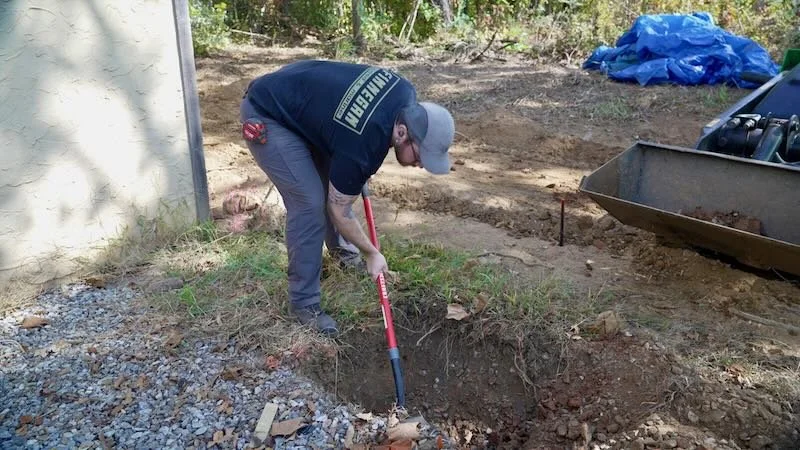
Once they were cleaned up, we could get the rebar added to reinforce the footings. We used #4 rebar here, cut into 18 inch lengths, and I used four pieces, arranged in a grid, in each footing.
To help get the rebar up off the ground, I used these rebar chairs, but these specific chairs also hold the rebar pieces together, so you don’t have to use any wire ties, which was pretty nice.
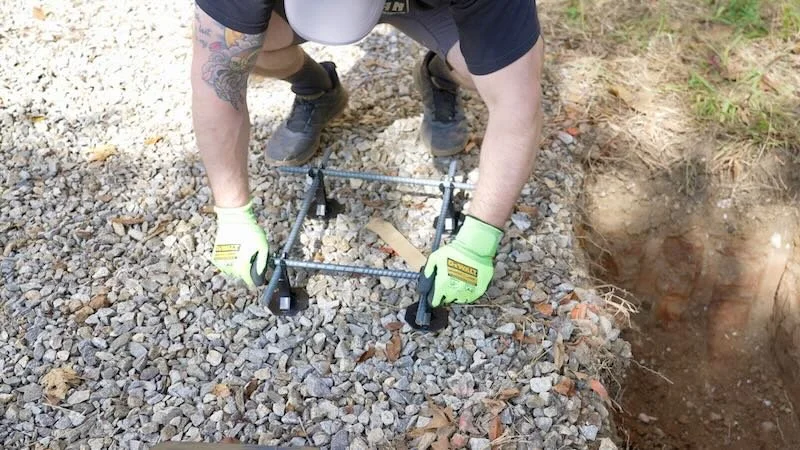
The rebar pieces just clipped into the chairs and then I could drop the whole assembly into the footing.
We then repeated the process on the rest of the footings and were ready for concrete, at least I thought.
After doing some more measuring, I realized I was going to come up short on the amount of concrete I had ordered, which was one yard in this case, unless I formed up the area where I had over-dug the footings with the excavator.
If you’ve ever dug small square holes with an excavator, you’ll know how hard it is to make those holes perfectly square, especially when you’re dealing with dirt this hard.
Thankfully, I whipped up some quick forms using scraps I had in the shop, and these really helped to reduce the overall volume of concrete I needed.

I got the forms added just in time, as the concrete truck rolled up about an hour later, so we could get the footings poured.
Thankfully, the driver was able to move the chute right above the footings, so we didn’t need a pump for this project. This concrete was a standard 3000 PSI mix and it had a pretty low slump, which was good for my purposes.
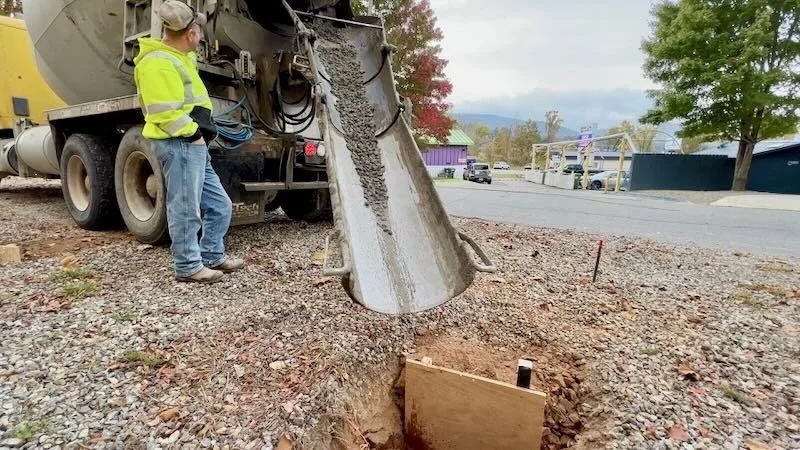
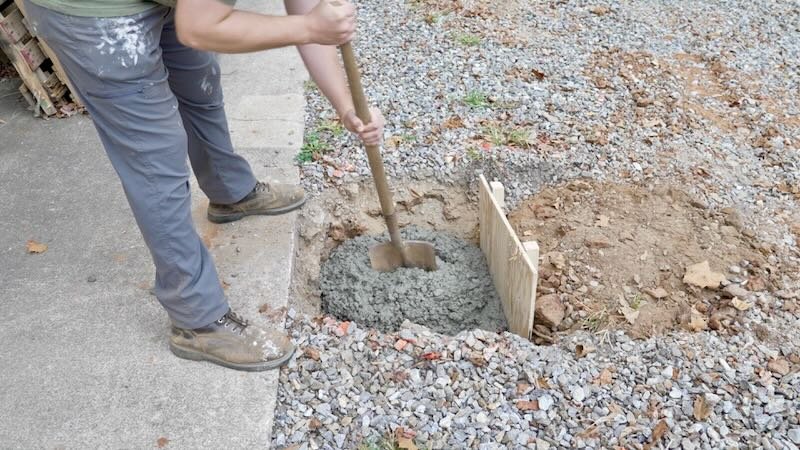
Since I ordered just enough concrete, we started by partially filling all of the footings and then came back and topped them up, just to make sure we didn’t come up short.
As the concrete was poured, we smoothed out the surface of the footing with a transfer shovel, screed, and even a small trowel. I wish I had thought ahead and picked up a larger trowel, but I didn’t really need the surface of the footings to be perfectly smooth here.
Also, I’ve just go to say, there is something so satisfying about watching concrete get poured. It’s pretty incredible that this liquid mix ends up turning into solid rock in just a few hours, and I’m hoping to do more concrete work in the future so I can feel more confident at it.
Anyway, we got all of the footings poured, with just enough concrete to top up the last footing, and then let the footings dry over the weekend before starting on the porch build.