
How To Build A DIY Potting Bench
In this episode, I show you how to build a DIY potting bench for all of your gardening needs! This simple woodworking project is a great way to add some storage and a workbench to your garden area. Make sure to subscribe for more DIY projects!
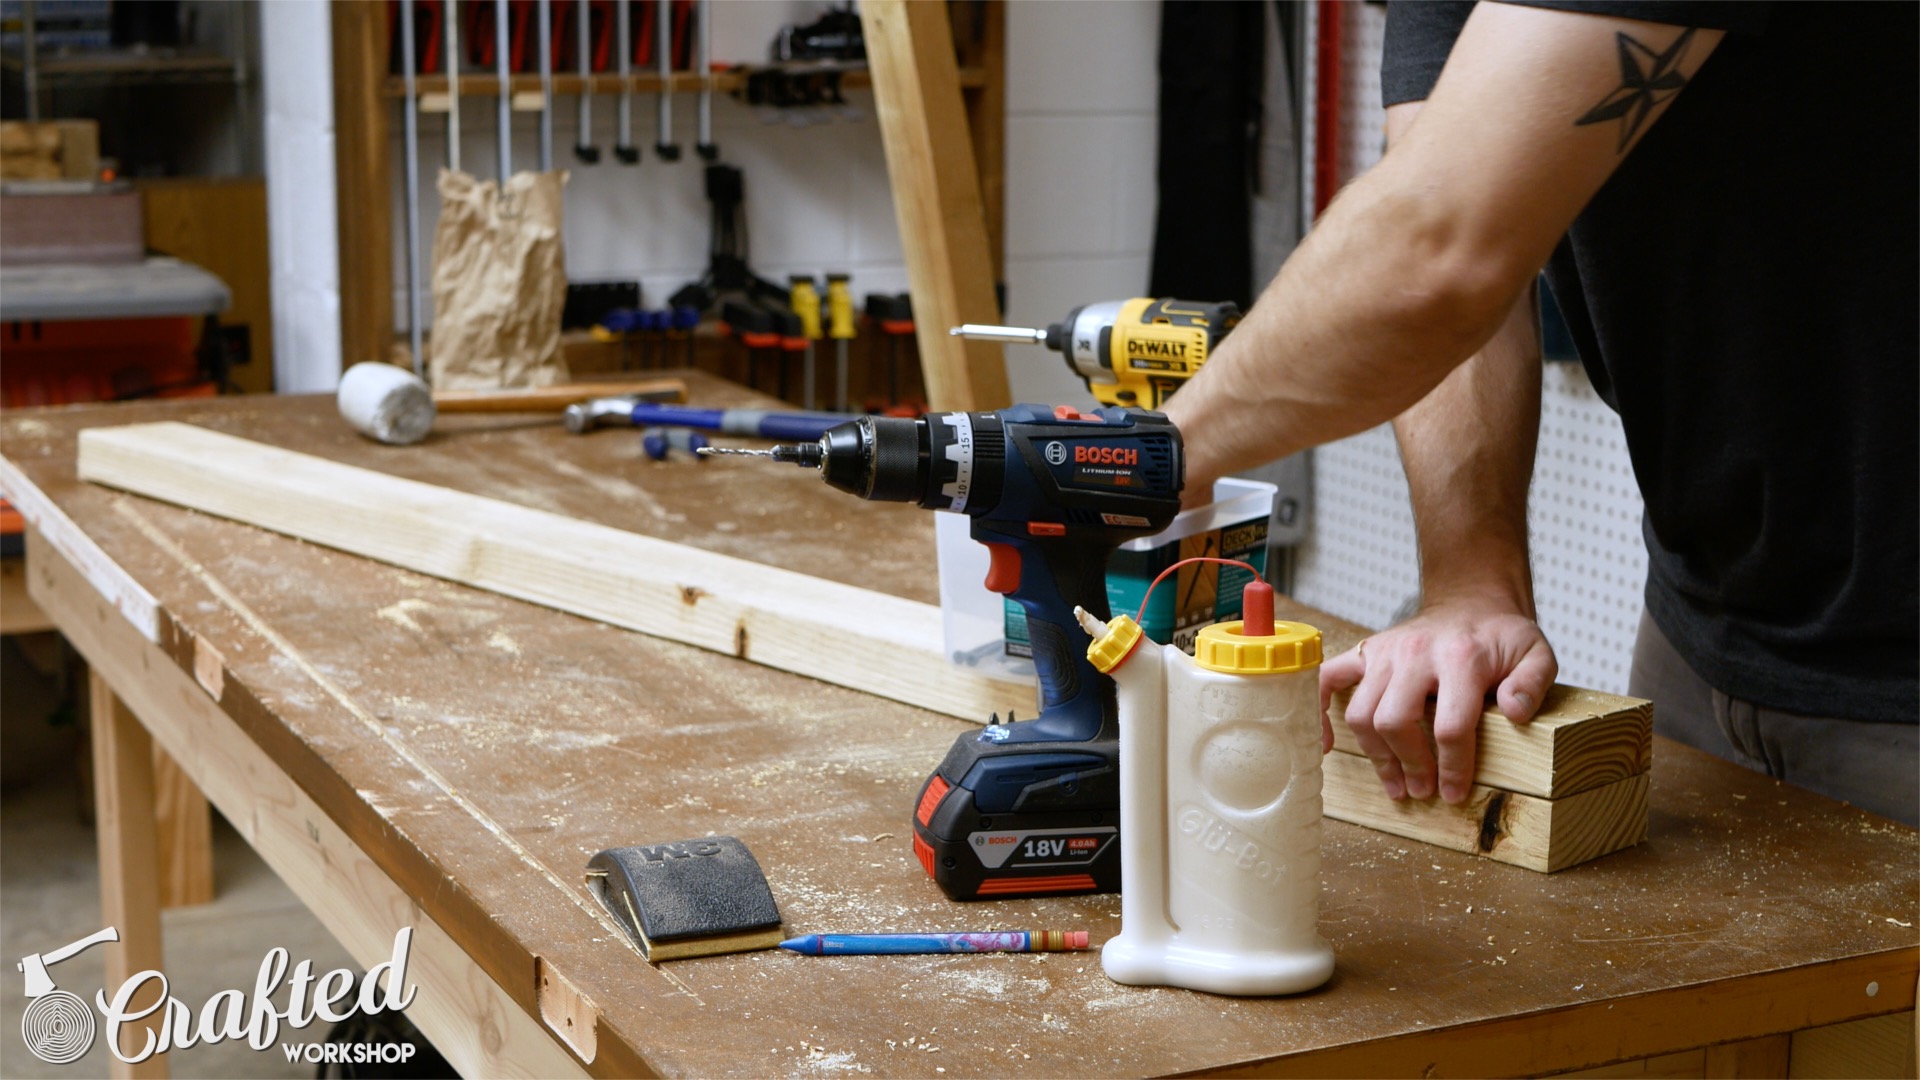
Tools Used Building The DIY Potting Bench
The links below are affiliate links, from which I get a cut of the sales. They don't cost you anything extra and help to support me!
- Bosch HDS183-02 18V EC Brushless Compact Tough 1/2" Hammer Drill/Driver : http://amzn.to/2cEFFxw
- DEWALT DCF887M2 20V MAX XR Li-Ion 4.0 Ah Brushless 0.25" 3-Speed Impact Driver : http://amzn.to/2cEFWR9
- DEWALT DHS790AB FLEXVOLT 120V MAX Double Bevel Compound Sliding Miter Saw : http://amzn.to/2cG90La
Materials Used Building The DIY Potting Bench
- 3 x 8' 2x6s,
- 7 x 8' 2x4s
- 1 x 10' 2x2
- ~1 lb of 2 ½" deck screws
- Wood glue
DIY Potting Bench Plans, SketchUp File & Cut List

To download a SketchUp file and cut list Excel file for this DIY potting bench, click the image above.
How To Build A DIY Potting Bench
To get started with this project, gather your materials (listed above). I’m using pressure treated pine for this build, since this is an outdoor project. You’ll also need about a pound of 2 ½” deck screws as well as some wood glue.
After you get all of your materials ready, break them down according to the cut list located in the build article linked to in the description below. There are 40 total pieces to this project, so it’s a lot of cutting. A miter saw is a great choice here, but a circular saw and a speed square would also work. If you have a miter saw, I’d definitely recommend setting up a stop block. There are a lot of duplicative cuts in this build, and a stop block will improve your efficiency quite a bit.


The top shelf sides and the work surface sides both have a decorative miter cut on them. This is completely optional but adds a nice touch. You could also round over the pieces with a jig saw if that’s more your style. One thing to note: make sure not to cut your miter so deep that the front of your work surface protrudes above the miter. As you can see, I did this and had to make a mitered cut at the table saw on the front piece so it would match. If you cut your pieces correctly, you won’t have to do this.

The potting bench is assembled in four main sections: the work surface, the bottom shelf, the legs, and the top shelf. To assemble the work surface, attach the work surface sides to the work surface front and back using 2 ½” deck screws and glue. Make sure to keep things as square as you can while you’re assembling. That said, it can be tough with pressure treated lumber since it tends to be bowed.

Once the work surface frame is assembled, add the work surface cleats. These support the boards that make up the work surface. There are three cleats on the work surface as well as three more on the bottom shelf. Next, attach the work surface boards. I spaced mine roughly ⅛” apart using some nails I had on hand. The boards need some space to expand and contract with the seasons. Attach the boards to the sides with screws and also through the bottom of the cleats with screws.


The bottom shelf is assembled in the same exact way, assembling the frame and then adding the cleats and boards. Another note: as you can see, I’m pre-drilling my holes here. This probably isn’t totally necessary since deck screws are usually self-tapping, but I think pre-drilling can give you a cleaner finished look. Unfortunately, my bit broke about halfway through the build. Always keep extras on hand!

Next, attach the lower support blocks to the front legs and back legs using glue and screws. The bottom shelf will rest on top of these support blocks. After attaching the support blocks, attach the legs to the bottom shelf. I attached the front legs first then attached the back legs. The legs are attached with glue and screws.

The potting bench is really starting to take shape at this point! Attach the middle support blocks to the inside of the legs. The work surface will rest on these support blocks. Attach them with glue and screws.
Next, place the work surface assembly on top of the front legs and middle support blocks and attach from below with screws. You’ll need to toe nail the screws (or should it be toe screw?) through the legs into the work surface from below. I also drove a few screws through the back of the back legs into the back of the work surface.

Once the work surface is attached securely, install the upper support blocks. Glue them and add screws from the back of the back legs.

Finally, assemble the top shelf by attaching the top shelf to the top shelf sides. A couple of screws on each end and some glue should be good here. After it’s assembled, place it on top of the upper support blocks and attach it with screws through the back legs. Attach the back of the top shelf by screwing into the legs and shelf bottom and you’re done!
To make sure you don't miss any future Crafted Workshop videos, subscribe to our YouTube channel! If you really enjoyed this video, consider supporting us on Patreon! And last, follow us on social media on Facebook, Twitter, Instagram, Pinterest and Snapchat at @craftedmagazine! Thanks for your support.