
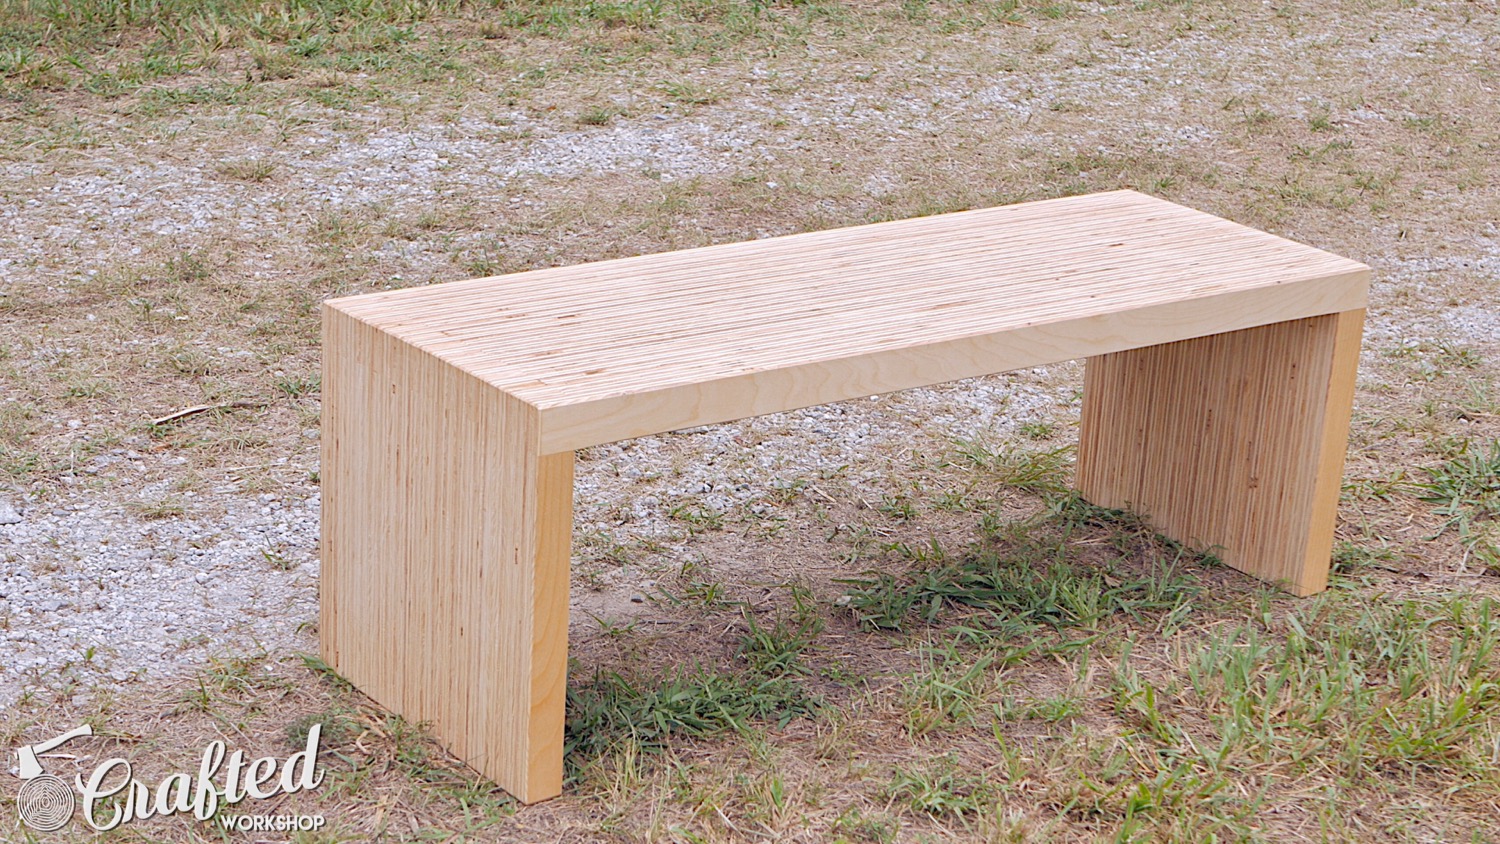
DIY Plywood Coffee Table Made With One Sheet Of Plywood
In this project, I'll show you how to build a DIY plywood coffee table using a single sheet of plywood. I built this table or bench with my two co-hosts from the Crafted Podcast during the Skiatook Adventure Video Woodworkers 2017 event in Skiatook, Oklahoma this past weekend. Enjoy!
Materials Needed For DIY Plywood Coffee Table:
The links below are affiliate links, from which I get a cut of the sales. They don't cost you anything extra and help to support me!
- 1 4’ x 8’ sheet of plywood : Home Center (Home Depot, Lowes, etc.)
- 1 Gallon Wood Glue : http://amzn.to/2rbzABf
- (Optional) ~ 200 1 1/4” Brad Nails : http://amzn.to/2uaTHwU
- 1 Quart Wipe-On Poly : http://amzn.to/2tgF7Yp
Tools Used On DIY Plywood Coffee Table:
- DEWALT Flexvolt Table Saw : http://amzn.to/2tgC4iz
- DEWALT 20V Max Miter Saw : http://amzn.to/2si5fwY
- DEWALT 20V Max Brad Nailer : http://amzn.to/2rXD47k
- Stanley Sweetheart Low Angle Jack Plane : http://amzn.to/2rY3RQU
- Stanley Block Plane : http://amzn.to/2udFAY3
- Triton Triple Blade Planer : http://amzn.to/2rXuhCs
DIY Plywood Coffee Table Plans

If you'd like more detailed dimensions and a SketchUp file, plans are available!
DIY Plywood Coffee Table Build Process
As I said, this project is built with one sheet of 3/4” plywood. I used a nicer Birch plywood from my local home center, and I’d definitely recommend trying to find something with a nice looking veneer. The more expensive plywood will also probably have less voids, or holes in between the layers of the plywood.
I had the home center break the 4 foot by 8 foot sheet of plywood into four 2 foot by 4 foot pieces and then started ripping these pieces into 2 inch strips on the table saw.
If you don’t have a table saw, you could use a circular saw with an edge guide attachment to rip these strips.
I built this project with James Wright and Zack Herberholz, my two co-hosts on our podcast, the Crafted Podcast, during the Skiatook Adventure Video Woodworkers event in Skiatook, Oklahoma. We had a great time over the weekend, and there were a ton of other awesome YouTube woodworkers there building stuff, including Jay Bates, Nick Ferry, Jimmy Diresta, Shawn Stone, Woodbrew, and tons of others. I’d definitely recommend trying to make it out to the event next year if you missed this year’s event, it was a ton of fun.
Let’s get back to the build. Once I'd ripped all of the pieces into 2 inch strips, I started cutting them to length on the miter saw. I designed this table to basically create box joints or finger joints during the glue up. This creates a really strong joint between the legs and top with no fancy work required.
To do this, I cut every other strip for the top to 4 inches shorter than the strip next to it. I also did the same thing for the leg pieces, cutting every other piece shorter. I have detailed plans available for this project that have exact measurements if you want to build this for yourself.
I used a stop block on the miter saw stand to make sure all of the pieces were the same length, and this really sped up the process as well.
With all of the pieces cut, we could start in on the glue up. This was a pretty simple glue up, we just needed to make sure the first layer was square and, as long as we lined up each layer after that, the table would end up square.
To start, we laid out one layer, with a short top piece and two long leg pieces. I applied glue, then we laid on the next layer, with a long top piece and two short leg pieces. These staggered pieces are where the strength come from in the joint, as there is a ton of glue surface created by staggering the pieces. If you’re having trouble understanding it, just slow down the video and you’ll get it.
I just kept stacking the layers, adding glue in between each layer and using brad nails to keep the pieces from slipping around. If you don’t have a brad nailer, you could use screws to hold the layers together during the glue up as well.
Once I had all of the layers glued and nailed into place, we added clamps just to try and remove any gaps.
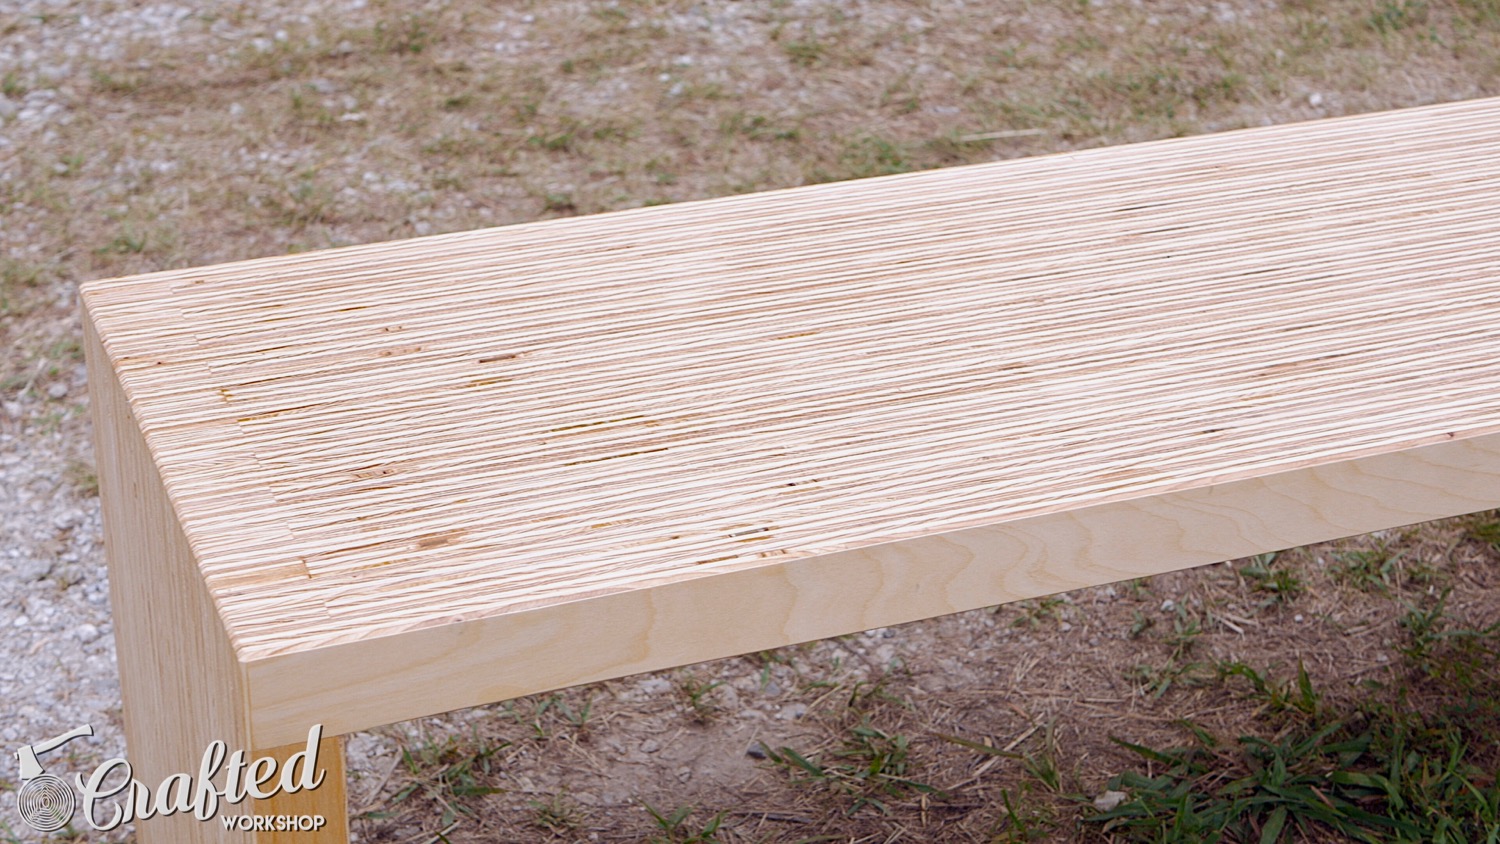
While the glue dried, James filled the voids in the top with epoxy.
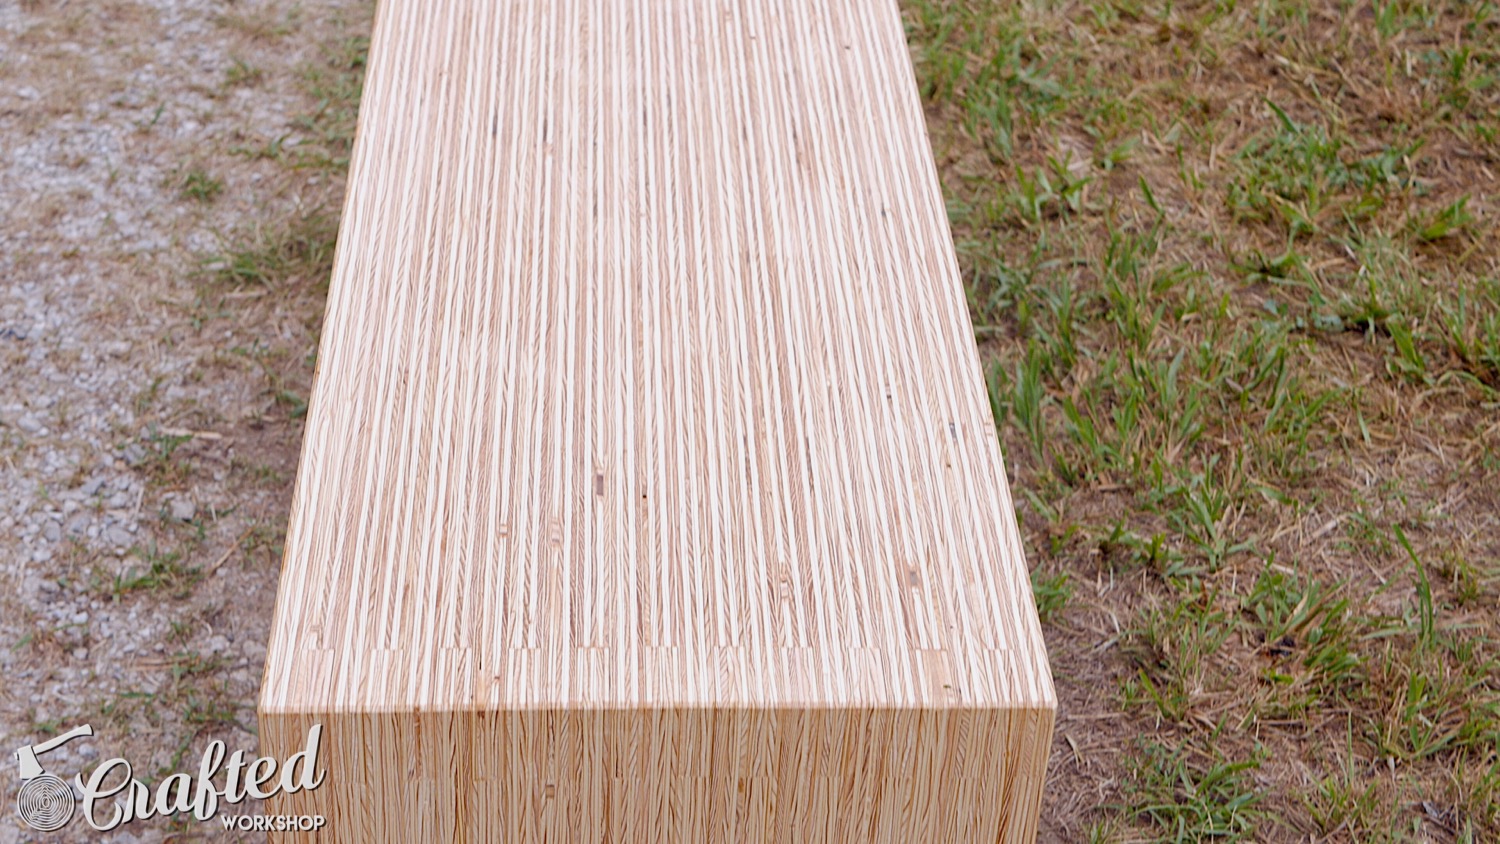
Once the glue and epoxy dried, we got to work flattening the top and sides. We used a combination of an electric planer and hand plane. You could also use a belt sander and get similar results.
Next, we trimmed the legs square using a circular saw and square. We also chamfered all of the edges with a block plane.
Before finishing, we sanded all of the surfaces up to 220 grit sandpaper using a random orbit sander, then we all signed the bottom of the piece.
For the finish, I applied three coats of wipe on poly. The edge grain of the plywood soaked up a ton of finish, and I used an entire quart of finish. Once the finish dried, the coffee table was done.
Hopefully you enjoyed this project! It was really simple to build but I'm really happy with the way it came out. Again, I have DIY Plywood Coffee Table plans available if you're interested. Also, make sure to sign up for my email newsletter below to make sure you never miss another post! Thanks and, until next time, happy building!